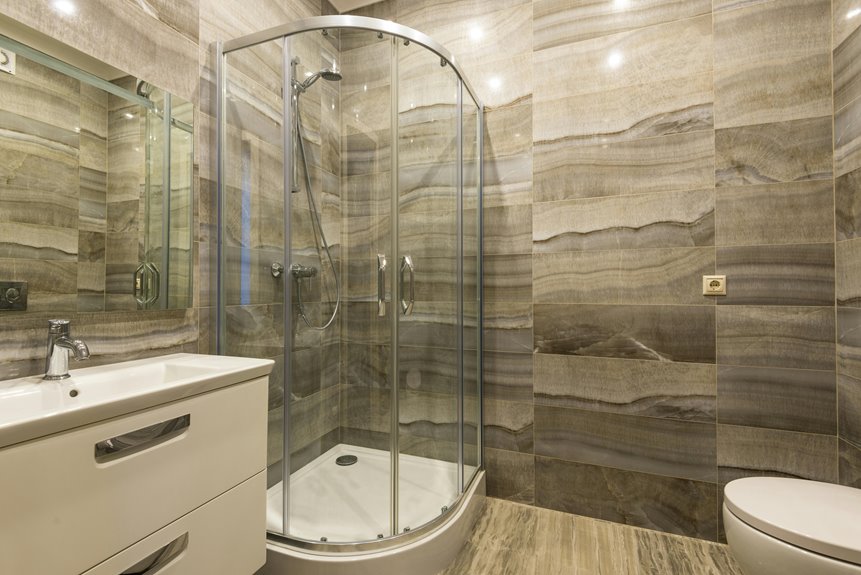
A wet room’s your bathroom reimagined without shower doors or barriers—it’s one fully waterproofed space where water flows freely. The floor slopes gently toward a central drain, tile covers everything (walls included), and waterproof membranes seal underneath to keep moisture from sneaking into your home’s bones. Think of it as embracing water rather than fighting it. It’s beautifully open and accessible, though it demands solid ventilation and strategic fixture placement to keep your toilet and sink actually dry. There’s plenty more to understand about making one work in your home.
What Is a Wet Bathroom?
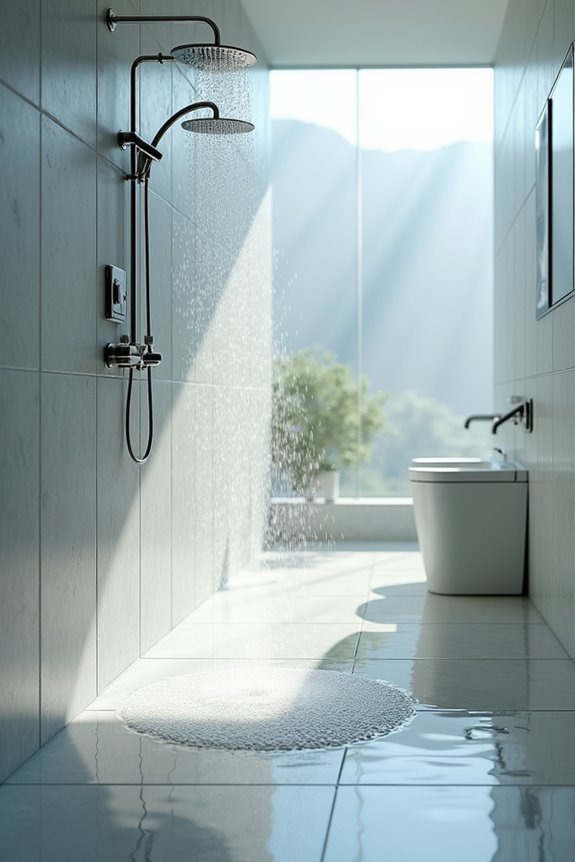
Have you ever wondered what happens when you stop fighting water in your bathroom and just lean into it? That’s essentially a wet room—a fully waterproofed space where water flows freely without traditional barriers. I’ve come to appreciate how these bathrooms embrace moisture rather than resisting it.
In a wet room, professional waterproofing, or tanking, seals every surface so walls, floors, and ceilings can handle constant splashing. The floor slopes gently toward a central drain, channeling water exactly where it needs to go. It’s brilliant, really—no shower curtains, no enclosures, just seamless tile covering everything.
What strikes me most is how accessible and luxurious they feel. They’re easier to clean, more spacious, and honestly, they make your bathroom feel like a boutique spa. That’s the magic of embracing water rather than containing it.
How Wet Rooms Differ From Traditional Showers
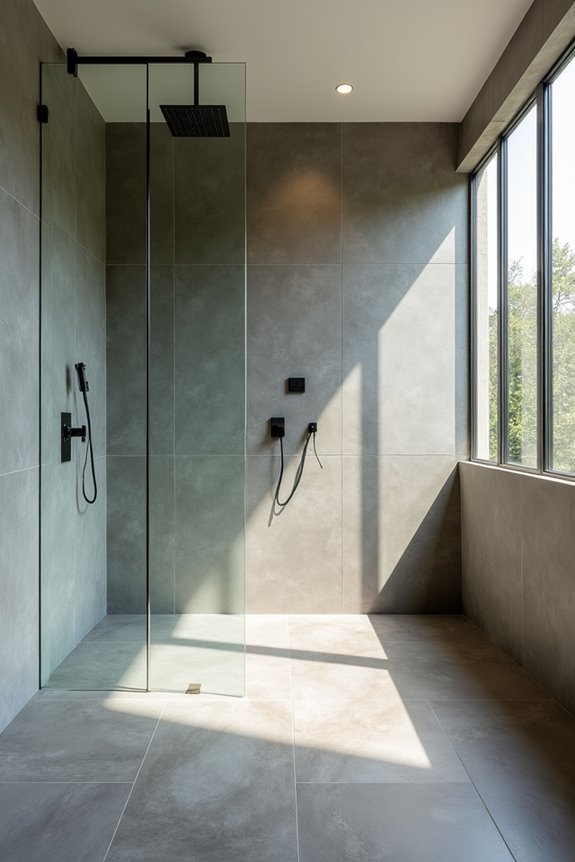
What makes a wet room feel so fundamentally different from the shower setup most of us grew up with? I’ve found the answer lies in the open layout and comprehensive waterproofing. Traditional showers confine water behind glass doors or curtains, while wet rooms embrace an entirely different philosophy. There’s no barrier between your shower space and the rest of the bathroom—water simply flows across the level floor toward a central drain. This wet room vs traditional shower distinction means I’m not fighting moisture containment. The continuous waterproofing extends across walls and fixtures, so splashes don’t threaten your bathroom’s integrity. You get spaciousness instead of cramped quarters, accessibility without curbs, and a minimalist aesthetic that feels intentional rather than restrictive. It’s a genuinely liberating approach to bathing.
Essential Materials and Fixtures for Wet Rooms
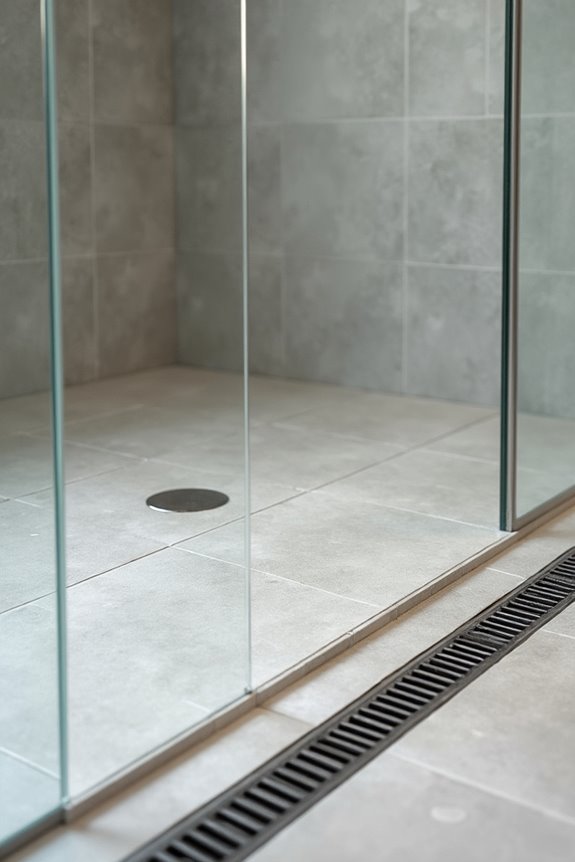
Building a wet room requires materials that’ll stand up to constant moisture, and honestly, this is where the magic happens—the difference between a soggy disaster and a space that thrives in wetness. I’ve learned that continuous waterproofing and quality backer boards form your foundation, creating barriers that protect against leaks and water damage. You’ll want surfaces rated for heavy splashes throughout.
| Material | Purpose | Location |
|---|---|---|
| Waterproof membrane | Prevents water penetration | Entire floor and walls |
| Backer board | Supports tile safely | Behind all tile surfaces |
| Sloped concrete | Directs water flow | Floor substrate |
| Drain system | Collects excess moisture | Center floor point |
The central drain becomes your room’s hero, channeling moisture away efficiently. When you choose the right fixtures and waterproofing, you’re investing in a bathroom that genuinely works with water rather than against it.
How Waterproofing Works in Wet Rooms
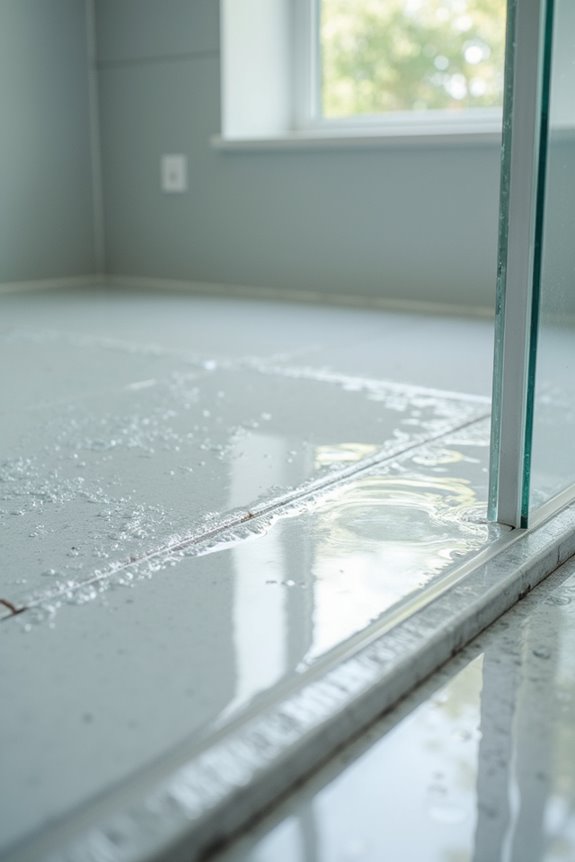
Why does waterproofing matter so much in a wet room? I’ll tell you—it’s your first line of defense against costly water damage and mold growth. When you’re creating a space where moisture thrives, proper waterproofing becomes absolutely essential.
I’ve learned that successful wet room waterproofing involves several critical layers:
- Tanking membranes applied continuously across walls, floors, and sometimes ceilings to seal every surface
- Waterproof backer boards installed beneath tiles to provide moisture resistance and structural support
- Sloped floors designed to direct water toward central drains, preventing pooling
- Sealed fixtures like elevated toilets and sinks that minimize water exposure
You’ll want seasoned professionals handling this work, since improper installation leads to expensive repairs. When waterproofing’s done right, you’re investing in a bathroom that’ll serve you reliably for years.
Drainage and Flooring: Why Slope Matters
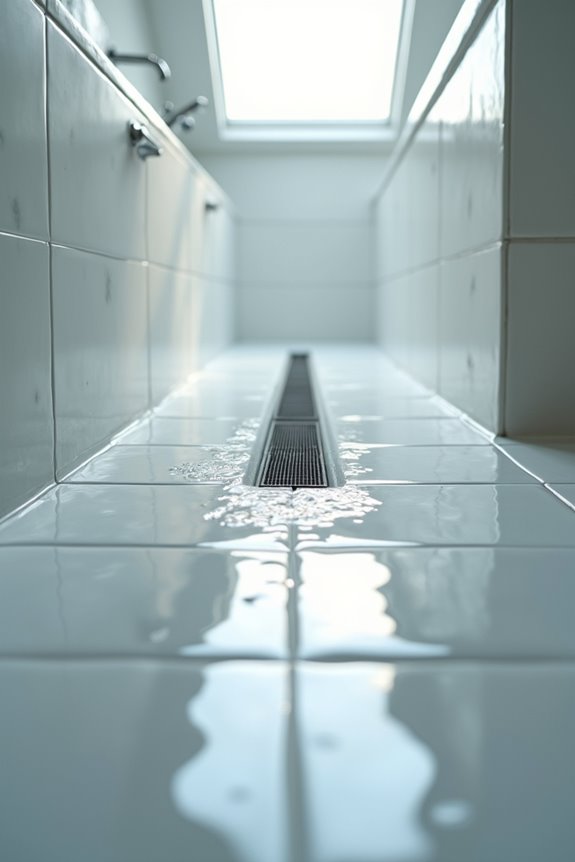
I’ve learned that the magic behind a successful wet bathroom isn’t just waterproofing—it’s understanding how water actually moves through the space, which brings us to two critical elements: your floor’s slope and where you position that drain. You see, a properly sloped floor (typically 1–2% gradient) acts like a gentle guide, directing every splash and puddle toward a strategically placed drain rather than letting water pool in forgotten corners where moisture breeds mold and damage. Getting this balance right between floor design and drain placement is what separates a wet bathroom that thrives from one that slowly fails behind the scenes.
Floor Slope Design
How does water know where to go in a wet bathroom? It’s all about floor slope design, my friend. I’ve learned that the secret lies in creating a carefully engineered gradient that guides every drop toward your drainage system.
Here’s what makes this work:
- A gentle 1-2% slope (roughly 1/8 inch per foot) channels water efficiently without creating slippery zones
- Continuous waterproofing membranes prevent water from escaping into surrounding areas
- Linear or point drains positioned strategically collect water from all directions
- Proper slope design eliminates puddles, ensuring rapid drainage throughout
When I designed my wet room, I realized this subtle slope isn’t just functional—it’s essential for safety and longevity. You’re investing in a system that protects your home while creating that spa-like sanctuary you deserve.
Drain Placement Strategy
Now that you’ve got the slope working in your favor, the real catalyst comes down to where you actually place that drain. I’ve learned that positioning matters tremendously—you’ll want to situate it strategically near your shower zone so water naturally gravitates there without creating annoying puddles elsewhere. Think of it as creating invisible highways for moisture. Linear or trench drains work beautifully for larger spaces, maintaining that seamless floor aesthetic while efficiently whisking water away. Don’t overlook waterproofing either; it’s your silent guardian, protecting everything beneath those tiles from sneaky moisture penetration. When drain placement and floor slope work together harmoniously, you’re not just building functionality—you’re crafting a bathroom that feels intentional, thoughtfully engineered, and genuinely designed for your comfort and confidence.
Wet Room Cost and Installation Timeline
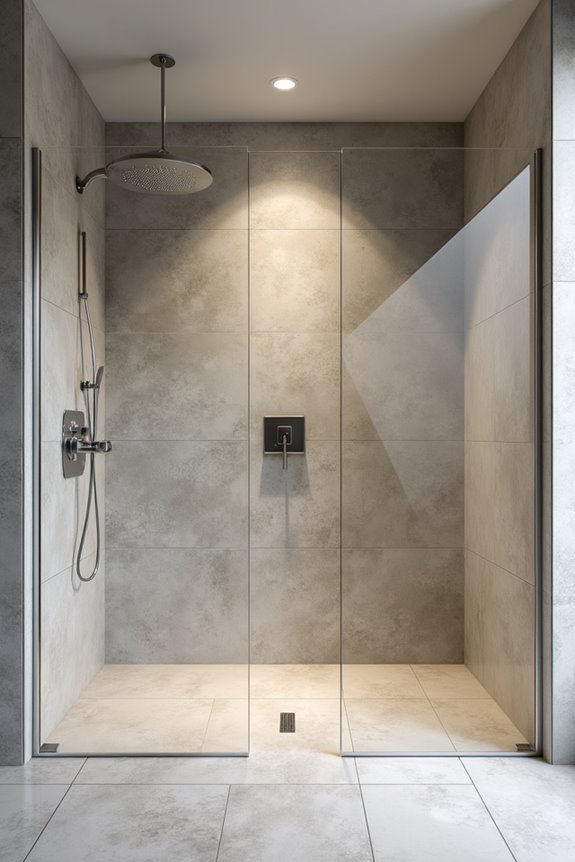
When you’re ready to transform your bathroom into a wet room, understanding the financial and time commitment involved can help you plan accordingly. I’ve found that knowing these details helps you feel more confident about the investment you’re making.
Here’s what I want you to expect:
- Wet room cost: Typically ranges from $4,000 to $15,000, averaging around $9,000 nationally
- Budget impact: Expect 20–30% more spending compared to traditional bathrooms
- Waterproofing expenses: Additional costs for membrane systems and moisture management
- Installation timeline: Similar to standard renovations, though waterproofing prep extends labor coordination
The extensive waterproofing and slope preparation add complexity that justifies the higher investment. I’ve seen homeowners find real value in this upfront spending because it creates durability and luxury that lasts. Your timeline depends on trade coordination, but you’re looking at a straightforward project overall.
Planning Your Wet Room Layout for Space and Accessibility
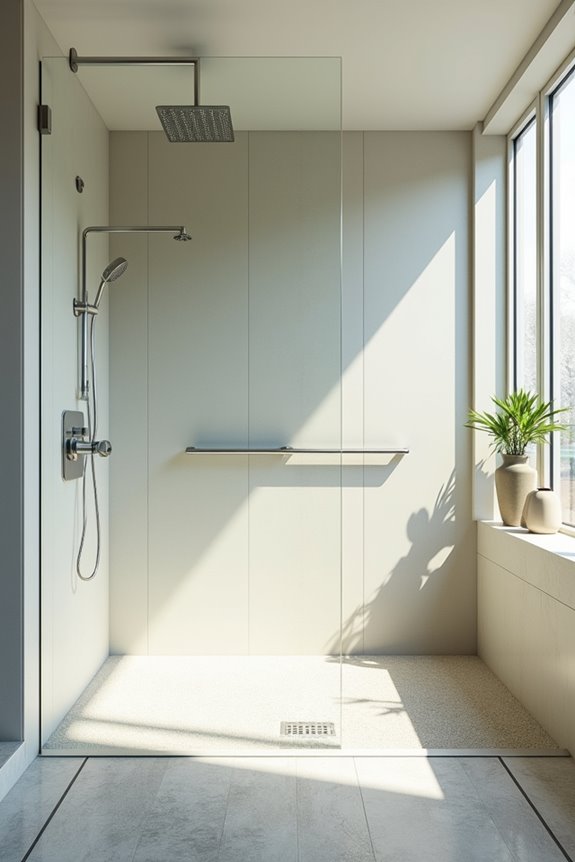
Once you’ve settled on your budget and timeline, the real fun begins—designing a layout that actually works for how you live. I’ve found that creating a truly functional wet room layout means starting with a level floor and continuous waterproofing that extends from floor to walls. You’ll want to position your toilet and sink strategically—think wall-mounted fixtures that minimize water exposure in your dry zones. I place the central drain thoughtfully, sloping the floor toward it so water naturally flows where it belongs. Consider open doorways or frameless glass to make your space feel larger and more accessible. When you eliminate unnecessary barriers, you’re not just creating functionality; you’re crafting a sanctuary that welcomes everyone, regardless of mobility needs.
Keeping Toilets and Sinks Dry in a Wet Room
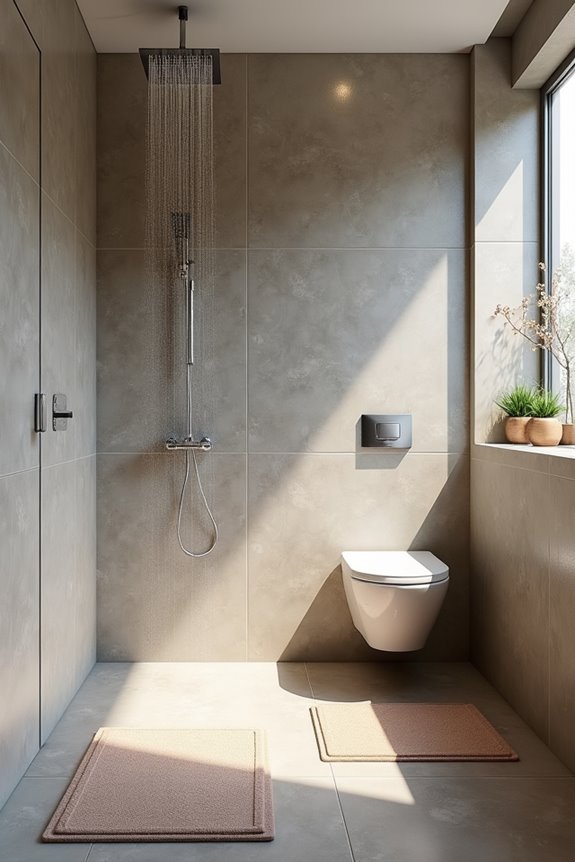
I’ve learned that keeping your toilet and sink dry in a wet room isn’t about fighting the water—it’s about outsmarting it through smart placement and design choices. By positioning these fixtures strategically away from shower spray, mounting them on walls to prevent pooling, and using waterproof barriers around them, you’re essentially creating protective zones that let water do its job elsewhere. The real magic happens when you combine proper floor slope, a continuous waterproof membrane, and maybe even a subtle dry alcove, all working together to guide moisture toward your central drain while keeping your fixtures safe and clean.
Strategic Fixture Placement
How do you keep a toilet and sink from turning into waterlogged casualties in a space where water’s basically everywhere? Strategic fixture placement is your answer. I’ve learned that thoughtful positioning transforms your wet room from chaotic to functional.
Here’s what I prioritize:
- Mount fixtures on walls to eliminate water pooling around bases and create visual space
- Position sinks away from shower zones to minimize splash contamination
- Plan your layout opposite shower spray paths so dry zones stay genuinely dry
- Use cantilevered designs that float fixtures off the floor for easier cleaning
Your waterproofing efforts work best when fixtures sit exactly where water won’t assault them. I’ve found that arranging your wet room thoughtfully—placing toilets and sinks strategically—makes the entire space feel intentional and manageable, not compromised by moisture everywhere.
Water Management Design
The real trick to keeping your toilet and sink from becoming permanent fixtures in a puddle isn’t magic—it’s deliberate water management built into the bones of your wet room. I’ve learned that strategic waterproofing creates invisible barriers protecting your dry zones. The drainage system slopes everything toward a central shower drain, channeling water away from fixtures you actually want staying dry. What makes this work is thoughtful moisture management—proper ventilation prevents mold from creeping into corners where your toilet sits. You’ll want wall-mounted or elevated fixtures with sealed installations, keeping them safe from splashes. It’s about creating smart separation between wet and dry areas, so you’re not constantly battling humidity and standing water. When done right, your fixtures stay precisely where they belong.
Moisture Containment Strategies
Because water’s going to find its way everywhere in a wet room, you’ve got to be intentional about where you want it to go and where you absolutely don’t. I’ve learned that keeping toilets and sinks dry requires strategic planning, and honestly, it’s totally doable when you understand the system.
Here’s what I focus on:
- Wall-mounted fixtures that eliminate pooling around bases
- Sloped flooring directing water toward the central drain
- Water-resistant cabinetry positioned away from shower spray zones
- Continuous waterproofing with sealed backer boards preventing moisture penetration
The real trick is creating designated wet and dry zones. I position my toilet and sink in the dry area, away from direct spray. Combined with proper ventilation reducing humidity, this water containment strategy keeps fixtures protected while maintaining functionality. Your wet room works best when you’re working with water, not against it.
Lighting and Ventilation for Moisture Control
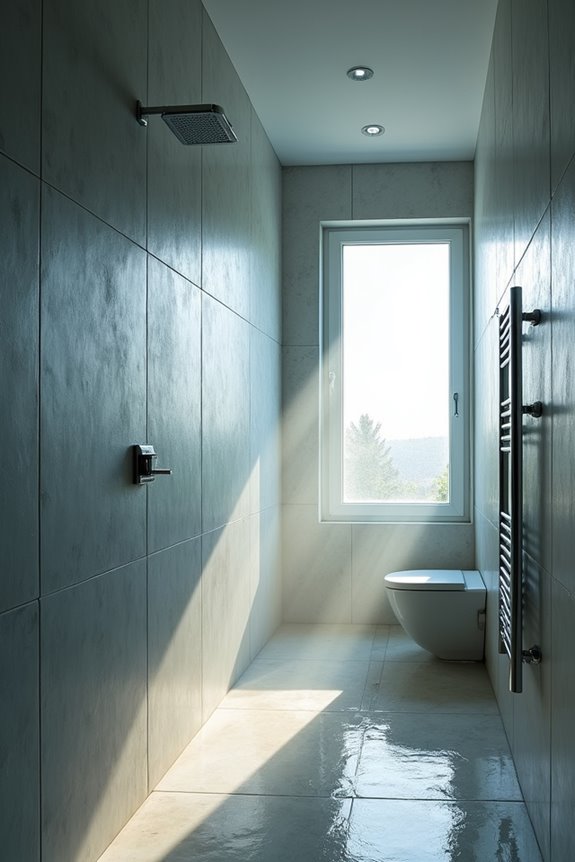
Why do so many wet bathrooms struggle with foggy mirrors and moldy corners? I’ve found the answer lies in combining smart lighting and ventilation. You’ll want moisture-rated fixtures positioned to illuminate your entire space, especially those wet zones where water splashes freely. I rely on high-capacity exhaust fans that tackle humidity before it settles on surfaces—they’re your first defense against mold creeping into corners. Since waterproofing alone can’t stop airborne moisture, I’ve learned that ventilation must cover both shower and non-shower areas equally. Pairing ambient lighting with strategic spotlights creates the atmosphere you want while keeping condensation at bay. It’s about working with your bathroom’s open layout, not against it, ensuring every surface stays dry and welcoming.
Designing Your Wet Room With a Freestanding Tub
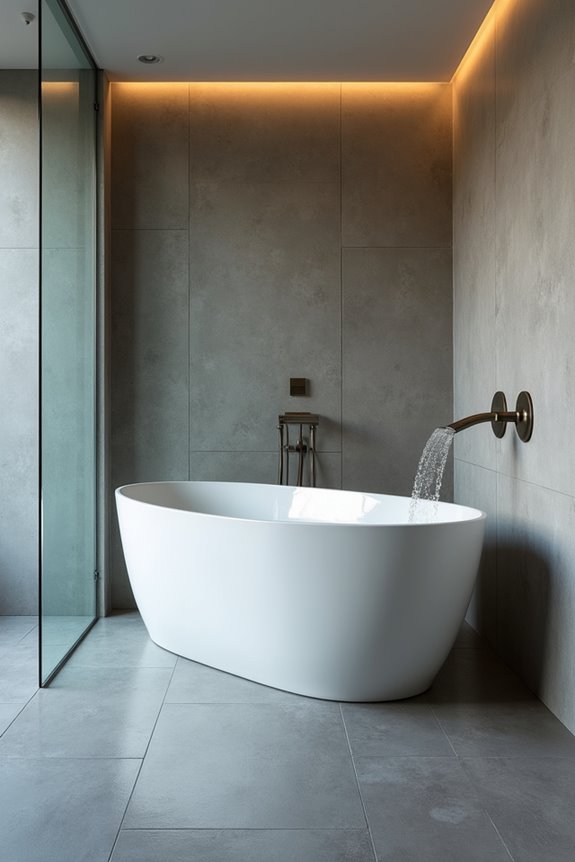
I’ve found that positioning a freestanding tub in your wet room transforms it into a stunning visual anchor, especially when you place it strategically outside the main shower zone where it won’t compete for space or collect unwanted splash. By creating this separation, you’re not only preserving your tub as a luxurious focal point but also making it easier to maintain and access, which means you can actually enjoy those long soaks without practical concerns creeping in. The real magic happens when you layer in thoughtful lighting—a sleek pendant or soft ambient glow—that celebrates the tub’s curves and invites you to linger, turning an everyday fixture into the centerpiece that makes your wet room feel like a personal retreat.
Placement And Visual Focus
Where you position your freestanding tub matters more than you might think—it’s not just about fitting it into the space, but about letting it shine as the centerpiece you’ve invested in.
I’ve found that placing your visual focal point away from the shower area creates breathing room and transforms how the entire wet room feels. Consider these placement strategies:
- Position the tub to command attention without blocking movement through the space
- Keep it outside the main shower zone to minimize water splash and simplify cleaning
- Align lighting directly above or around it—a chandelier works beautifully here
- Ensure waterproofing extends fully around the area, treating the entire floor as wet space
This thoughtful positioning lets your freestanding tub become the serene retreat you deserve, while maintaining the practical flow that makes daily life easier.
Creating Distinct Zones
How you carve up your wet room’s layout determines whether it’ll feel like a luxurious spa or a cramped, soggy mess—and the favorable news is that thoughtful zone planning isn’t as complicated as it sounds. I’ve found that effective wet room zoning separates your dry areas (vanity, toilet) from the active shower zone through strategic waterproofing and floor slopes directing water toward the drain. This water control strategy keeps fixtures dry while protecting your space from moisture damage. Your freestanding tub sits gracefully outside the primary wet zone, becoming both functional and beautiful. By positioning sinks and toilets away from direct spray, you’re creating distinct zones that work harmoniously together. This intentional separation transforms your bathroom into an organized sanctuary where every element serves its purpose beautifully.
Enhancing Luxury Appeal
The moment you step into a wet room anchored by a sculptural freestanding tub, you’ll understand why this single piece transforms the entire space into something that feels genuinely luxurious. I’ve discovered that positioning your tub strategically outside the dedicated shower area creates that coveted hotel-like atmosphere while keeping water splash minimal.
Here’s what elevates your wet room design:
- Position the freestanding tub as your visual centerpiece, away from the shower zone
- Install ambient lighting—wall sconces or soft overhead fixtures—that highlight the tub without creating moisture hazards
- Surround everything with fully waterproofed surfaces and proper drainage sloping
- Create a separate dry zone nearby for sinks and storage, maintaining both beauty and practicality
This balance between indulgence and functionality makes you feel like you’re investing in yourself every single day.
Accessibility Benefits of an Open Design
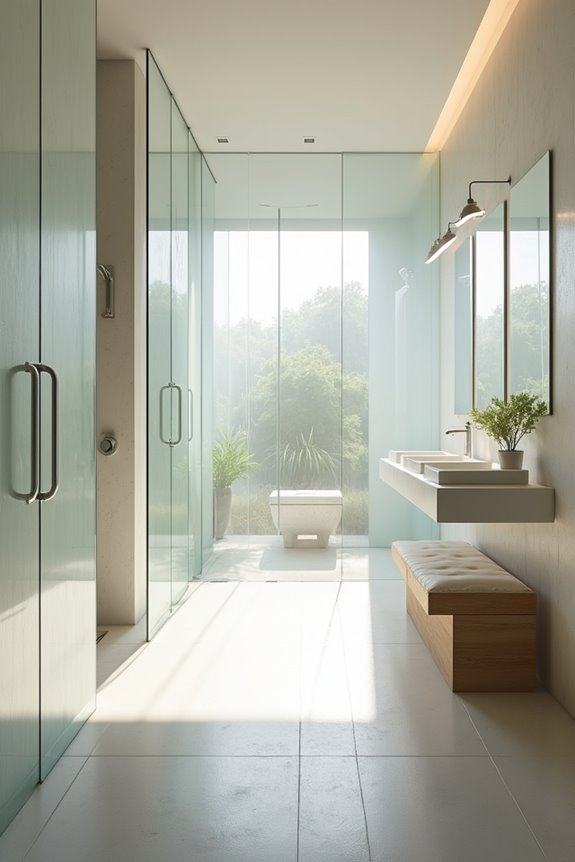
Why should anyone settle for a bathroom that creates barriers when you could have one that welcomes everyone?
I’ve discovered that an open wet room design transforms accessibility into something beautifully seamless. Without shower doors or curbs, I can move freely across a single level, and that unobstructed flow matters tremendously for anyone using mobility devices. The continuous waterproofed surface eliminates tripping hazards, while wide openings make navigation intuitive rather than frustrating.
What really strikes me is how this accessibility design supports aging in place. The sloped flooring toward a central drain handles moisture effortlessly, adapting to changing needs without compromising style. I’m experiencing a bathroom that doesn’t announce its accessibility—it simply works. That’s when true inclusive design shines: when function and belonging feel completely natural together.
Keeping Your Wet Room Mold-Free and Well-Maintained
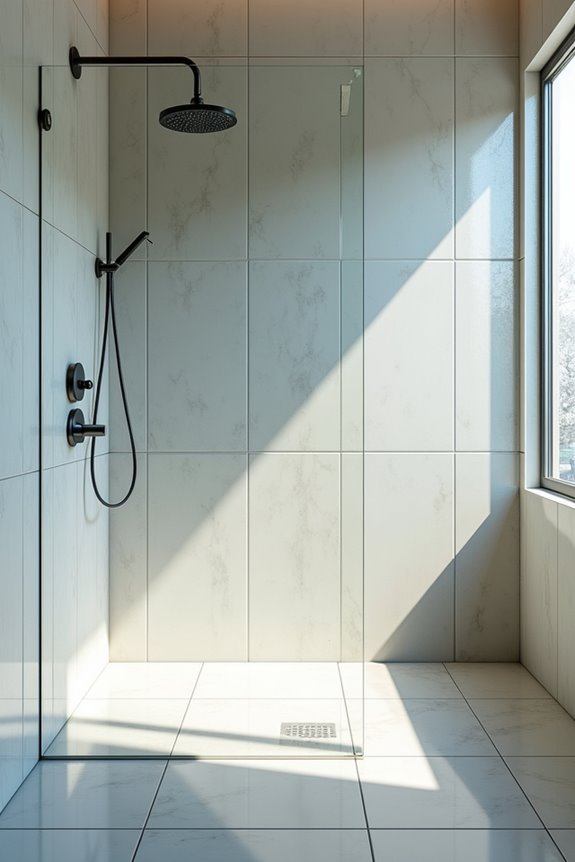
Vigilance becomes your greatest ally once you’ve embraced the freedom of an open wet room, because all that beautiful water flowing across your floor needs a reliable plan to stay where it belongs—and nowhere else. I’ve learned that preventing mold means building your defense before problems start:
- Waterproofing every surface, from walls to floor, creates an impenetrable barrier against moisture
- Ventilation through exhaust fans or open windows fights humidity before mold takes hold
- Moisture-resistant materials like porcelain tile and epoxy grout withstand constant water exposure
- Regular sealing inspections catch small issues before they become headaches
I dry surfaces promptly after showering, check caulking monthly, and let my ventilation run during and after use. This routine keeps my space fresh, healthy, and genuinely welcoming—because you deserve a wet room that feels as good as it functions.
Is a Wet Room the Right Choice for You?
| Factor | Best For | Consider If |
|---|---|---|
| Accessibility | Mobility challenges | You’re perfectly mobile |
| Budget | Long-term savings | You need immediate affordability |
| Lifestyle | Families, frequent bathing | Minimal water use |
| Space | Smaller bathrooms | Large, traditional layouts |
| Maintenance | You enjoy cleaning | You prefer hands-off upkeep |
A fully waterproofed wet room shines when you prioritize accessibility and open living. I find the seamless design liberating—no barriers, just purposeful space. However, the 20–30% cost premium demands honest reflection. Ask yourself: Do I value easy mobility? Will my household embrace regular maintenance? Does my lifestyle match this investment? There’s no shame in choosing differently; the right bathroom supports *your* daily rhythms, not someone else’s ideal.