Measuring for curtains doesn’t have to be complicated. I’d start by grabbing a metal tape measure, level, and pencil, then decide between inside or outside mounting—outside mounts make windows look bigger.
Next, measure your width and height, determine rod placement (extending 6–12 inches beyond the frame), calculate panel width using fullness multipliers like 2×, and measure rod-to-floor for your target length.
Finally, choose whether you want sill, floor, break, or puddle length.
Getting these seven steps right improves your entire space.
Step 1: Gather Your Measuring Tools (Tape, Level, Pencil, Ladder)
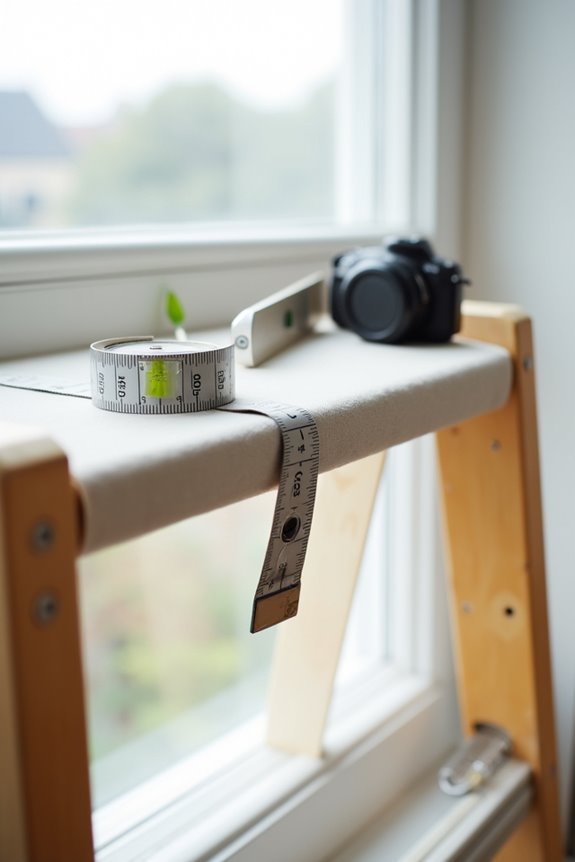
What’s the quickest way to derail a curtain project before you’ve even started? Skipping the prep work. I’ve learned that gathering the right tools makes the entire experience feel more organized and manageable.
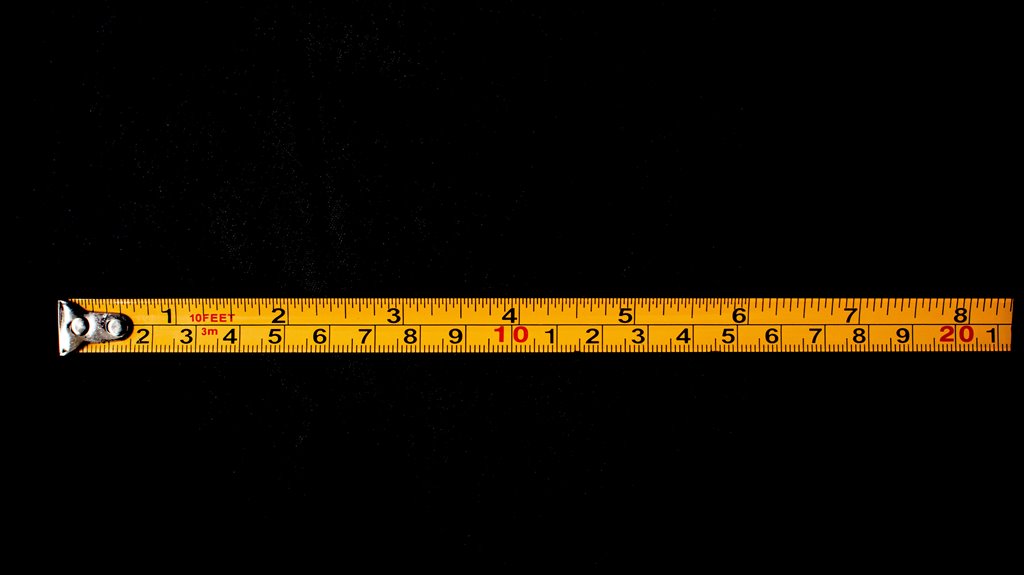
I grab my metal tape measure first—it won’t stretch like fabric, keeping measurements accurate when checking height and width. My stepladder becomes my trusted companion, reaching those high spaces where curtain brackets belong. A pencil marks exact rod placement points, keeping everything consistent across both sides. The level confirms the rod hangs perfectly straight, not tilted.
I also keep a notebook nearby, jotting down measurements immediately. Having all five items ready before Step 2 eliminates frustrating interruptions. This simple preparation sets me up for success, making the entire process smoother and more satisfying.
Step 2: Choose Inside or Outside Mount (And Why It Matters)
Here’s where I had to make my first real decision, and honestly, it’s one that shapes how your curtains’ll look and function.
Inside mount and outside mount aren’t just technical terms—they’re about creating the feeling you want in your space. Inside mount places your curtain rod within the window frame, keeping fabric closer to the glass and measurements tight. Outside mount extends beyond the frame, installing high on the wall or ceiling, offering:
- More dramatic light control and privacy
- The illusion of larger, grander windows
- Extra 6–12 inches of rod width on each side for fullness
- Better window trim coverage and polished appearance
Your choice determines how I’d measure width, height, and overall curtain fullness. Inside mount uses your window’s interior dimensions, while outside mount requires measuring beyond the trim. This decision shaped everything that followed in my measuring journey.
Step 3: Measure Your Window Width and Height
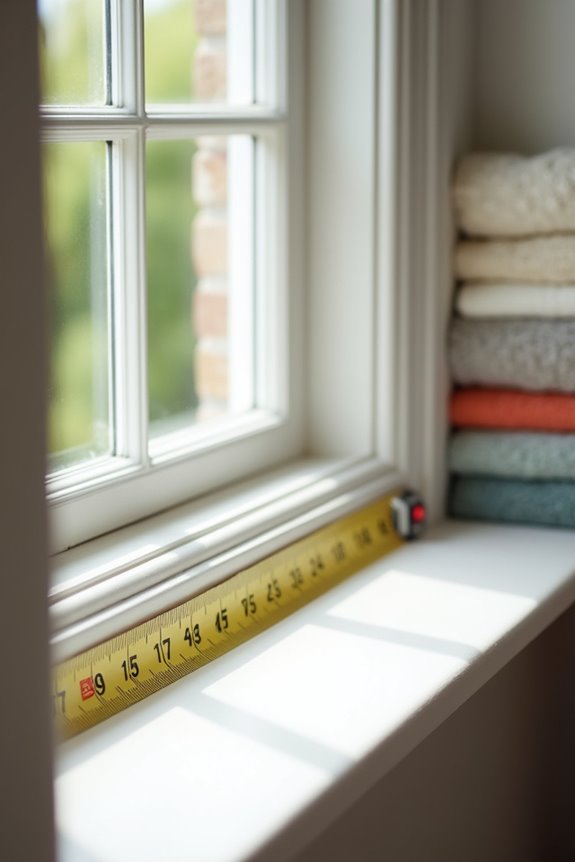
Now I’ll grab my metal tape measure and get precise measurements, because whether you’re mounting inside or outside your window frame affects how your curtains hang. For inside mounts, I measure straight across the interior trim from left to right and top to bottom, keeping my tape pulled snug but not tight. Outside mounts require me to measure the full expanse beyond the trim—capturing that extra space where I’ll want my rod to sit, typically 6 to 12 inches wider on each side for proper fullness and light control.
Measuring Inside Mount Windows
Taking accurate measurements from inside your window trim is where you’ll determine whether your curtains fit perfectly or leave gaps you’ll regret later.
I grab my metal measuring tape and level, positioning myself at the window’s interior edge. I measure the width left-to-right, then height top-to-bottom, always working from inside the trim. Here’s what matters most:
- Your rod length should equal your window width for complete coverage
- Including the casing keeps your curtains from leaving the opening exposed
- Metal tape prevents stretching that ruins accuracy
- A level keeps everything even, preventing crooked installations
These internal measurements become your rod length, the number that determines fullness and style calculations. I’ve learned that precision here means professional results later. When you nail these foundational measurements, you’re already halfway toward curtains that fit your space properly.
Measuring Outside Mount Windows
Why do outside-mount measurements matter so much more than you’d think? When I measure outside-mount windows, I’m capturing the true visible window area by measuring from the outer trim, not inside the frame. I grab my metal tape measure and record both the width measurement left-to-right and height measurement top-to-bottom, marking everything with pencil for reference.
Here’s what makes this important: I include the window casing in my width measurement so the curtain rod and fabric fully cover the space when closed. This baseline measurement becomes essential when I later estimate fullness using multipliers like 1.5–3x your window width for appropriate panel widths. Getting these dimensions right means your curtains won’t just fit—they’ll look intentionally designed, creating that polished appearance we’re all after.
Step 4: Determine Curtain Rod Width and Placement
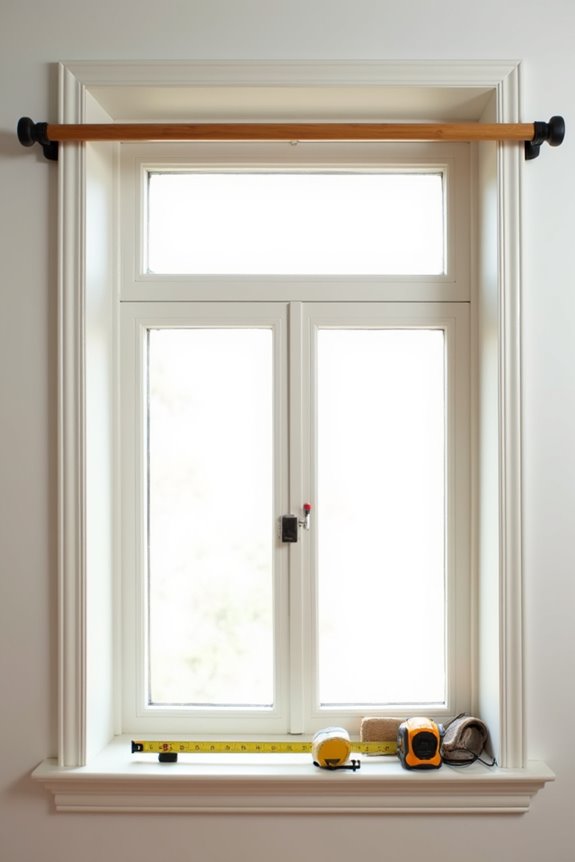
Once you’ve measured your window and chosen your curtain style, it’s time to figure out where your rod actually goes and how wide it needs to be. For outside mount installations, I extend the curtain rod width 6–12 inches beyond each side of your window width, creating better light-blocking while making your windows appear larger.
Here’s what I consider when planning rod placement and total curtain width:
- Extending beyond the frame changes how light enters your room and improves your space’s appearance
- Double curtain panels need adequate rod extension to stack gracefully when opened
- Applying your fullness multiplier (typically 2x) provides complete window coverage when panels close
- Proper rod placement eliminates gaps, delivering the polished look you want
I’ve found this approach creates good results that make any room feel well-designed.
Step 5: Calculate Panel Width Using Fullness Multipliers (1.5×, 2×, or 3×)
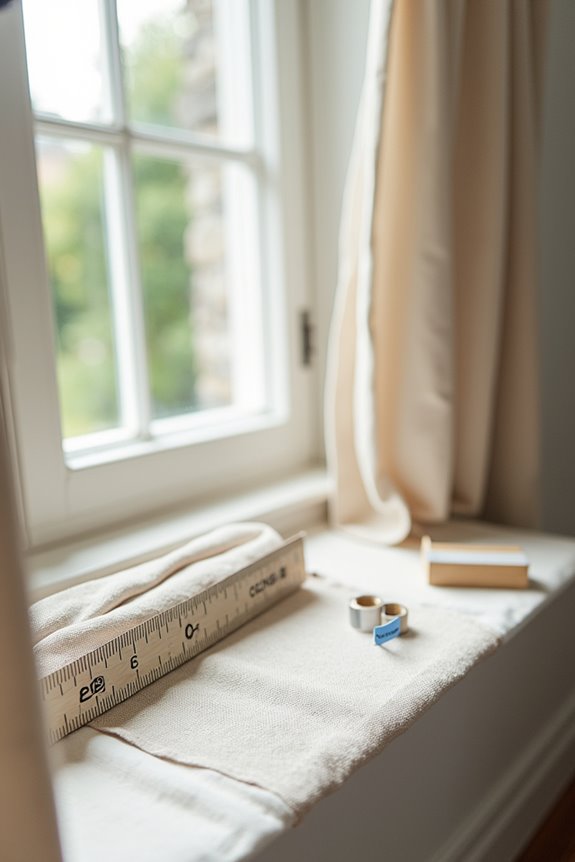
How much fabric do you really need to create those gorgeous, gathered folds that make curtains look professionally hung? I’ll show you how: fullness multipliers. These multipliers convert your window width into the final total width your curtains need.
For a light look, I multiply by 1.5×. For standard fullness, I use 2×, which gives me that balanced, polished appearance most of us prefer. If I want luxury curtains with dramatic draping, I go with 3×.
Let me walk you through it. Say my window width is 48 inches with 2× fullness. My final total width becomes 96 inches. Since I’m hanging two panels, each panel width equals 48 inches. This is how I create multiple panels with those professional folds.
Step 6: Measure From Rod to Floor for Your Target Length
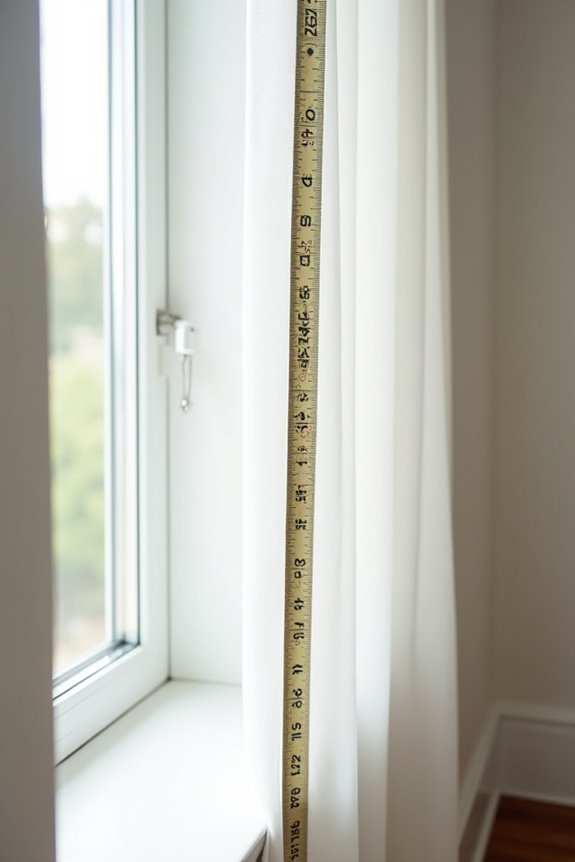
Now I’ll measure from my curtain rod straight down to the floor, which gives me the foundation for deciding how long I want my curtains to hang. You have several options here—I can go for a clean, modern float that hovers just above the floor, a romantic puddle that pools at the base, or something in between like sill-length or café-length that hits a specific stopping point. Once I have that rod-to-floor measurement in hand, I’ll adjust it based on whichever look I’m after, knowing that even small tweaks to my rod’s height can help me achieve the exact length I’m envisioning.
Rod To Floor Measurement
Why does this measurement matter so much? This rod-to-floor distance forms your baseline length for everything that follows. Getting this window measurement right prevents costly mistakes and allows your curtains to hang properly on both sides.
Here’s what I consider when measuring:
- The hover gap maintains clean lines, keeping floors visible while creating visual balance
- Floor puddle adds visual weight, pooling fabric across your floor
- Sill-length options suit smaller windows, offering practicality with a finished look
- Consistent end position across both sides prevents an unbalanced appearance
I always measure twice on each side, since rod height variations happen. My curtain length depends entirely on this rod-to-floor measurement—whether I want a subtle hover gap, dramatic floor puddle, or tailored sill-length finish. This baseline length guides every decision that follows.
Target Length Selection
Once you’ve got that rod-to-floor measurement locked in, you’re ready to decide exactly where you want your curtains to end—and this choice significantly impacts how your windows look.
Your measurement baseline gives you three solid options. For a clean, polished feel, floor-length curtains kiss the ground beautifully. If you prefer breathing room, hovering ¼–½ inch above the floor keeps things tidy and practical. Feeling luxurious? Puddle-length curtains pool elegantly across your floor, adding drama and sophistication to any room.
Your end position plan depends entirely on your style and lifestyle. Consider your rod placement and daily curtain hanging habits—do you open and close them frequently? That guides whether you want that hover gap or the luxe puddle effect. This target length decision significantly impacts your entire space.
Step 7: Pick Sill, Floor, Break, or Puddle Length-Then Double-Check
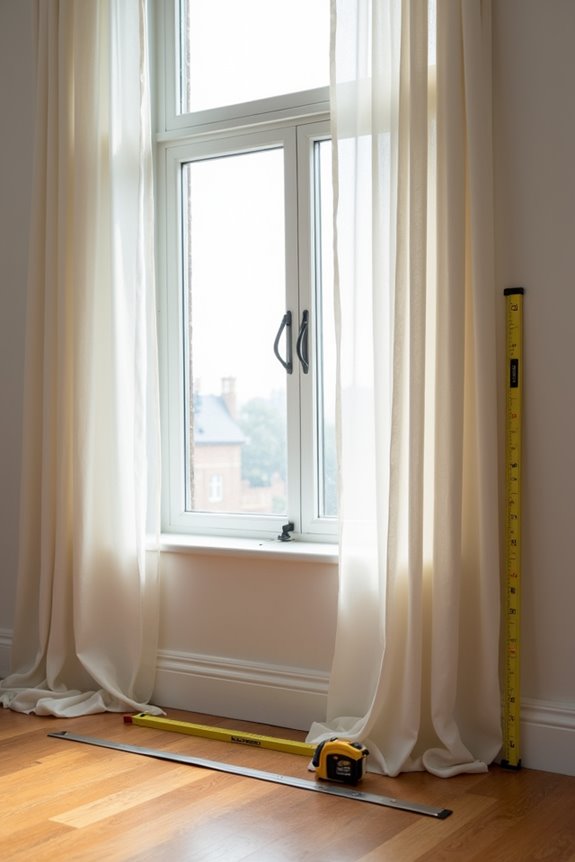
How you finish your curtains matters—it’s the final touch that either grounds your window or leaves it looking unresolved. Selecting the right curtain length changes how a room feels, and you’ll find which style works best for your space.
The right curtain length is the finishing touch that grounds your window and transforms how a room feels.
Consider these options as you measure height from your rod:
- Sill length creates that cozy, approachable kitchen vibe
- Floor length gives you the illusion of taller ceilings, making rooms feel more spacious
- Break length offers tailored balance with a subtle crease where fabric meets floor
- Puddle length brings dramatic luxury and sophistication to any room
Once you’ve calculated your rod height to your desired endpoint, adjust by ±1/4 to 1/2 inch. This small tweak allows for floor clearance and confirms your curtain length matches your vision exactly.