I’ve measured countless windows that looked completely wrong with their curtain rods, and I’ve learned that getting the width right is the single most important decision you’ll make.
Start by measuring your window frame edge-to-edge, then extend 4–10 inches beyond each side for a polished appearance.
Next, choose your panel configuration and fullness multiplier—standard 2x works well for most setups.
Calculate your total rod length, match it to standard panel sizes, and confirm your desired curtain length.
These seven foundational steps will determine whether your curtains look skimpy or well-proportioned, and there’s plenty more to discover about making your windows look their best.
Step 1: Measure Your Window Frame and Desired Curtain Rod Width
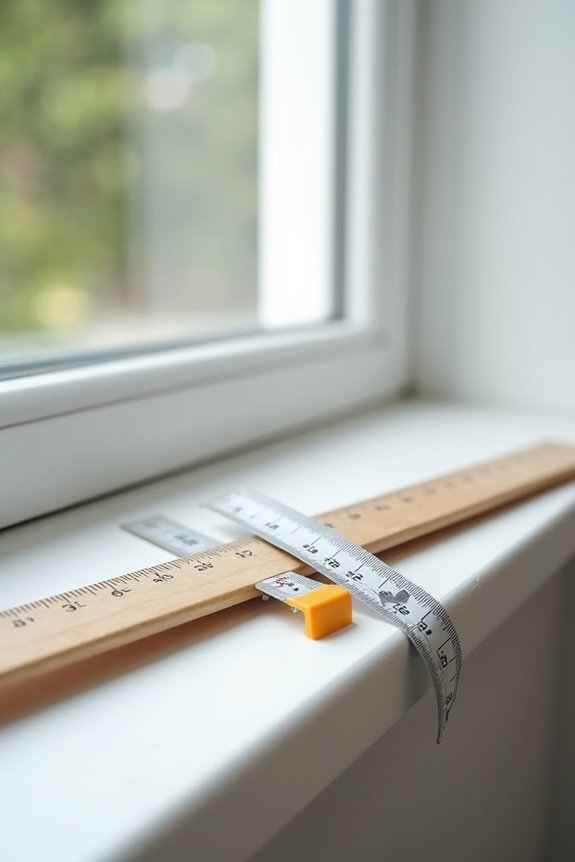
Where should your curtain rod actually sit? Starting with accurate measurements helps you get this right.
First, grab your measuring tape and carefully measure your window frame from outside edge to outside edge—this gives you the true window width. Then decide how far beyond the frame you want the rod to extend, typically four to ten inches on each side, depending on your preference for light control and visual balance.
These measurements together determine your rod span, which must be greater than your window width by your chosen extension amount. Taking time here prevents costly mistakes later. Getting this foundation right sets up everything else for success.
Step 2: Decide How Far Beyond the Window Frame to Extend
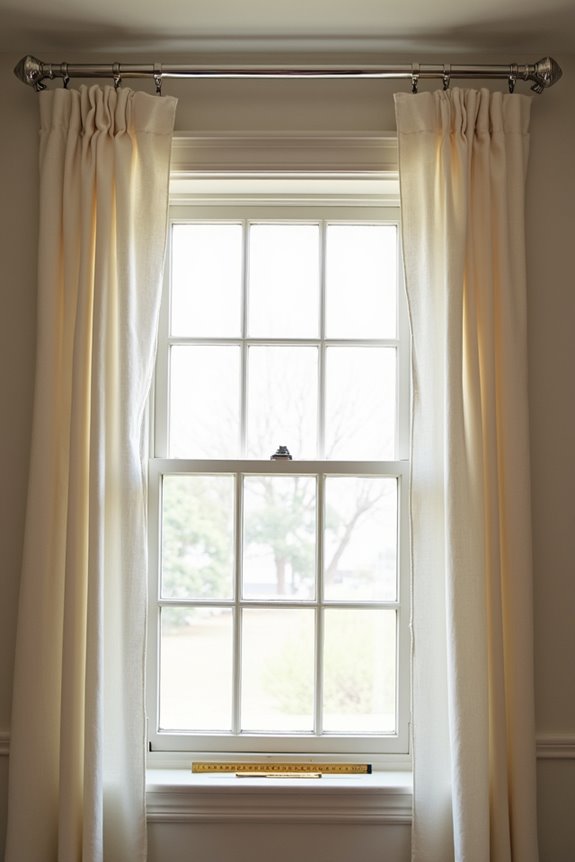
Now that you’ve measured your window, think about how far your rod should extend beyond the frame itself—this decision affects how your space feels. You’ll want to balance practical guidelines with your specific situation: the minimum is 4 inches per side, but I recommend aiming for 6–10 inches to keep your entire window visible and let maximum light flood in when the curtains open. The trick is considering your window’s size, because small windows typically need 8–12 inches of extension per side to avoid looking cramped, while larger windows can work beautifully with the standard 6–12 inch range, and you might even go beyond that depending on your wall space.
Minimum Extension Guidelines
How much space should you leave between your window frame and curtain rod? I’ve found that the extension beyond the frame dramatically impacts your overall panel width and room aesthetics. Here’s what I’ve learned:
- Minimum of 4 inches on each side keeps your curtains functional and respectable
- 6–10 inches creates the ideal sweet spot for most homes, offering balanced proportions
- Up to 12 inches works beautifully for larger windows, maximizing natural light and views
- Wider extensions deliver that noticeably open, polished look
When you extend your rod generously beyond the frame, you’re not just hanging fabric—you’re framing your windows like artwork. I typically lean toward the wider end when my space allows it.
Ideal Distance Recommendations
When you extend your curtain rod past the window frame, you create a noticeable difference in how your space functions. I recommend extending 4–10 inches on each side, with larger windows benefiting from extensions up to 12 inches total width.
Here’s why this matters: when you draw your curtains open, those extensions keep the entire glass visible, flooding your room with natural light. Your window suddenly looks wider and more expansive. For smaller windows, aim for 4–6 inches per side to maintain an airy feel without overwhelming the space.
The key is balancing your rod extensions with your curtain fullness and panel width. Push too far, and you crowd everything. Get it right, and you’ve created a frame that makes your entire wall feel deliberate and polished.
Window Size Considerations
Once you’ve measured your window, you’ll face the next important decision: just how far should your rod actually extend?
The distance beyond your window frame significantly affects the overall look. Here’s what works best:
- Small windows: Extend 8–12 inches on each side to create visual balance
- Large windows: Push 8–12 inches beyond the frame, maximizing that open, airy feeling
- General guideline: Aim for 6–10 inches minimum, reaching 12 inches when space allows
- Practical benefit: Extended curtain rods let fabric rest on walls, not glass, preventing light blockage
When you extend your curtain rods generously, you’ll notice how much brighter your rooms feel. The window appears larger, and you’re not sacrificing natural light. Those extra inches do matter for creating the welcoming space you’re after.
Step 3: Choose Your Panel Configuration and Fullness Multiplier
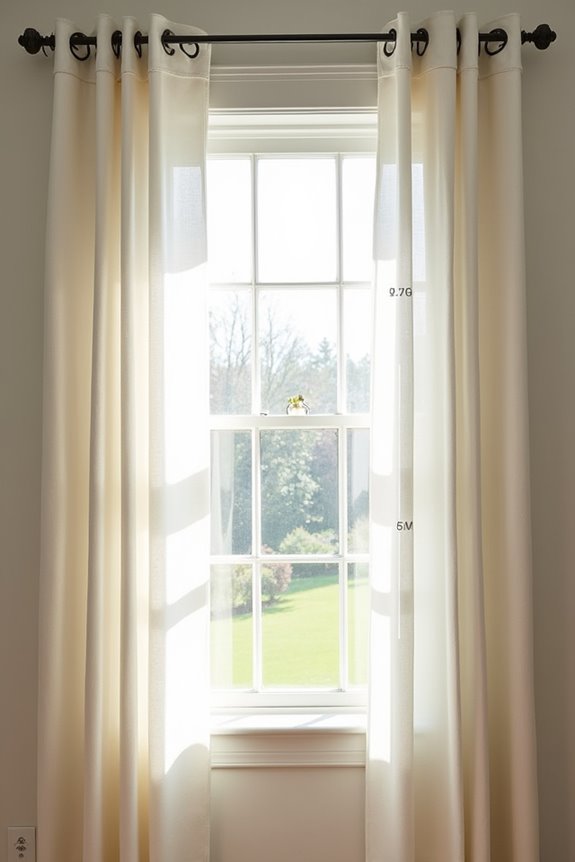
Now comes the practical part—you’ll decide whether you want one panel sweeping across your window or a pair that meets in the middle, because this choice fundamentally changes how you’ll calculate your rod width. Each configuration pairs with a fullness multiplier (standard 2x, deluxe 2.5x, or ultra-full 3x) that determines how much fabric you’ll need, and I’ll show you exactly how to work these numbers based on your heading style. Whether you’re going pleated, soft top, or grommet, the formula shifts slightly, so understanding this step means you’ll nail your measurements before you ever order fabric.
Single Panel vs Split Panels
How do you decide whether one sweeping panel or two balanced panels will best frame your window?
Your choice depends on your opening’s width and your style preferences. Here’s what to consider:
- Single panels work well for narrow windows, creating drama with one continuous sweep of fabric
- Split panels balance wider openings, allowing each curtain panel to stack evenly on both sides
- Panel quantity affects how fullness multipliers work—more panels mean you distribute fabric more strategically
- Your lifestyle matters too; split panels let you open one side partially without compromising fullness
When selecting curtain panels, think about whether you want theatrical elegance or functional symmetry. Wider windows almost always benefit from split panels because they maintain proper drape across the entire span. This balance keeps your space feeling organized and well-planned.
Fullness Multiplier Standards
What makes curtains look like they genuinely belong in your home rather than appearing sparse or limp? It comes down to understanding your fullness multiplier—the number that determines how much fabric you need for your panels.
Here’s my approach: I multiply my window width by the fullness multiplier to calculate my curtain width. Standard fullness uses a 2x multiplier, deluxe calls for 2.5x, and ultra-fullness demands 3x. For pleated headings, this choice affects how many panels you’ll need.
I’ve found that Soft Top and Grommet headings default to 100% fullness, but I recommend aiming for 160–200% for that welcoming drape. Since fabric gathers naturally when hung, I plan my width with this in mind. Finding your ideal fullness multiplier keeps your curtains looking deliberate and well-considered.
Width Calculation by Style
Once you’ve settled on your fullness multiplier, you’re ready to figure out exactly how wide each panel needs to be—and that’s where your panel configuration comes into play.
Your window’s appearance depends on this width calculation. Here’s how to approach it:
- Pleated heading style: Divide your rod length by the number of panels
- Soft top heading style: Multiply your rod length by 200% fullness, then divide by panels
- Grommet heading style: Use the same formula as soft top—rod length times 200%, divided by panels
- Split panel configuration: Consider whether one or two panels will frame your window best
Step 4: Calculate Total Rod Length for Your Setup
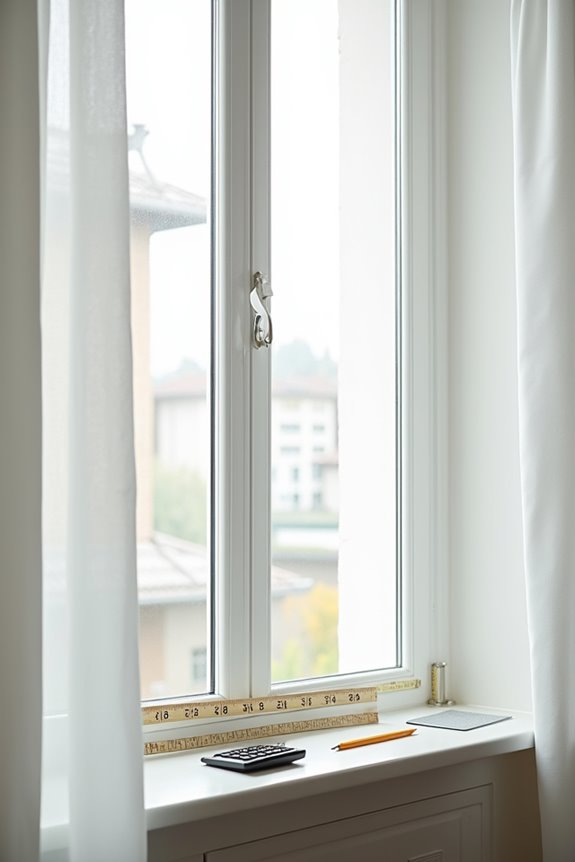
Now comes the math part—and I promise it’s straightforward.
To find your rod length, I start by deciding how much fabric fullness I want, then work backward from there. Here’s what I’m calculating: the window width multiplied by my chosen fullness ratio, plus the extension beyond each side.
| Fullness Level | Multiplier | Best For | Rod Extension |
|---|---|---|---|
| Standard | 1.5–2× | Most homes | 4–6 inches each side |
| Deluxe | 2.5× | Dramatic look | 6–10 inches each side |
| Minimal | 1.25× | Small spaces | 2–4 inches each side |
| Maximum | 3× | Statement pieces | 8–10 inches each side |
I account for hardware thickness and any center brackets my setup requires. This allows my curtain panels to hang well while maximizing the visible window opening I’m after.
Step 5: Determine Panel Width Based on Your Heading Style
Your heading style—the way fabric attaches to the rod—fundamentally changes how I calculate each panel’s width, and this is where your curtains either hang beautifully or feel disappointingly skimpy.
Your heading style fundamentally changes panel width calculations—the difference between beautiful curtains and disappointing skimpiness.
I’ve learned that different styles demand different formulas:
- Pleated heading: I divide the rod length by my panel quantity, keeping calculations straightforward since pleats naturally control fullness
- Soft top heading: I multiply the rod length by 200% fullness, then divide by panel quantity, accounting for gentle gathering
- Grommet heading: I use the same 200% fullness formula as soft top, since grommets need fabric movement for that relaxed drape
- Panel quantity matters: More panels mean narrower individual widths, while fewer panels require wider per-panel measurements
This step directly influences whether your finished curtains look professionally tailored or homemade. Respecting these calculations affects your entire window presentation.
Step 6: Match Your Calculated Width to Standard Panel Sizes
After you’ve figured out your panel widths based on your heading style, the real work begins—matching those numbers to what’s actually available. Standard panels typically come in widths like 24″, 28″, 36″, 40″, and 50″, so round up to the next full size to guarantee complete coverage and proper fullness.
Get practical with your numbers: if your calculations show you need 65″ per panel, choose the 72″ or larger option rather than settling for less. This keeps your curtains hanging well with the gathered effect you want. Two panels combined typically deliver 100–120″ of finished width, which works for most windows. Choosing the generous option gives you better results.
Step 7: Confirm Curtain Length Preference and Final Measurements
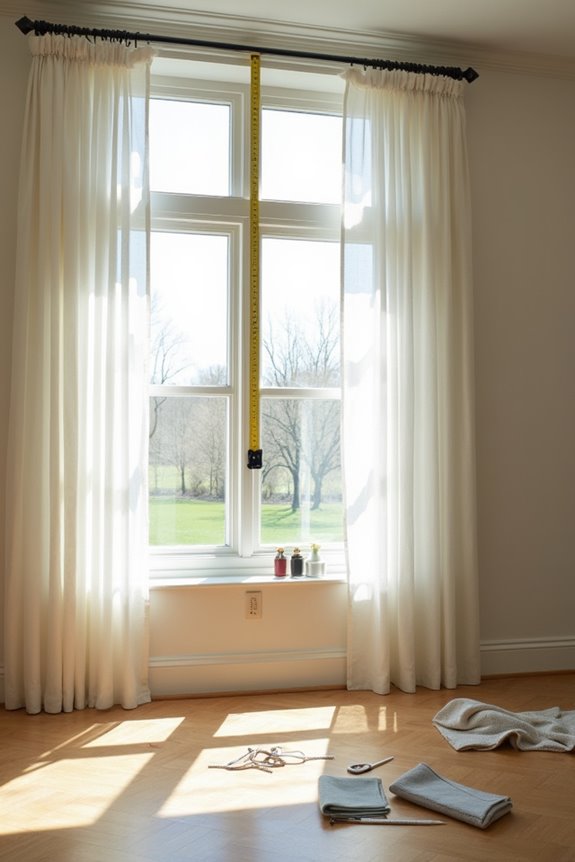
How do you want your curtains to kiss the floor—or should they float just above it?
Nailing your length preference affects the overall look. Here’s what I consider when finalizing measurements:
- 1 inch above floor: Creates a clean, modern aesthetic that prevents dragging
- Break on floor: Allows fabric to gently rest, offering traditional elegance
- Slight puddle: Brings luxurious drama, though requires more maintenance
- Rod placement matters: Mounting higher elongates your window visually
Once you’ve decided your preferred style, I measure from my rod down to where I want the curtain to end. This measurement becomes my finished length. Rod height directly influences how your window appears proportioned, so I always double-check before ordering panels. Getting this right keeps your investment looking intentional and polished.