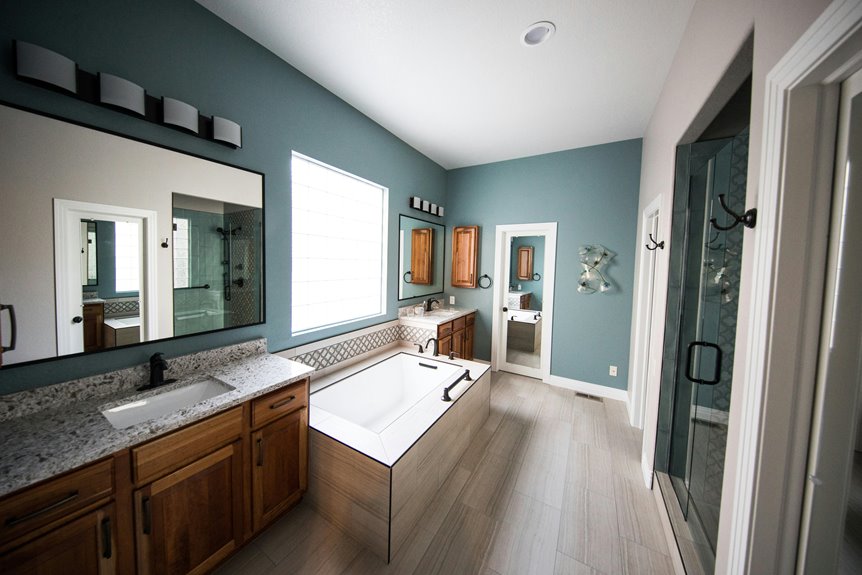
A bathroom remodel typically takes three to eight weeks, depending on scope. You’ll start with planning and design (1–3 weeks), then permits (1–2 weeks), demolition (2–5 days), rough-in work like plumbing and electrical (1–2 weeks), and finally tile installation with fixtures (2–3 weeks). Your timeline hinges on decisions you make upfront—locking in designs before demolition starts, ordering materials early, and hiring coordinated contractors who handle everything together. Understanding each phase helps you sidestep the delays that blindside most homeowners, and knowing what questions to ask your contractor beforehand keeps everything on track.
What’s the Average Timeline for a Bathroom Remodel?
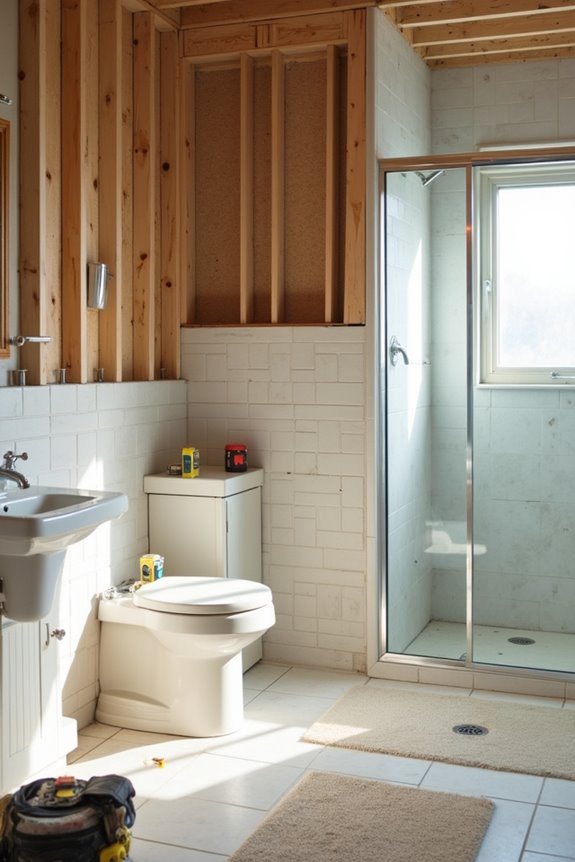
How long you’ll actually be without a functioning bathroom might surprise you—most small to medium remodels wrap up in 2 to 6 weeks, though luxury projects and complex overhauls can stretch past two months. I’ve found that understanding your bathroom remodel timeline depends on what you’re tackling. DIY projects typically run 2–3 weeks, while professional crews often finish small baths in just 1–2 weeks. Full-scale remodels usually take 3–4 weeks for construction stages alone.
Here’s what really matters: planning and permits can add days or weeks before anyone touches a hammer. Material availability, labor scheduling, and inspection delays all influence your timeline. Simple pull-and-replace updates land on the shorter end—around 2–4 weeks—while comprehensive renovations demand more time. Knowing these construction stages helps you prepare mentally and practically.
Planning & Design: Setting the Foundation (1–3 Weeks)
Why do so many bathroom remodels derail before the first tile gets removed? Poor planning. I’ve learned that investing 1–3 weeks upfront in design saves months of headaches later. Here’s what I prioritize during this critical phase:
- Establish your budget and allocate contingencies for unexpected surprises
- Create 3D renderings or sketches to visualize layouts before demolition
- Select durable, moisture-resistant materials that work together cohesively
- Make final design decisions that directly influence your entire timeline
- Document your vision so contractors understand your expectations
When I nail down these details early, my construction schedule becomes realistic, not optimistic. Your design choices cascade through every subsequent task, making this foundation phase genuinely make-or-break for staying on track.
Permits & Scheduling Your Bathroom Remodel (1–2 Weeks)
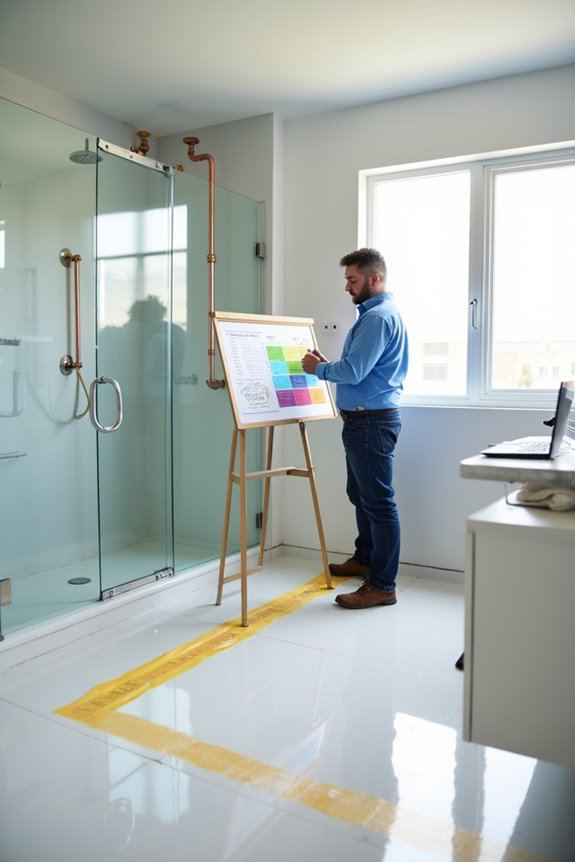
Once your design’s locked in, here’s where permits and scheduling become your next critical checkpoint—and honestly, they’re the unglamorous gatekeepers between your vision and actual construction. Most municipalities require permits for structural or plumbing work, which typically takes one to two weeks depending on your area and project scope.
I recommend having your contractor handle permit acquisition; they’ll navigate the bureaucratic maze while you focus on other details. Board approvals move faster for standalone bathrooms than shared-wall situations, so timeline expectations vary. Coordinate your scheduling around material lead times and inspection windows to prevent frustrating delays. Yes, permits feel like red tape, but they’re protecting both you and your home’s integrity. Consider this phase your project’s official green light.
Demolition: Clearing the Old Bathroom (2–5 Days)
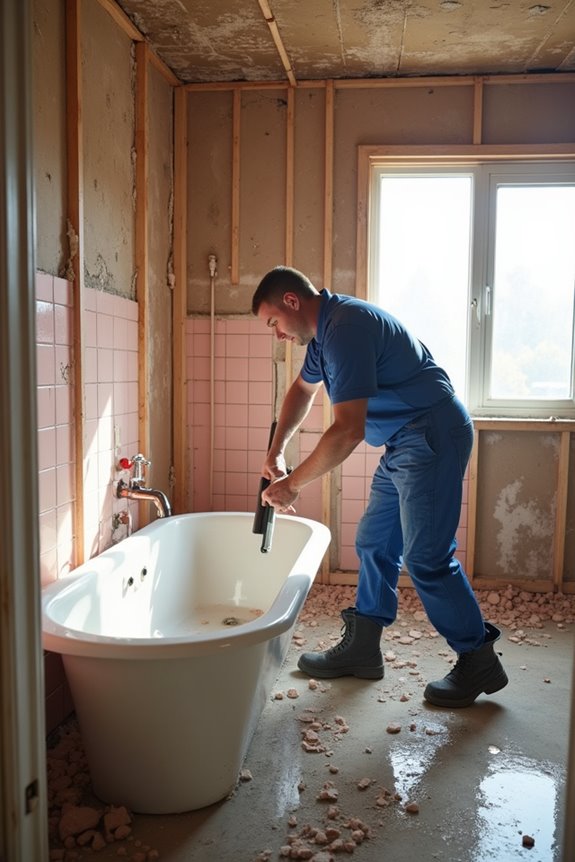
Once permits are locked in, I’ll walk you through what happens when the actual work begins: removing your old fixtures and debris, protecting the walls and floors that’ll stay put, and getting those surfaces ready for the new construction ahead. You’d be surprised how much stuff comes out of a bathroom—old tiles, vanities, pipes, and waste that needs proper disposal—and that’s where most of the 2–5 day timeline goes. I’ll show you why careful site protection matters here, since one stray hammer swing into drywall can turn a quick demolition into weeks of repairs you didn’t plan for.
Removing Fixtures and Debris
How soon can you reclaim your bathroom from its old fixtures and debris? I’ve found that removing fixtures and debris is where your demolition truly takes shape, typically spanning two to five days depending on what you’re working with.
Here’s what I tackle during this phase:
- Disconnecting and hauling out the old toilet, sink, and vanity
- Removing shower doors, tubs, and tile surfaces carefully
- Stripping away cabinets and shelving units
- Disposing of all waste through organized debris removal
- Protecting surrounding areas from dust and debris spread
I establish waste disposal systems right away because containing the chaos makes everything smoother. When I uncover hidden issues—water damage, corroded pipes, or structural problems—I adjust my timeline accordingly. This demolition stage creates that clean workspace where real transformation begins, and honestly, there’s something satisfying about clearing away the old to make room for what’s next.
Protecting Surrounding Areas
While the sledgehammers are swinging and dust is flying everywhere, I’ve learned that protecting your home’s surrounding areas isn’t optional—it’s essential to keeping your sanity (and your homeowner’s insurance claim). During demolition, we set up plastic sheeting and seal doorways to contain dust and debris within the bathroom zone. I’ve watched how effective jobsite protection keeps that fine powder from coating my living room furniture and settling into every crevice. Strategic dust containment saves countless hours of cleanup and protects air quality throughout your home. We’ll also lay down plywood on floors, tape off vents, and cover anything valuable nearby. This preparatory step feels tedious, but it’s genuinely the difference between a manageable remodel and a dusty nightmare that follows you for months.
Preparing Surfaces for Construction
When the sledgehammer finally comes down—and I mean that literally—you’re entering the most visceral phase of your remodel, where your old bathroom transforms from a functional space into raw potential.
During demolition (2–5 days), you’re clearing away everything that’ll stand between you and your dream bathroom. Here’s what this phase looks like:
- Removing old fixtures, tiles, and cabinetry
- Stripping walls and flooring to bare surfaces
- Hauling away debris responsibly
- Installing site protection to contain dust
- Creating a clean workspace for rough-in work
This demolition work reveals hidden issues—water damage, structural concerns—that need addressing before rough-in crews arrive within 1–2 days to install plumbing, electrical, and framing. Proper site protection minimizes disruption to adjacent areas, keeping your household functioning during this transformative stage.
Rough-In Work: Plumbing, Electrical & Framing (1–2 Weeks)
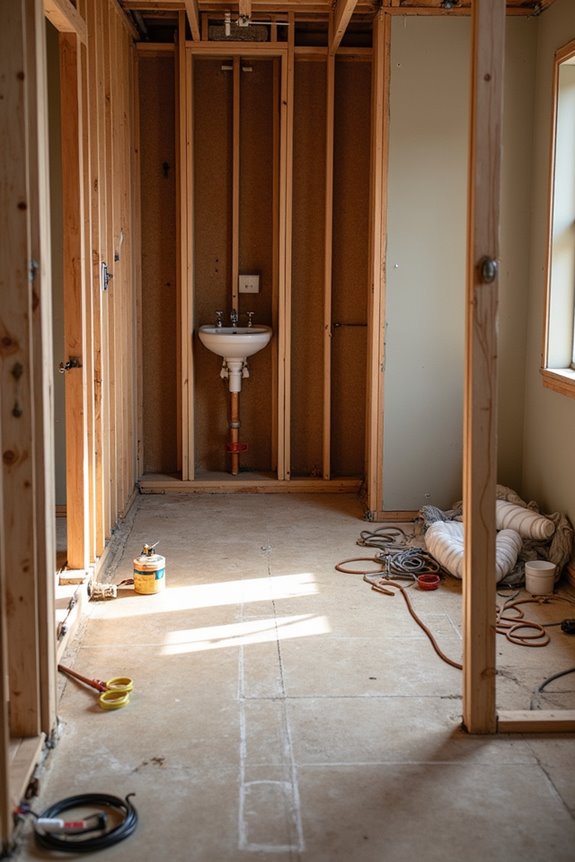
Once your bathroom’s walls come down and the dust settles, the real bones of your project take shape during rough-in work—that crucial 1–2 week phase where plumbing, electrical, and framing all happen simultaneously. I find this stage absolutely vital because it’s where your vision becomes structurally possible. Your plumber reroutes pipes and preps fixture connections in just 1–2 days, while your electrician handles wiring, boxes, and outlet placements in a similar timeframe. Any framing adjustments get completed here too. Here’s what I’ve learned: inspections typically occur during rough-in, and scheduling or corrections can add time. It’s temporary chaos, but it’s necessary. Once these systems are roughed-in and inspected, your finishes can finally begin taking shape.
Waterproofing & Shower Pan Installation (3–5 Days)
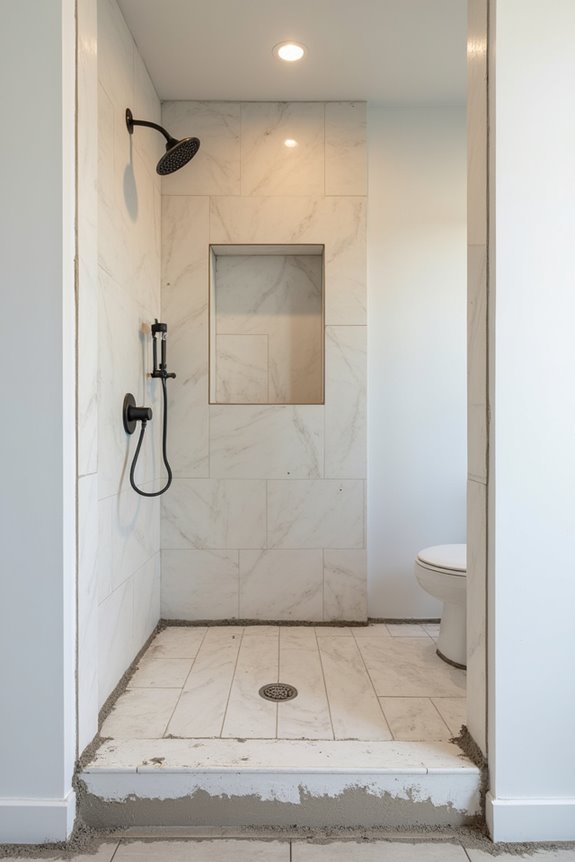
After your plumbing and electrical rough-ins pass inspection, it’s time to tackle one of the most critical—and honestly, most overlooked—phases of your bathroom remodel: waterproofing and shower pan installation. This 3–5 day process protects your entire floor structure from moisture damage.
Waterproofing and shower pan installation is critical—and often overlooked—in protecting your bathroom’s floor structure from moisture damage.
Here’s what happens during this phase:
- Installing waterproofing membranes around your shower enclosure
- Setting the shower pan with proper slope for drainage
- Ensuring a perfectly flat subfloor
- Sealing all vulnerable areas against water penetration
- Scheduling inspection and leak testing
I’ve learned that getting this right saves you from costly repairs down the road. An inspector will fill your pan with water, checking for leaks and proper drainage. Delays typically happen when we’re perfecting subfloor flatness or matching your waterproofing system. Trust me—this patience pays off.
Drywall Repair & Final Wall Prep (2–3 Days)
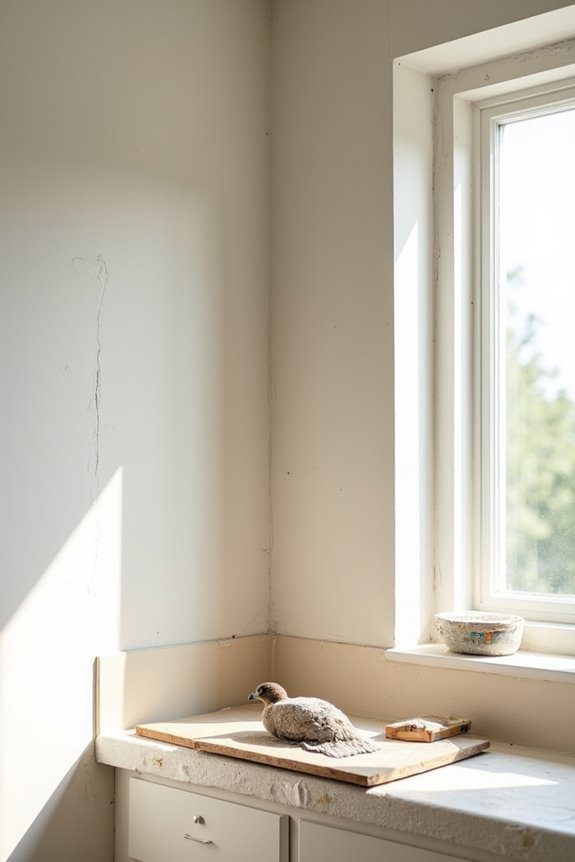
How much of your walls actually need patching? I’ve found that drywall repair depends entirely on what happened behind those walls. If your plumbing and electrical changes were extensive, you’re looking at more patching work. This phase typically takes 2–3 days during Week 2, though I’ve seen timelines stretch when repairs demand extra attention.
| Repair Extent | Timeline Impact |
|---|---|
| Minor patches | Minimal delay |
| Moderate damage | 1–2 extra days |
| Extensive work | 3+ extra days |
Wall prep isn’t technically demanding, but it’s genuinely time-consuming. I carefully sand, fill, and seal everything to ensure a flawless finish. Getting this right means your final paint and tile work’ll look professional. It’s the unglamorous work that makes everything else shine.
Tile Installation: Floors, Showers & Countertops (5–7 Days)
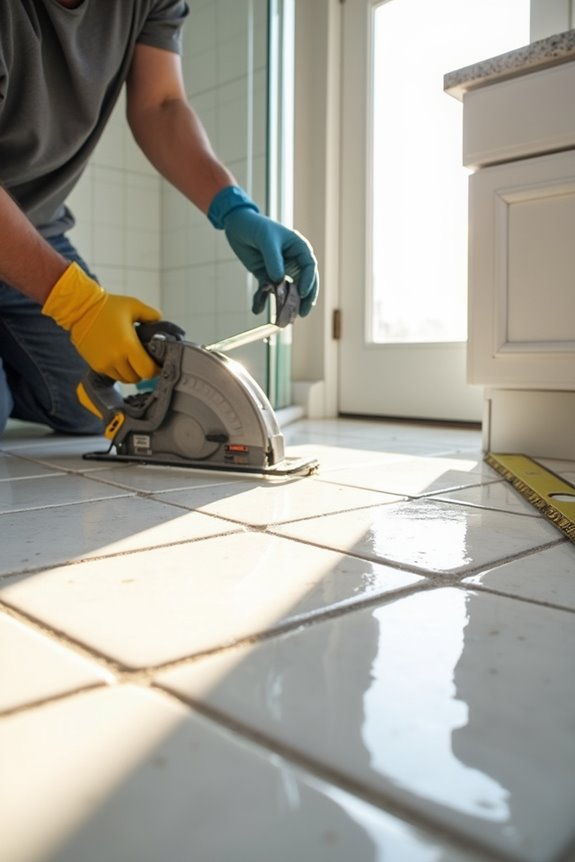
I’ve found that tile installation—the phase where your bathroom truly transforms—hinges on three critical factors that I’ll walk you through: the size of your tiles, the layers of substrate and mortar underneath, and the inspection that ensures everything’s done right. Smaller tiles demand more cuts and precise layout work, stretching your timeline, while larger format tiles move faster; meanwhile, that foundation of backing substrate, mortar, and grout must be applied in the correct sequence to create a durable, waterproof finish that’ll last decades. You’ll want to understand how these elements interact, because rushing through any of them can compromise your shower’s waterproofing or leave your floors uneven and prone to cracking down the road.
Tile Size and Installation Time
When you’re picking out tiles for your bathroom remodel, you’re actually making a decision that’ll ripple through your entire project timeline—and I learned this the hard way. Here’s what I discovered about how tile size affects your installation timeline:
- Smaller tiles demand more cuts and create countless grout lines requiring individual attention
- Larger format tiles cover ground faster, reducing your overall tile installation time significantly
- Intricate patterns with mixed sizes extend your timeline into weeks three or four
- Dry lay testing prevents costly mistakes and actually saves time during permanent setting
- Substrate preparation matters equally, since uneven foundations slow everything down
I realized that choosing larger tiles for my shower walls cut my installation timeline by nearly two days. Your tile size decision directly influences whether you’re finishing tile work by day seven or pushing into the following week.
Substrate, Mortar, and Grout Layers
Once you’ve settled on your tile size and laid out your design, the real groundwork begins—literally. I’ve learned that a solid substrate forms your foundation—it’s what keeps everything stable and level for years ahead. Then comes the mortar, that essential bonding layer I mix carefully and apply with my trowel, ensuring every tile sits snug and secure. The grout comes last, sealing those joints and bringing your design to life with color and finish. Here’s the thing: grout needs proper curing time before you use your new surfaces, or you’ll risk cracking and moisture problems later. This entire phase typically takes five to seven days, and honestly, that patience pays off. You’re investing in durability when you respect each layer’s purpose.
Inspection and Quality Verification
How do you know your tile work’s actually done right? I’ve learned that inspections during this phase are absolutely essential, catching problems before they become expensive headaches.
I verify several critical elements:
- Shower pan setup sits perfectly level, preventing water pooling
- Waterproofing membranes pass integrity tests with no breaches detected
- Tile adhesion holds firmly across all surfaces without hollow spots
- Grout lines maintain uniform width and consistent color throughout
- Fixtures align with tiled surfaces, creating polished transitions
After water testing, I check thoroughly for leaks around corners and seams. These inspections protect your investment by ensuring long-term durability. When everything checks out—when that tile feels solid beneath my fingers and water runs exactly where it should—I know we’re ready moving forward. This attention to detail transforms a simple tile job into craftsmanship you’ll appreciate for years.
Fixture Installation & Vanity Setup (2–3 Days)
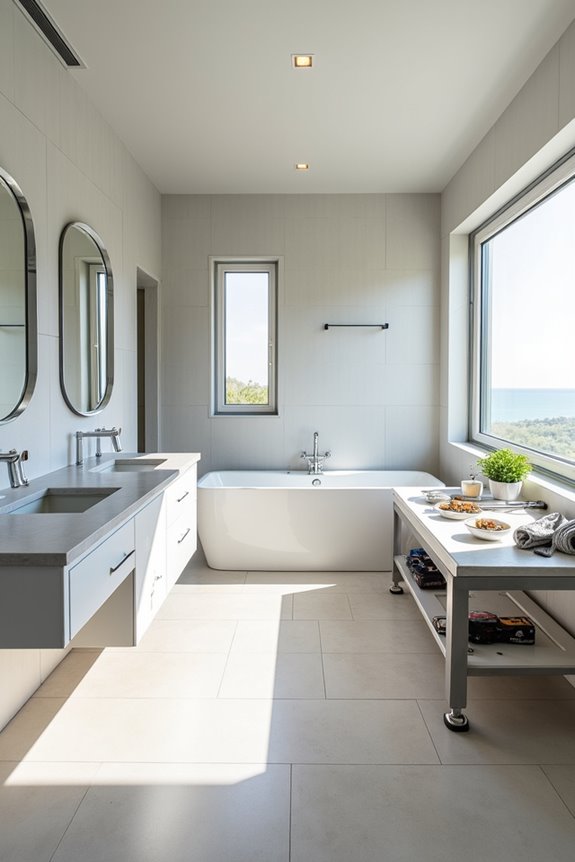
By this point in your remodel, you’re finally getting to install the pieces that’ll actually make your bathroom functional—and I’ll be honest, this is where the space starts feeling real. During your fixture installation and vanity setup phase, you’ll tackle sinks, toilets, faucets, and hardware over 1–2 days, with finishing touches happening simultaneously.
| Task | Duration | Priority |
|---|---|---|
| Fixture mounting | 1 day | High |
| Vanity setup | 1–2 days | High |
| Leak testing | Several hours | Critical |
After installation, I recommend checking for leaks and proper water flow before finalizing connections. Sequencing matters here—install fixtures after flooring and wall finishes to ensure clean connections. Your bathroom remodel timeline accelerates now as vanity doors, hardware, and plumbing align into one cohesive space.
Final Finishes & Electrical Hookups (1–2 Days)
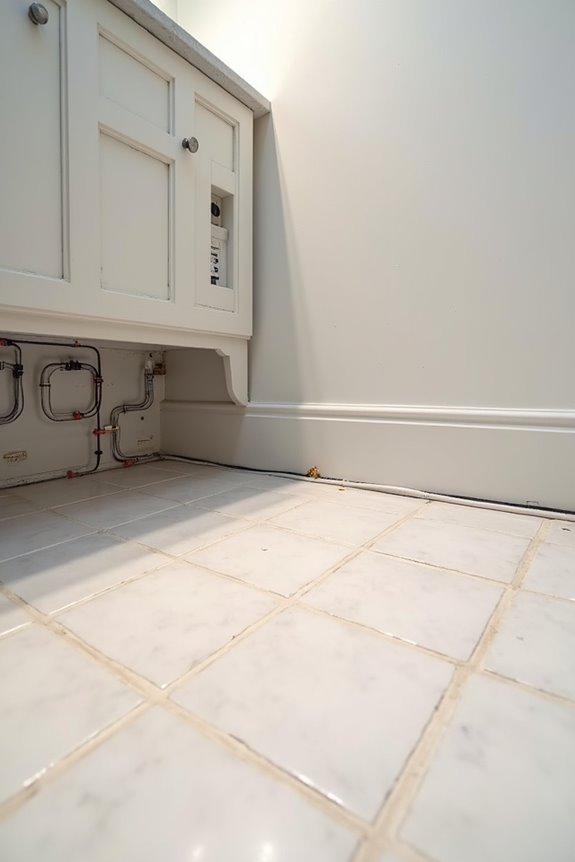
You’re in the home stretch now, where your bathroom transforms from a construction zone into an actual space you’d want to spend time in. Week 4 brings the final finishes and electrical hookups that make everything feel real.
During these 1–2 days, I’m watching my contractor tackle:
- Installing trim carpentry around doorways and baseboards
- Applying final surface painting to walls and ceilings
- Hooking up all electrical outlets and light fixtures
- Installing sinks, toilets, and faucets with precision
- Running leak checks before calling it complete
Your contractor will also create a punch list, documenting any small adjustments needed. I find this phase energizing because I can finally picture myself using this space. Once everything checks out and final payment’s made, you’re genuinely done.
How Bathroom Size Affects Your Timeline
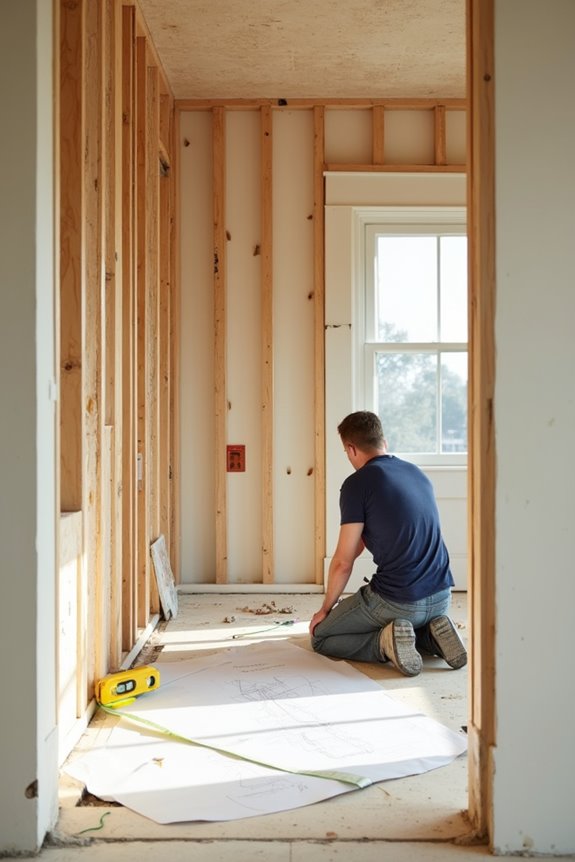
Now that I’ve walked you through those final touches, there’s something I wish I’d understood better before starting my own remodel: the bathroom’s footprint determines almost everything about your project schedule.
I learned that small bathrooms typically wrap up in 2 to 3 weeks, while medium to large spaces need 4 to 6 weeks. The timeline scales dramatically with bathroom size—it’s not just about square footage, though. Complex layouts, custom fixtures, and extensive tiling add weeks to your project duration. I discovered that luxury renovations can stretch beyond 2 months.
Understanding your bathroom size upfront helped me set realistic expectations. Whether you’re tackling a cozy powder room or a sprawling master bath, knowing how size impacts your timeline lets you plan confidently and avoid surprises.
What Delays Bathroom Remodels Most Often?
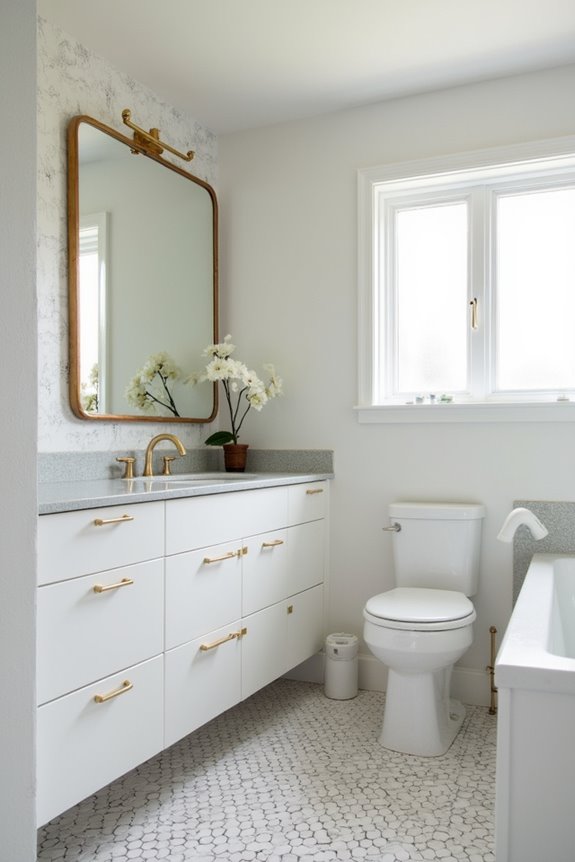
What I didn’t anticipate during my own remodel was how many invisible obstacles could derail even the best-laid plans.
I learned quickly that delays aren’t always about workers or weather. They’re about the hidden roadblocks that sneak up on you:
- Permits that take 1–3 days longer than expected
- Backordered materials like custom vanities sitting in warehouses
- Unexpected plumbing or electrical issues hiding behind walls
- Inspections scheduled weeks out, not days
- Change orders that ripple through your entire timeline
When my tile arrived late and the city inspector couldn’t come for two weeks, I realized I wasn’t alone. These aren’t failures—they’re just part of the process. Building in a buffer week saved my sanity and my budget.
5 Ways to Speed Up Your Bathroom Remodel
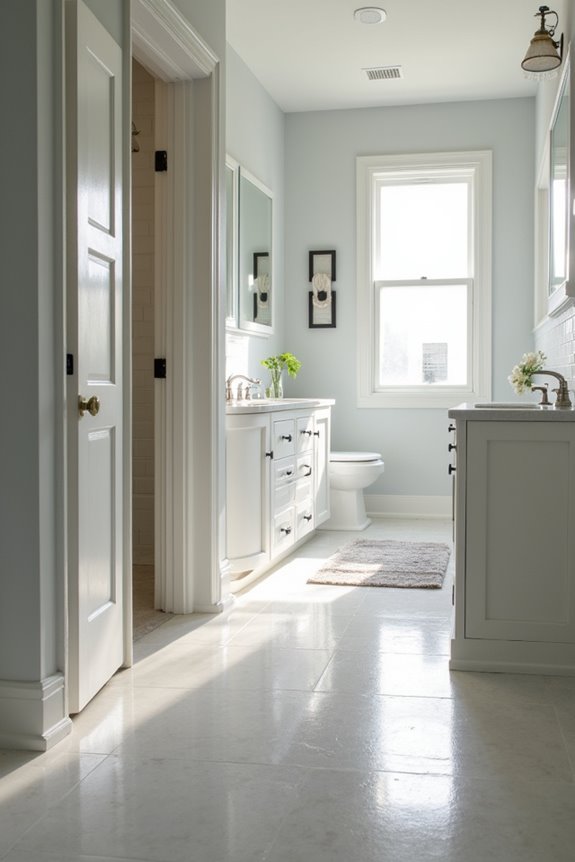
I’ve found that the fastest bathroom remodels share a common thread: they’re planned before the first nail gets hammered. By locking in your design decisions early, ordering materials upfront, and hiring contractor teams that actually communicate with each other, you’ll sidestep the delays that typically stretch projects weeks beyond their original timelines. Let me walk you through these three strategies that can genuinely shave days, if not weeks, off your remodel.
Finalize Design Decisions Early
When’s the best time to lock in your bathroom design? Right now, before demolition starts. I’ve learned that finalizing your design decisions upfront saves you from expensive change orders that can derail your schedule by 1–3 weeks.
Here’s what I recommend:
- Select your tile style and color before the crew arrives
- Choose vanities and fixtures to confirm sizing and plumbing placement
- Decide on lighting fixtures to plan electrical work accurately
- Pick paint colors and finishes for walls and trim
- Approve layout changes to avoid mid-project modifications
When you nail down these choices early, your contractor knows exactly what you want. You’ll avoid costly design changes, keep inspections moving smoothly, and actually stick to your timeline. Trust me, it’s worth the upfront thinking.
Order Materials In Advance
they’ll wreck your timeline faster than any other single factor. I’ve learned that ordering materials early—prioritizing in-stock items first—keeps your project moving. Before you order anything, coordinate with your contractor to confirm exact tile sizes, vanity dimensions, and fixture measurements. This prevents costly mistakes.
For custom pieces like vanities or shower enclosures, verify lead times immediately. Build a safety net by selecting backup options for critical materials like tile and countertops in case backorders happen. Then, strategically schedule your delivery scheduling to align with your installation week, minimizing clutter on site.
When you’re proactive about materials and delivery scheduling, you’re not just checking boxes—you’re joining a community of remodelers who actually finish on time.
Hire Coordinated Contractor Teams
Coordinated contractor teams are what separate bathroom remodels that finish on schedule from ones that drag on for months. I’ve learned that hiring an all-in-one service contractor eliminates the frustration of juggling multiple trades and schedules. Here’s what I look for:
- Pre-negotiated subcontractor crews working together smoothly
- In-house project management keeping everyone aligned
- A single, integrated project schedule everyone follows
- Daily or weekly site updates so I’m never left wondering
- One team handling permits and inspections to avoid separate delays
When your contractor has bathroom-specific sequencing experience—rough-in, waterproofing, tiling, fixture installs—they prevent costly backtracking. You’ll avoid change orders that derail timelines, and you’ll stay connected to real progress rather than guessing games.
Questions to Ask Your Contractor Before Starting
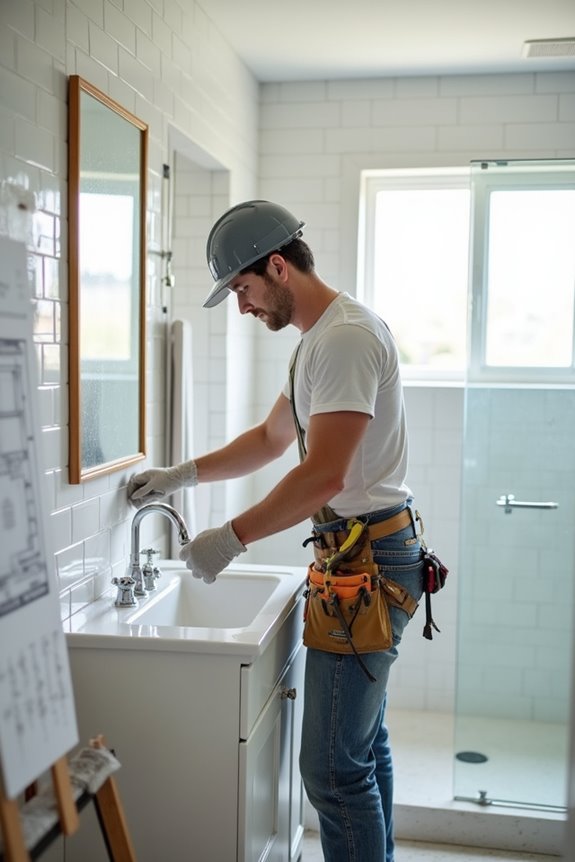
How much control do you really want over your bathroom remodel’s timeline? I’ve learned that asking the right questions upfront prevents headaches later. Request a detailed schedule breaking down planning, demolition, rough-in, tiling, and finishing phases—including realistic overlaps. Clarify whether permits and inspections fall on your contractor or you, since city approvals significantly impact scheduling. I always ask who handles plumbing, electrical, and carpentry work, and crucially, how they’re coordinated to avoid costly delays. Material lead times matter too; confirm whether your contractor stocks common options or faces backorder risks. Finally, understand their change order process, required buffers, and how punch list items get tracked after your final walkthrough. These conversations transform vague timelines into concrete commitments.