Yes, you can paint bathroom floor tiles, and it’s easier than you’d think. I’ll walk you through cleaning your tiles thoroughly with heavy-duty cleaner, sanding them with 120–220 grit sandpaper to help paint stick, then applying a bonding primer like STIX. After that, you’ll roll on your floor coating in thin coats, waiting between applications. The secret’s patience—full curing takes seven days with mild care only. If you stick with the process, you’ll discover how to keep that finish vibrant for years.
Gather Supplies and Clean Tile Floors
How ready are you to transform those tired bathroom tiles? I’ll start by gathering my supplies—Rust-Oleum HOME Floor Coating, a 3/8-inch nap roller, and an edge brush. These tools will be my trusty companions throughout this project.
Ready to transform tired bathroom tiles? Gather your Rust-Oleum Floor Coating, 3/8-inch nap roller, and edge brush—your trusty companions await.
Next comes the honest work: cleaning. I’m using a heavy-duty cleaner like Krud Kutter to tackle dirt, grease, and wax buildup. This thorough cleaning is crucial because it directly impacts adhesion—without it, my paint won’t stick properly.
I make sure everything’s completely dry before moving forward. Then I’ll lightly sand with 120–220 grit sandpaper to create that essential scuff for better adhesion, followed by another quick cleaning to remove dust.
This preparation phase feels tedious, but I know it’s the foundation for success.
Sand and Repair Grout Cracks
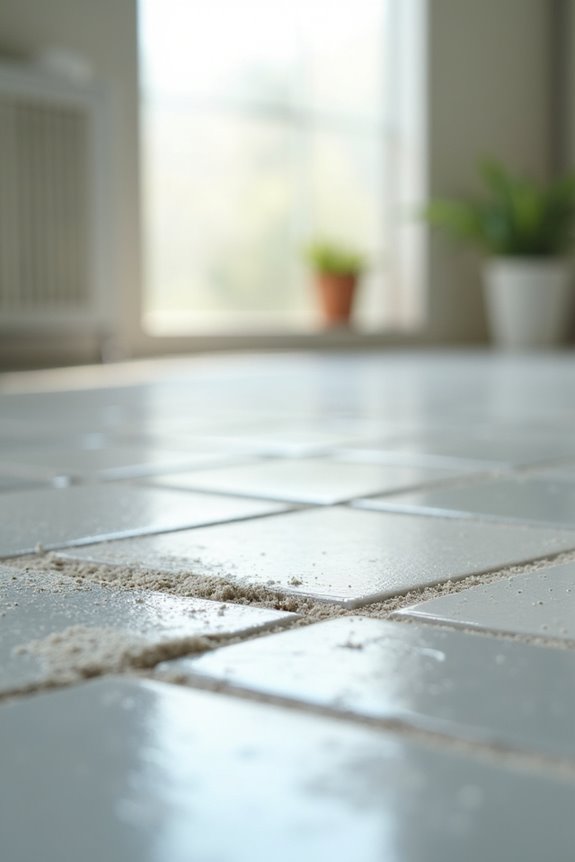
Now that your tiles are clean, I’ll tackle the surface prep work that’ll make all the difference in how your paint adheres. You’ll want to lightly sand the tile with 120–220 grit sandpaper to scuff that glossy glaze, and while you’re at it, fill any cracked grout lines with paintable caulk before smoothing them flush. If you spot seriously damaged grout or tiles, replacing them now saves you from paint peeling later—trust me, a little prep work upfront beats redoing the whole floor in six months.
Sanding Tile Surfaces
Before you can prime and paint your bathroom tiles, you’ll need to scuff up that glossy ceramic surface—and I won’t lie, this step feels a bit tedious, but it’s absolutely essential because smooth, shiny tile won’t accept primer or paint no matter how much you coax it.
I tackle tile prepping with a progressive sanding approach:
- Start with 80-grit sandpaper to rough up the glaze and break that slick finish
- Move to 120-grit for intermediate smoothing and improved adhesion
- Finish with 220-grit to create a polished, receptive surface
After sanding, I vacuum thoroughly, then re-clean everything with a damp cloth. This removes all dust and debris that could interfere with primer bonding. Trust me, this careful attention to sanding and adhesion makes all the difference in your final result.
Repairing Grout Damage
Once you’ve sanded everything smooth, you’ll likely spot the real culprits undermining your tile’s appearance: gaps, cracks, and missing grout that’ll totally sabotage your paint job if you leave them alone. I fill these problem areas with paintable caulk, which bonds better than traditional grout repair materials. I smooth everything level with the surrounding tile, letting it cure fully before moving forward.
| Damage Type | Solution | Drying Time |
|---|---|---|
| Missing grout lines | Paintable caulk | 24 hours |
| Small cracks | Caulk application | 12-24 hours |
| Cracked tiles | Replace or caulk | Varies |
After grout repair, I run an adhesion test on a small section, waiting twelve hours to verify the coating holds. This simple step prevents costly failures and gives me confidence moving into priming.
Select Primer and Paint Designed for Tile
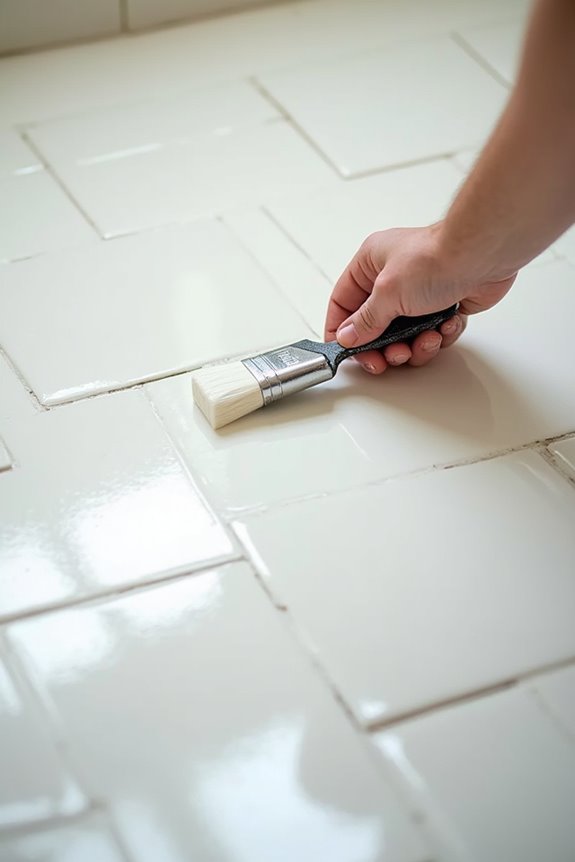
I’ve learned that regular wall paint won’t cut it on bathroom floors—you’ll need products specifically engineered for tile surfaces, which means choosing between a bonding primer like STIX and a floor-specific coating from brands like Rust-Oleum or BEHR that actually stick to glossy surfaces and withstand moisture and foot traffic. The primer you select matters just as much as the paint itself, since tile’s smooth finish essentially resists adhesion, and that’s where bonding primers shine by creating the grip your topcoat needs to last. When you invest in these specialized products rather than generic options, you’re naturally buying durability and performance that’ll keep your floors looking fresh for years, not months.
Floor Paint vs. Regular Paint
Why would you reach for regular interior paint when you’re standing in front of bathroom tiles that’ll see daily foot traffic, splashes, and the occasional cleaning mishap?
I’ll tell you—you shouldn’t. Here’s what I’ve learned matters:
- Floor paint resists wear – Products like Rust-Oleum HOME Floor Coating are formulated specifically for tile, protecting against stains and scratches regular paint can’t handle
- Bonding primer creates adhesion – I apply STIX before painting glossy surfaces, ensuring my color actually sticks instead of peeling away
- Drying intervals demand patience – I space multiple coats several hours apart, letting each layer cure properly
The difference? Floor paint gives you durability and longevity. Regular paint flakes and fails within months. Investing in tile-specific products means I’m protecting my bathroom and my effort. Trust me—this choice makes all the difference.
Primer Selection for Tile
How you prep your tiles matters more than the paint itself—and that prep starts with choosing the right primer. I’ve learned that a bonding primer like STIX makes all the difference, because it’s specifically designed for tile adhesion. You’ll want something labeled explicitly for tile surfaces, not just any primer gathering dust in the hardware store.
I apply the primer carefully with a brush along edges and grout lines, then switch to a dense foam roller for even coverage across the main area. The waiting part tests my patience, though—I give it a full 48 hours to cure. Before committing to the whole floor, I always test a small section with tape to confirm the primer actually sticks. It’s that moment of truth that saves headaches later.
Product Durability and Performance
Once that primer’s cured and you’ve confirmed it’s sticking, the real question becomes whether your paint choice can actually hold up in a bathroom’s damp environment. I’ve learned that selecting the right products makes all the difference between a refresh that lasts months or years.
Here’s what I consider essential:
- A bonding primer like STIX creates the foundation your paint needs to grip tile surfaces properly
- Tile-specific floor paint—whether epoxy or oil-based—delivers durability where standard paints fail in moisture-heavy spaces
- A moisture-resistant sealer applied in multiple coats protects your investment from bathroom humidity
Honestly, I’ve seen painted tiles last anywhere from six months to two years depending on traffic and care. That’s why I don’t skip the sealer step. It’s your bathroom’s best friend.
Apply Primer and Paint Coats
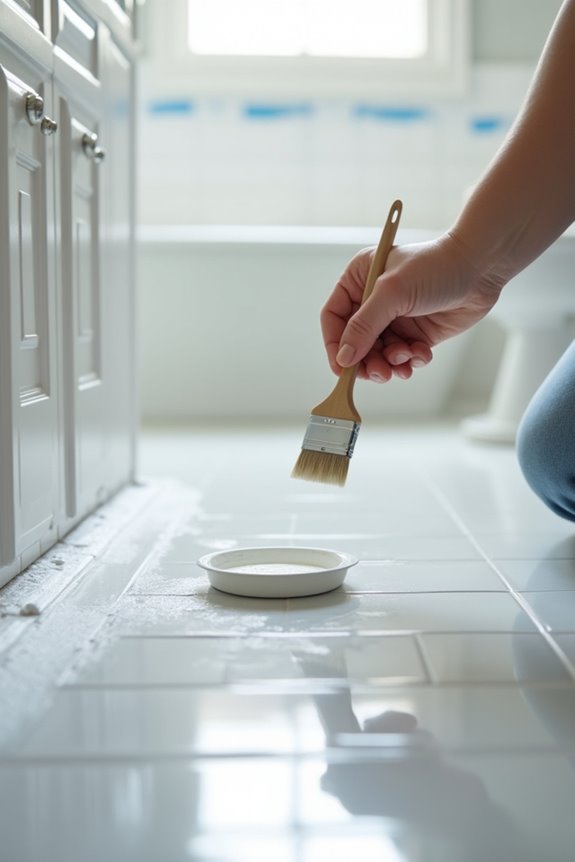
The primer stage is where your floor’s transformation truly begins, and I can’t stress enough how essential this step is to your project’s success. I use a bonding primer like STIX, applying it with a brush along the edges and grout lines, then switching to a dense foam roller for the main surface. This ensures complete coverage where it matters most.
After letting the primer cure for at least 48 hours—longer is genuinely better—I’m ready for the base coat. I work in manageable 4-ft by 4-ft sections using a 3/8-inch nap roller, maintaining a wet edge to avoid lap marks. I wait about 6 hours before applying the second coat of floor coating. This patience pays off, creating a foundation that’ll hold up beautifully.
Drying, Sealing, and Curing Timeline
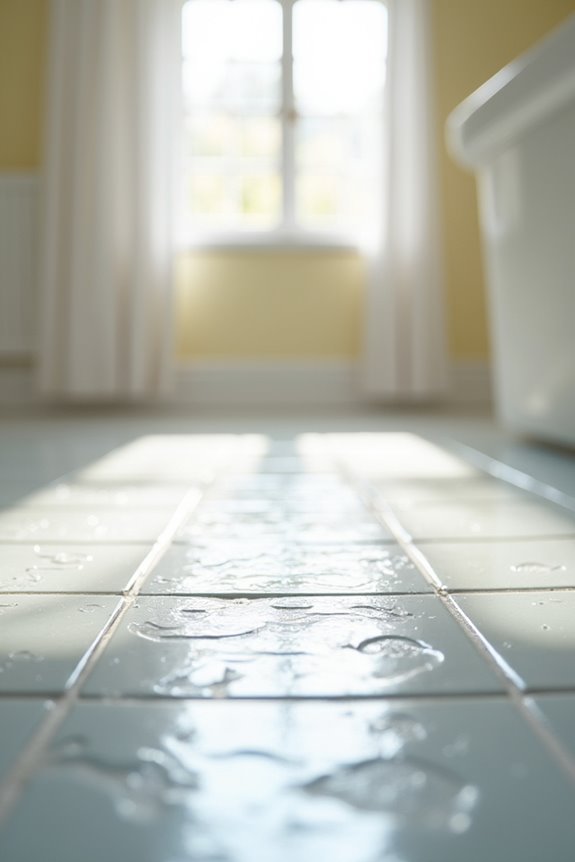
While your freshly painted floor looks fantastic, patience is where most people stumble—and honestly, it’s the hardest part of the whole project. I know you’re eager to use that bathroom, but here’s what I’ve learned matters most:
- Wait 24 hours minimum before walking on the top coat to avoid indentations or smudges
- Apply your final coat within 24 hours of the first top coat, then allow another 24 hours before light use
- Avoid heavy furniture for 72 hours to prevent shifting and paint damage
Full curing takes seven days, during which I skip harsh cleaners and excess moisture. Once that week passes, your floor’s genuinely tough. We’re building something that lasts, and that timeline’s your investment in durability. Trust the process—it’s worth every patient hour.
Long-Term Care for Painted Tile Floors
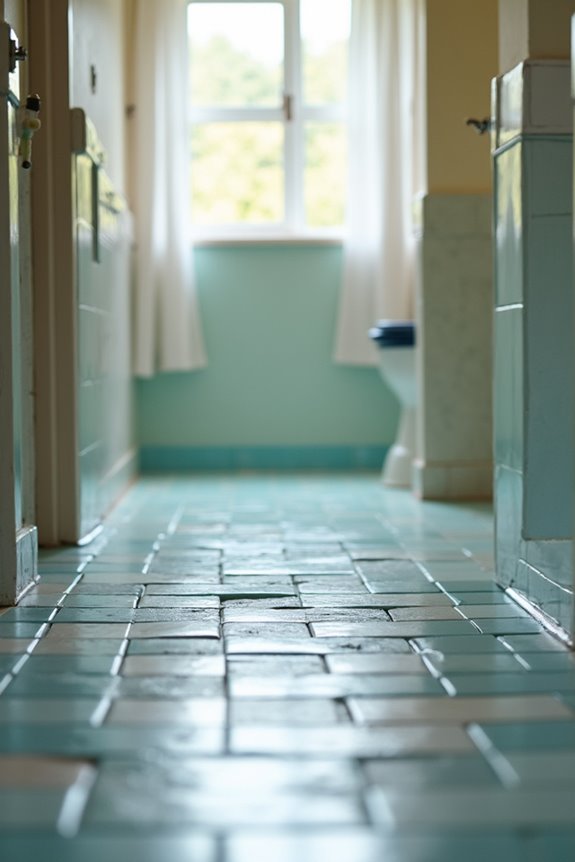
Your painted bathroom floor has survived the hardest part—those nail-biting cure days—but I’ll be honest: the real test starts now, when you’re actually living with it day after day. Here’s what I’ve learned: durability hinges on gentle, consistent care. During that critical 30-day cure time, use only mild soap and water, avoiding harsh cleaners that can compromise your sealing layers. After full cure, you’re safer, but still need restraint—think “respect the finish” rather than “scrub aggressively.” I clean mine weekly with a soft mop, and it’s held up beautifully. The sealing you applied earlier? That’s your floor’s bodyguard. Stick with non-abrasive methods, skip acidic cleaners, and you’ll find your painted tiles remain vibrant and protected for years.