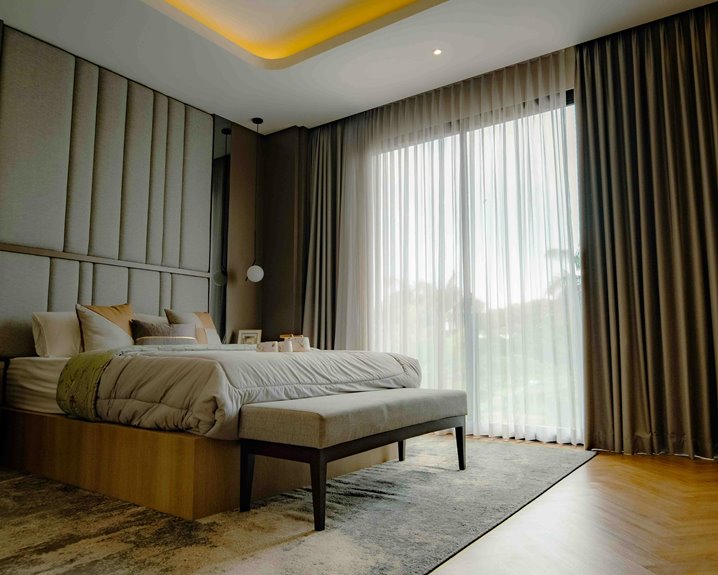
I’d start by placing your rod first—typically six inches past each window side—then measure your bare window width. Multiply that width by your fullness multiplier: 2x for standard curtains, 2.5x for elegant draping, or 3x for dramatic folds. Add extra inches for overlaps and returns to block light gaps. Your total fabric width divided by panel count gives you individual panel dimensions. Length depends on where you want them to end: sill, apron, floor, or pooled. Keep scrolling to discover which style works best for your space.
Choose Rod Placement Before Measuring Curtain Width and Length
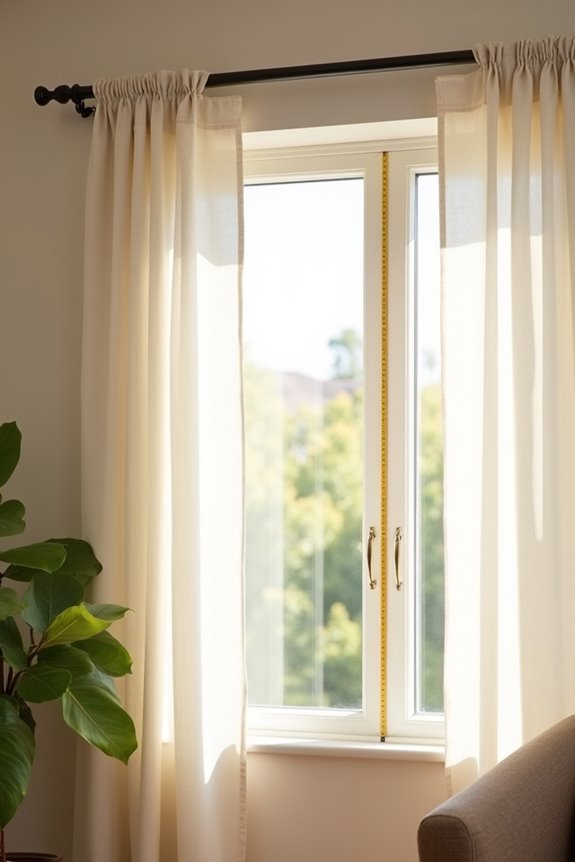
Have you ever hung curtains only to realize they don’t quite frame your window the way you’d hoped? I’ve learned that rod placement is the foundation for everything that follows. Before I measure curtain width or length, I determine exactly where my rod will go—typically extending about six inches past each side of the window frame. This simple decision transforms how my curtains hang and function.
When I’m treating multiple windows with a single rod, I measure the entire span across all windows rather than individual frames. This ensures my curtain width coordinates properly with my rod length. I aim for panels that are 1.5 to 2 times my rod length, creating that full, inviting look I want. Getting rod placement right first saves me from frustrating remeasurements later.
How the 2x Fullness Multiplier Works (and When to Use It)
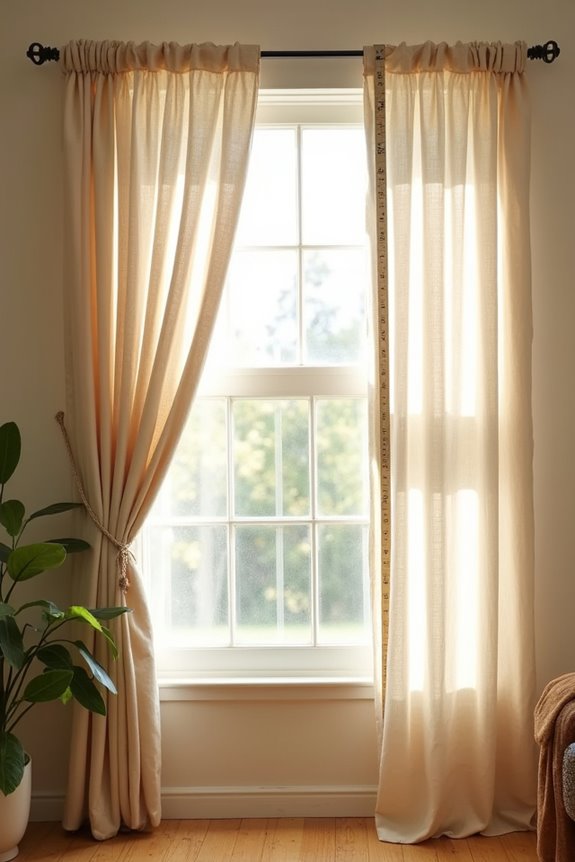
I’ve discovered that the 2x fullness multiplier is my go-to starting point for most curtain projects, and it’s simpler than you’d think—I just multiply my window width by two to get the total fabric width I need across all panels. This standard multiplier accounts for the natural gathers and folds that make curtains drape beautifully, plus any overlaps at the center or returns around the rod, so I’m never left with flat, disappointing fabric. Once I understand this basic calculation, I can decide whether I want to stick with this balanced fullness or explore richer, more dramatic options for different rooms.
Calculating Panel Width Requirements
Why does fabric seem to disappear when you hang curtains? The answer lies in understanding how fullness multipliers work. When I calculate panel width, I multiply my window width by my chosen fullness number. Here’s what this looks like in practice:
| Fullness Type | Multiplier | Example (48″ Window) |
|---|---|---|
| Standard | 2x | 96″ total width |
| Deluxe | 2.5x | 120″ total width |
| Ultra | 3x | 144″ total width |
With standard fullness, I’m aiming for that balanced, polished look most of us love. I divide my total width between two panels, so each hangs at roughly half that measurement. This generous fabric creates those beautiful, natural folds without overwhelming my space. I’ve found that understanding this ratio transforms my measuring process from guesswork into confident planning.
Fullness Application By Style
Now that you’ve calculated your total panel width, the real magic happens when you match that number to your specific curtain style. I’ve found that fullness transforms how your curtains drape and perform. Standard fullness uses a 2× multiplier—doubling your window width—and works beautifully for most rooms. If you’re choosing blackout or heavier fabrics, I recommend bumping up to 2.5× or 3× fullness, which creates deeper, more luxurious folds while improving light control. Lightweight sheers, conversely, work well with standard fullness since they naturally filter light gracefully. The width you ultimately select determines whether your panels hang sleek and modern or gather dramatically. Consider your room’s personality, then let your fabric choice guide your fullness decision.
Work Through a Real Example: 60-Inch Window Calculation
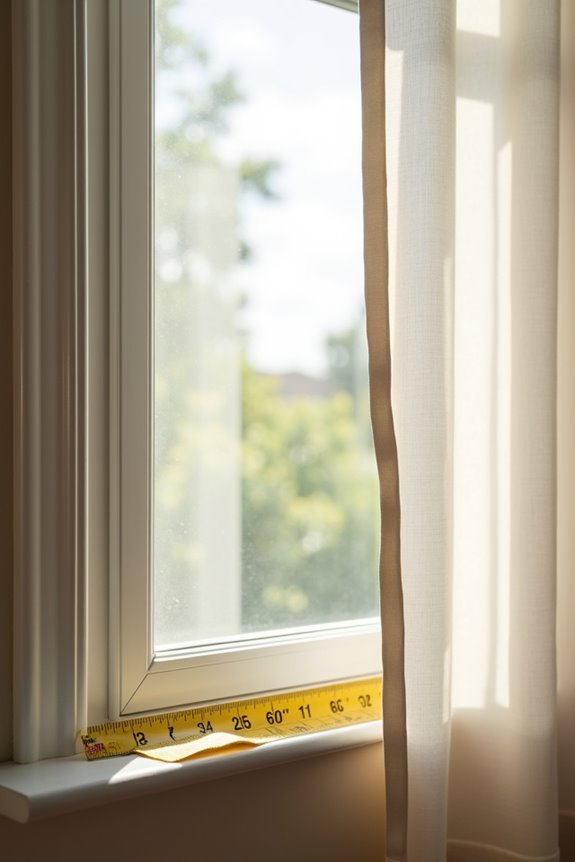
I’ll walk you through a practical 60-inch window example so you can see exactly how these calculations work in real life. You’ll discover how to find your total fabric width, break it down into individual panels, and then adjust everything based on the fullness multiplier that matches your style. By the end, you’ll have a concrete number to use when shopping for curtains or measuring fabric.
Calculating Total Fabric Width
How much fabric do you actually need when you’re staring at a 60-inch window and wondering if those curtains’ll drape beautifully or hang flat as cardboard?
Here’s where the math gets real. Standard fullness requires 2 to 2.5 times your rod width, meaning you’ll need roughly 120 to 150 inches of total fabric width for a panel pair. I’d measure your rod span—that’s your 60 inches—then add 4 to 8 inches on each side for proper coverage and overlap.
Using two 60-inch panels gives you about 120 inches combined, which creates that luxurious, gathered look you’re imagining. If you’re working with pinch-pleated drapes, remember they’ve got built-in fullness but might need extra width for balanced framing around your window.
Determining Individual Panel Size
So what’s the magic number for each individual panel when you’re working with that 60-inch window? I’ve found that aiming for roughly 48 to 60 inches per panel gives you solid flexibility. Here’s where it gets interesting: if you’re hanging two panels, each one should contribute about 36 inches of effective coverage when accounting for overlaps and returns. That means you’re layering panels strategically rather than just tossing fabric over a rod. For proper fullness—that luxurious, gathered look we all want—I multiply by 2 to 2.5 times your window width. So your total curtain width becomes 120 to 150 inches across the span. It sounds like math, but honestly, choosing the right panel size transforms everything about how your window treatment looks and functions.
Adjusting For Fullness Multipliers
Now that you’ve got your individual panel sizes figured out, we’re ready to tackle the real game-changer: fullness multipliers. These multipliers transform your window width into the total fabric you’ll need, creating that luxurious, gathered look we all crave.
Here’s how I break it down for a 60-inch window:
- Standard fullness (2x): Multiply 60 inches by 2, giving you 120 inches total—a clean, classic appearance
- Deluxe fullness (2.5x): Multiply 60 inches by 2.5, yielding 150 inches for a richer, more sophisticated drape
- Ultra fullness (3x): Multiply 60 inches by 3, reaching 180 inches for dramatic, generous folds
Once you’ve chosen your fullness multiplier, divide that total by your panel count. This ensures every panel contributes perfectly to your desired look, whether you’re seeking understated elegance or bold drama.
Decide Your Curtain Length: How Room and Style Change Sizing
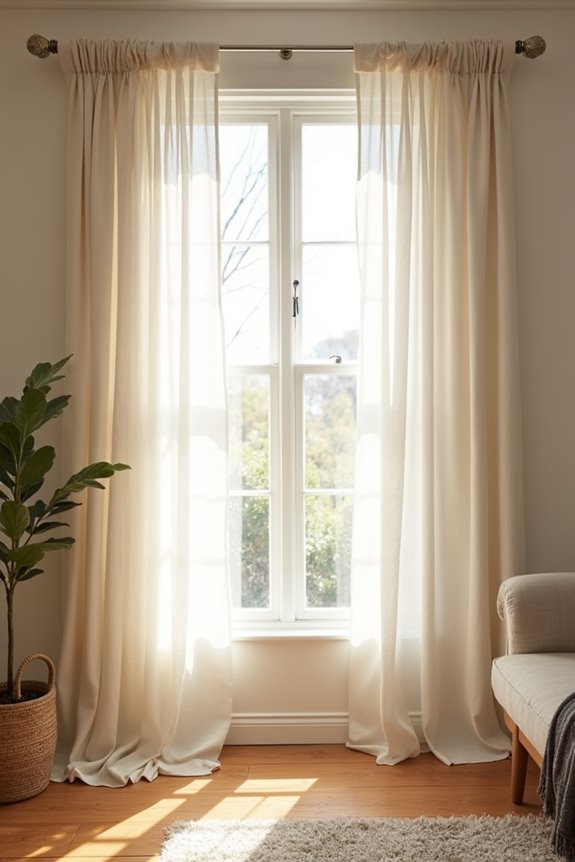
Where should your curtains actually end? I’ve learned that choosing your curtain length transforms how a room feels, and it all starts with rod placement. Once you position your rod, measure down to find your perfect endpoint—whether that’s the sill, a few inches below it, or dramatically pooling on the floor.
| Length Option | Measurement | Best For |
|---|---|---|
| Sill | At windowsill | Casual spaces |
| Apron | 4–6 inches below | Balanced look |
| Floor | Just above floor | Polished rooms |
| Puddled | 1–3+ inches extra | Elegant drama |
For tall windows, I’d position rods near the ceiling or use crown molding for maximum impact. The right rod placement creates that coveted clean hover—about 1 cm above flooring—while puddling adds character and style. Professional measuring services help nail this perfectly.
Will Standard Sizes Work for Your Window?
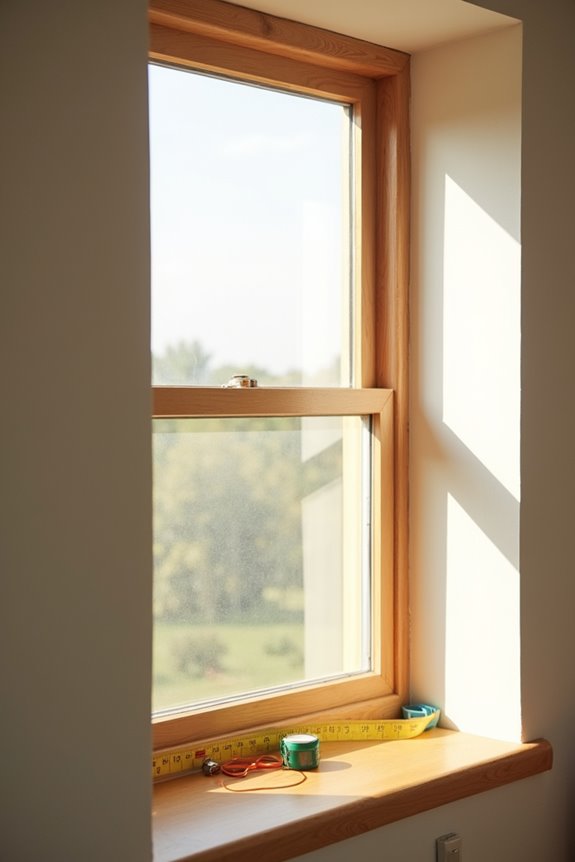
Once you’ve picked your curtain length and positioned your rod, you’ll face the real question: do standard sizes actually fit your windows?
Once you’ve positioned your rod, the real question emerges: do standard sizes actually fit your windows?
Here’s what I’ve learned: standard sizes don’t work for everyone, and that’s okay. You’ll need to consider fullness—that luxurious drape that makes curtains look professionally hung. Standard sizes often fall short for achieving proper fullness, especially across wider windows.
- Measure your rod width, then multiply by 1.5× to 2× for standard curtains (sheers need 2× to 2.3×)
- For a 60″ window, you’ll likely need more than one 60″ panel to reach that fullness
- Add 4–8″ on each side for decorative framing and complete coverage
I understand it’s frustrating when ready-made options don’t quite work. Consider custom drapery for those stubborn, oversized windows.
Rod Pocket vs. Grommet vs. Pinch Pleat: Which Style Works Best?
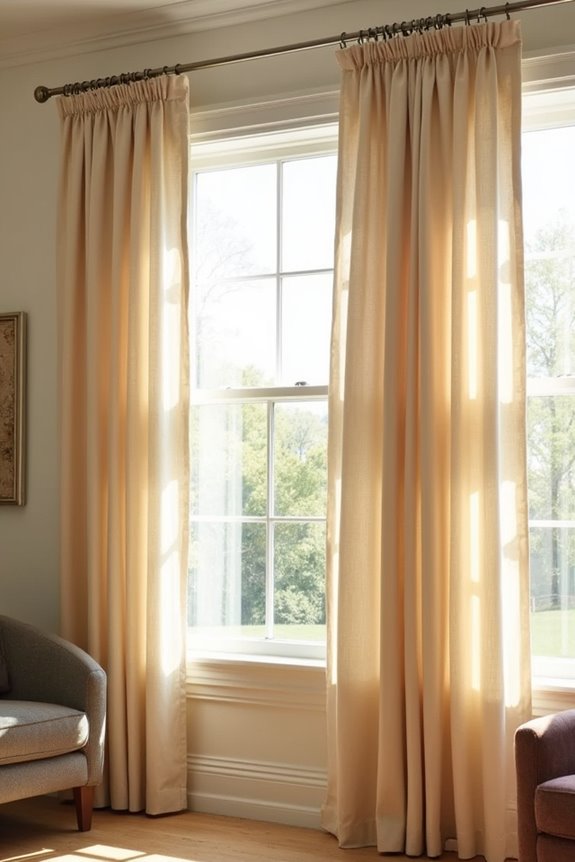
The curtain style you choose does more than just look different—it actually changes how your panels hang and what width you’ll need to properly cover your window. I’ve found that rod pocket and grommet styles prioritize width for that polished frame around your space. Two standard grommet panels, for instance, cover roughly a 40″ opening with good fullness. Rod pocket panels need even more width since they lack built-in structure.
Pinch pleat drapes work differently—they’ve got fullness already sewn in, so a pair of 48″ panels effectively covers about 36″ of window width after accounting for overlaps and returns. You’re getting that luxurious draped look without needing extra-wide panels. Think about your window’s dimensions and the aesthetic you’re after when deciding which style fits your home best.
Don’t Forget the Overlap and Returns
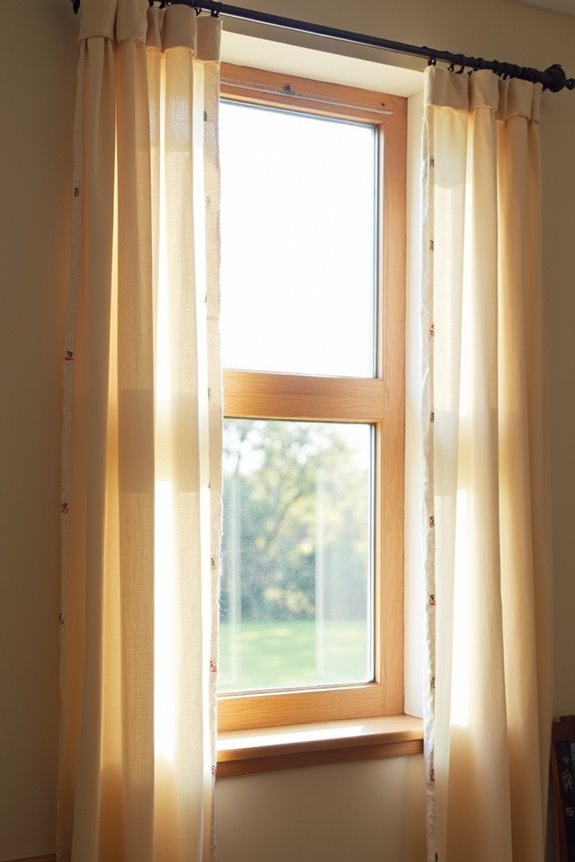
Have you noticed how curtains that perfectly fit your window width sometimes leave gaps on the sides when they’re drawn closed? That’s where overlap and returns come into play—two measurements that separate amateur-looking windows from professionally styled ones.
Here’s what I’ve learned about getting this right:
- Overlap creates a 12-inch coverage zone in the center, preventing light from sneaking through when panels meet
- Returns wrap your curtains around the rod, reducing light gaps but requiring extra fabric width
- Side extensions of 4–8 inches on each side frame your window beautifully while ensuring complete coverage
I always add these measurements to my bare window width before ordering. It’s the difference between curtains that merely hang there and ones that actually look intentional, layered, and luxurious. Trust me—your room deserves that polished finish.
Pick Your Fullness Level: Standard, Deluxe, or Ultra
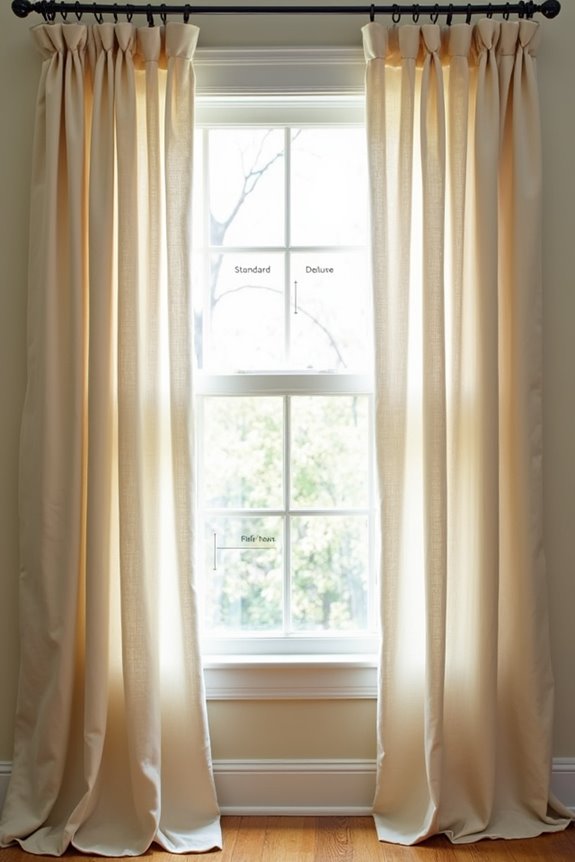
Why do some curtains look so gloriously gathered while others hang flat and thin? The answer lies in fullness—how much fabric you choose relative to your window’s LENGTH. I’ve discovered that picking the right fullness level transforms your entire space.
| Fullness Type | Multiplier | Best For | Total Width |
|---|---|---|---|
| Standard | 2× | Most homes | 72″ (36″ window) |
| Deluxe | 2.5× | Elegant spaces | 90″ (36″ window) |
| Ultra | 3× | Drama lovers | 108″ (36″ window) |
| Blackout | 1.5× | Light control | 54″ (36″ window) |
Standard fullness delivers that balanced, polished look I adore—rich folds without excess. Deluxe adds luxurious volume for formal rooms, while Ultra creates theatrical drama. Blackout panels prioritize function over flourish. Consider your style, budget, and window size when deciding your fullness level.
When and Why You Need Custom Curtain Solutions
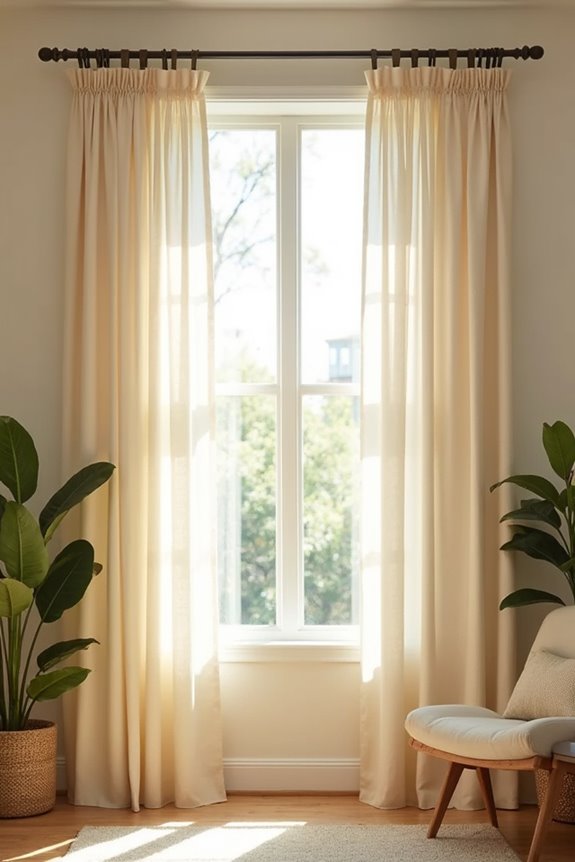
Sometimes a standard 84-inch panel just won’t cut it—and that’s when you’ll realize off-the-shelf curtains have their limits. I’ve discovered that certain situations demand custom curtains to achieve the polished look you’re after.
Standard 84-inch panels have their limits—certain spaces demand custom curtains for a truly polished aesthetic.
You’ll want to consider custom solutions when:
- Your curtain width spans unusually large distances (like 184 inches across multiple windows), where standard panels can’t provide balanced fullness and proper coverage without awkward seams or gaps.
- Your windows feature architectural quirks—arched tops, bay configurations, or sloped ceilings—that standard rectangular panels simply can’t accommodate gracefully.
- You’re pursuing a specific design vision that demands precise fabric selection, pleat styling, or length that ready-made options don’t offer.
Custom curtains ensure you’re not compromising your space’s aesthetic or functionality.