I’ve learned that proper curtain hanging starts with smart measuring—doubling your window width for fullness and hanging rods six to ten inches beyond each side. Hang high near the ceiling to elongate your space, then choose your length: kiss the floor for crisp lines, float slightly above for elegance, or puddle for luxury. Select a sturdy three-quarter-inch rod anchored into studs, and plan around obstacles like heaters and vents. These fundamentals create a polished window that lasts for years.
Measure Your Window and Plan Before You Begin
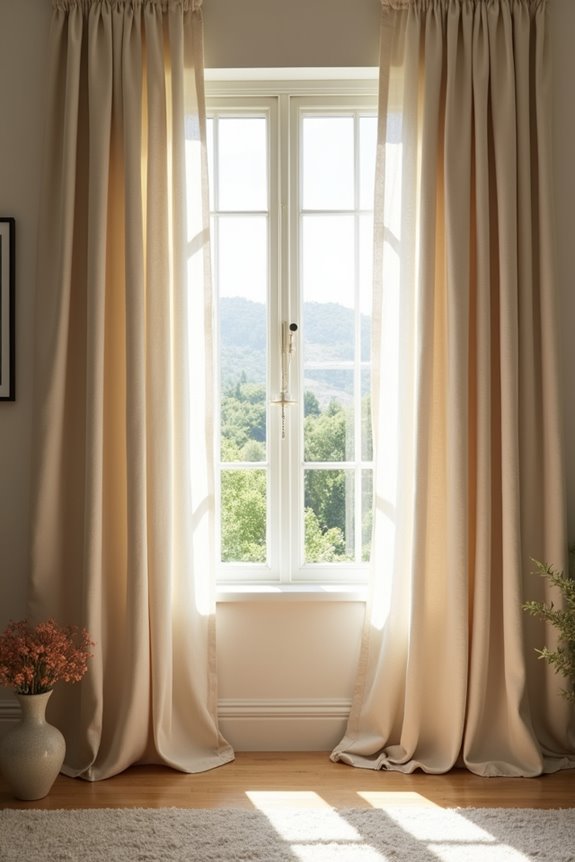
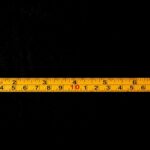
Why do so many people hang their curtains without a plan? I’ve learned that skipping this step leads to disappointing results. Here’s what I do: I measure my window width, then add 8–10 inches to each side to determine my rod length. This generous extension makes my space feel larger and more deliberate.
For curtain length, I measure from ceiling down to floor, considering my mounting position carefully. I’ve discovered that 95 inches works well for standard 8-foot ceilings, while 84 inches often feels too short for my taste.
I also calculate fullness by doubling my window width. This fullness creates that luxurious, professional look I’m after. Taking time upfront improves my entire room’s appearance, and honestly, it’s worth every measurement.
Identify Obstacles: Heaters, Vents, and Other Constraints
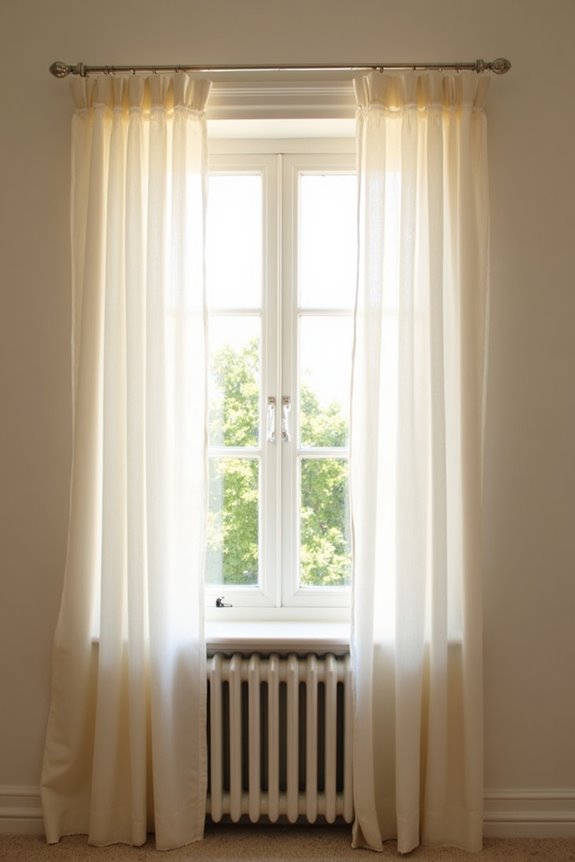
When I’m hanging curtains, I’ve learned that baseboard heaters and HVAC vents aren’t just background features—they’re real obstacles that’ll affect how my curtains hang and how well my home stays warm. If I let my curtains rest directly on a baseboard heater or block an air vent, I’m trapping heat or disrupting airflow, which means higher energy bills and uneven temperatures throughout my rooms. That’s why I take time to plan around these fixtures before I even measure for my rods, so I can find solutions that work with my home’s systems instead of against them.
Baseboard Heaters And Curtains
How many of us have hung our favorite curtains only to realize they’re now suffocating the very heating system we rely on? I’ve learned that baseboard heaters and curtain panels require thoughtful planning to coexist in our homes.
| Solution | Benefit | Consideration |
|---|---|---|
| Long curtains below sill | Clear heater area | Prevents heat trapping |
| Extend rods outward | Creates distance | Reduces fabric contact |
| Double-rod setup | Hides blackout layers | Front panels stay clear |
| Heat shielding devices | Protects fabric | Installation may vary |
I’ve discovered that extending rods away from walls keeps panels safely distant from heaters, allowing warmth to circulate freely. When I lengthen curtains past the window sill, I’m protecting both my heating efficiency and fabric longevity. Heat shielding offers another option, though I’ve found results vary. The key is respecting that our heating systems and window treatments can work together—we just need intentional placement.
HVAC Vents And Obstructions
Beyond the baseboard heater challenge, HVAC vents present their own complications when planning where your curtains’ll hang. These vents, typically positioned under windows, can block airflow if your curtain length extends too low, creating a cycle of blocked circulation and temperature control issues.
A double-rod setup works well here—hiding blackout curtains behind longer front panels keeps your main curtains away from heater interference while maintaining a polished appearance. The key is positioning your curtain length just past the window sill, preventing obstruction of air movement.
Extending your rods away from the wall gives you extra breathing room, both literally and figuratively. You’re not sacrificing style; you’re being strategic about how your home functions and circulates air together.
Hang Your Rod High to Elongate the Room
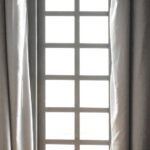
If your rooms feel cramped, raising your curtain rod might be the practical solution you need. Strategic rod height and ceiling height awareness affect how spacious your home feels. By positioning your curtain rod placement about 6–10 inches beyond the window frame, you widen the window opening and create vertical flow that draws eyes upward.
| Rod Height | Visual Effect | Room Feeling |
|---|---|---|
| Too Low | Cramped, confined | Smaller |
| Mid-Level | Average | Neutral |
| 8–9 Feet | Elongated, airy | Expansive |
| Near Ceiling | Maximized height | Open, inviting |
Positioning the rod about two-thirds of the way toward the ceiling creates the illusion of taller ceilings. Fuller panels complete the effect, preventing windows from looking inadequate when curtains open.
Extend the Rod 6–10 Inches Beyond Each Window Side
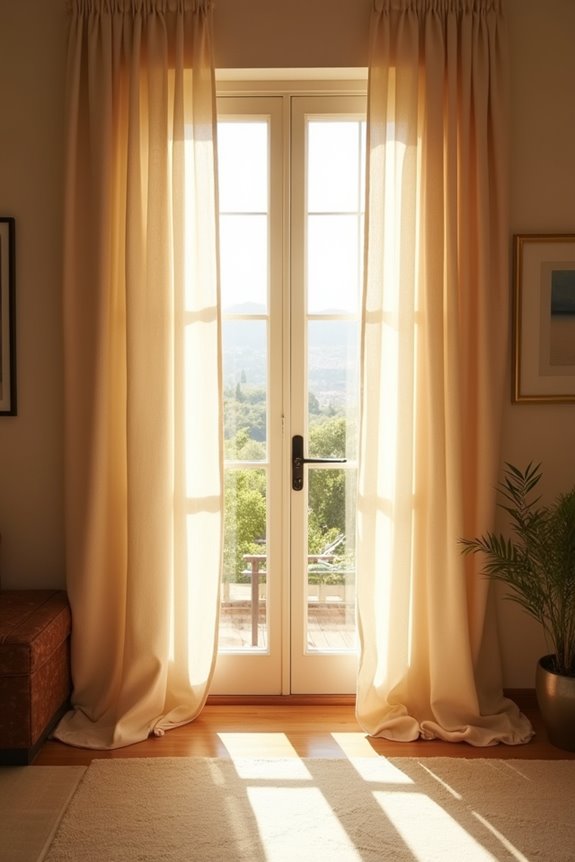
I’ve learned that extending your rod beyond the window frame isn’t just a decorative choice—it’s a practical strategy that makes your windows appear markedly larger while allowing more natural light to flood in when you draw the curtains open. When I extend 6–10 inches on each side, I notice the proportions shift beautifully, creating a sense of spaciousness that affects how the entire room feels. This simple adjustment also prevents those frustrating shadows at the edges, giving me the brightness and visual balance I’m after without any complicated adjustments.
Window Enlargement Through Extension
How much light do you think you’re losing when your curtains bunch up against the window frame?
Extending my curtain rod 6–10 inches beyond each window side makes a real difference. This wider rod placement creates the illusion of a larger window while letting in considerably more light when open. You’re basically creating breathing room for natural illumination to flood your space.
| Extension Length | Light Gain | Visual Impact |
|---|---|---|
| 0 inches | Minimal | Small window appearance |
| 6 inches | Moderate | Noticeably larger feel |
| 10 inches | Maximum | Dramatically spacious |
Pairing curtain rod extension with generous panel width prevents that cramped, dinky look. My rooms feel airier and brighter immediately. This simple shift in rod placement works well for window enlargement—it’s practical, elegant, and effective for how welcoming our homes feel.
Light Control and Balance
Why do so many of us accept dim, shadowy corners when a simple rod adjustment can change how light moves through a room?
I’ve discovered that extending your curtain rod 6–10 inches beyond each window side makes a real difference in how light flows through my space. This adjustment controls glare while maximizing brightness when I open the panels. The extra width creates better light control by reducing those annoying side gaps, giving me genuine privacy without sacrificing openness.
When I increased my window width perception through proper rod placement, fullness improved noticeably. My curtains no longer looked skimpy or dinky. Instead, they hung with elegant abundance, allowing me to manage light deliberately. I’m not just adjusting fabric anymore—I’m controlling how sunlight moves through my home, creating balance that serves a purpose and feels welcoming.
Choose the Right Curtain Length: Kiss, Float, or Puddle
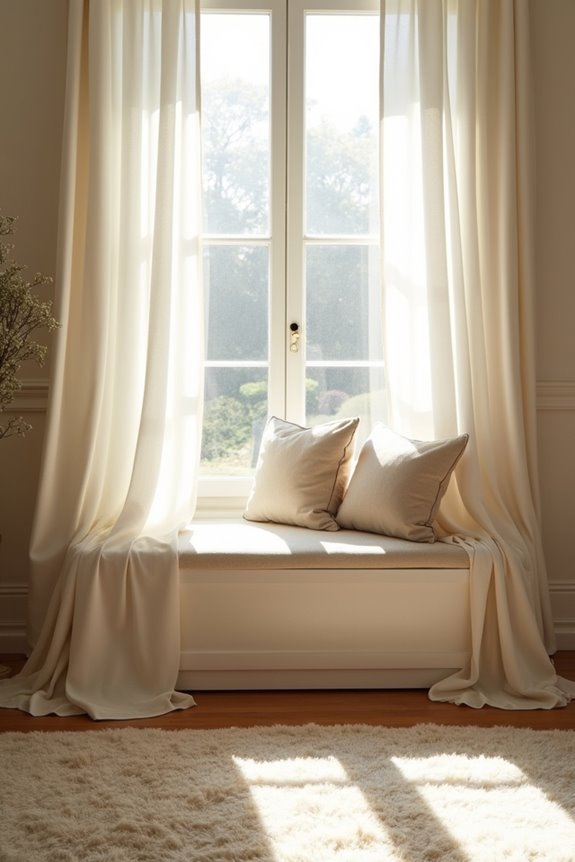
When you’re standing in front of your window with fabric swatches in hand, the curtain length question often feels more complicated than it should be. I’ve found that understanding your options—kiss length, slight float, and puddle length—makes this decision more straightforward.
Kiss length means your curtains barely graze the floor, creating a crisp, intentional look that requires precise measurement. Slight float sits just above the floor, giving you breathing room without sacrificing elegance. Puddle length pools generously on the floor, offering that romantic, luxurious feel.
For standard 8-foot ceilings, I’d recommend 95-inch or 96-inch curtains hung 10–12 inches above your window. This placement makes your space feel taller while getting your chosen curtain length to hang exactly how you want it.
Use Enough Fabric Width to Prevent a Dinky Appearance
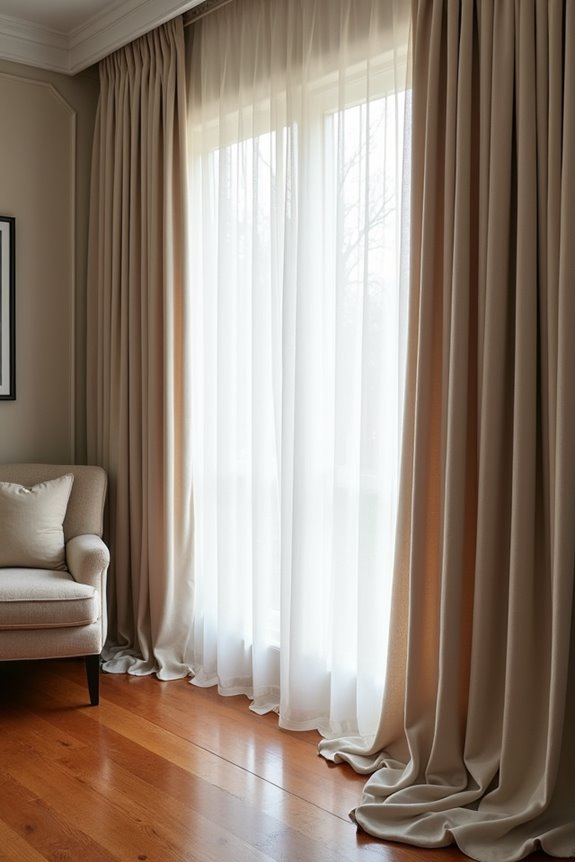
One of the most common mistakes I see in homes is curtains that look too skimpy for their windows—and I’ve made this error myself more times than I’d like to admit. The key to avoiding this is understanding curtain width and fullness, which improve your entire window treatment balance.
| Window Width | Recommended Curtain Width | Panel Setup |
|---|---|---|
| 50 inches | 100 inches | Two 50″ panels |
| 75 inches | 150 inches | Two 75″ panels |
| 100 inches | 200 inches | Four 54″ panels |
I’ve learned that aiming for twice your window width creates that substantial, intentional look you’re after. Fuller panels prevent that dinky appearance that makes rooms feel unfinished. When you invest in adequate fabric, your space immediately looks more thoughtfully designed and welcoming.
Select a Sturdy Rod That Won’t Sag Under Weight
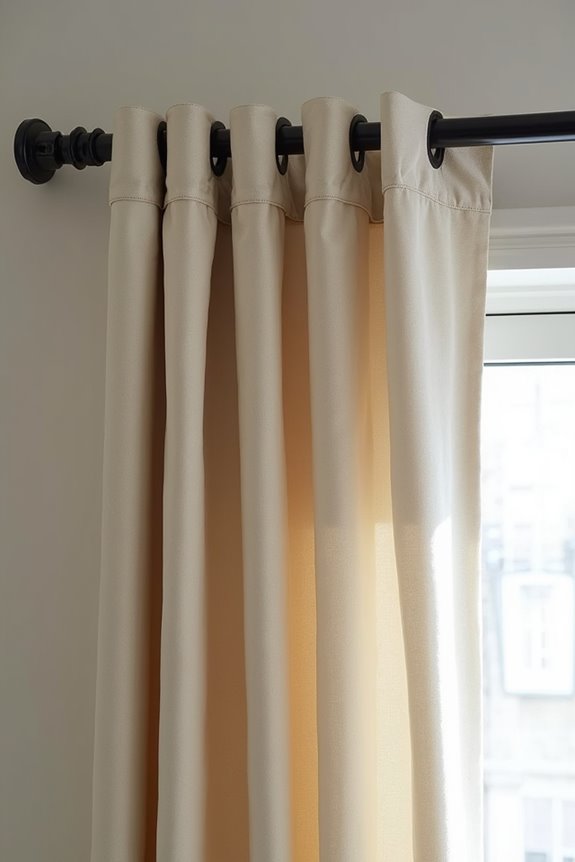
I’ve learned that choosing the right curtain rod isn’t just about aesthetics—it’s about preventing the frustrating sag that happens when you’ve invested in beautiful, heavy fabrics like velvet or blackout panels. You’ll want a thicker rod, ideally 3/4-inch or larger, paired with quality materials like brass or powder-coated finishes and brackets secured into studs, because these details determine whether your curtains hang gracefully for years or start bowing after a few months. Trusted brands like West Elm and Pottery Barn offer sturdy options that’ll handle the weight, and spending a bit more upfront saves you from the headache of watching your carefully styled curtains slowly surrender to gravity.
Weight Capacity And Materials
Most of us don’t think about our curtain rods until they start to bow, and by then it’s often too late—you’re left staring at fabric that’s gradually creeping toward the floor. I’ve learned that understanding curtain rod weight and load-bearing capacity matters before hanging anything.
I recommend a sturdy 3/4-inch rod diameter for most fabrics, but here’s what’s important: your load-bearing hardware must match your curtain’s actual weight. I always check that brackets are rated for the combined load, then anchor them directly into mounting studs whenever possible. For heavy drapes or multiple panels, I don’t hesitate upgrading to thicker rods or double-rod systems. It’s not glamorous work, but getting this foundation right means your curtains stay beautiful and secure for years.
Rod Thickness And Support
Now that you’ve got the right hardware anchored securely, the rod itself becomes your next line of defense against sagging curtains. I’ve learned that a sturdy curtain rod diameter of around 3/4 inches strikes the right balance between strength and elegance. You’ll want to check the weight rating before purchasing—it’s your assurance that the rod can handle whatever fabric you choose, whether that’s lightweight linen or luxurious velvet.
Quality wall brackets matter tremendously. They’re what actually hold everything up, so I always look for options that secure firmly into studs. Consider investing in rods from trusted brands; they typically offer superior load tolerance and durability. When you pair a substantial rod with quality brackets, you’re setting up your curtains to hang properly for years without that frustrating sag. It’s peace of mind you can feel.
Quality Brands Worth Investment
Why settle for a flimsy rod that’ll bow under the weight of your favorite curtains? I’ve learned that investing in quality brands matters when you’re serious about how your windows look and function. When I’m selecting curtain rods for heavy fabrics like velvet or blackout panels, I choose established manufacturers known for hardware durability. A sturdy rod in brass, black, or silver—typically 3/4 to 1 inch in rod diameter—keeps your panels hanging beautifully without sagging. Brands specializing in robust construction understand that curtain rod weight matters, especially with layered setups. I’ve found that spending more upfront on reliable options saves me from disappointing replacements. Quality rods deliver both performance and appearance.
Drill, Mount, and Level Your Hardware Correctly
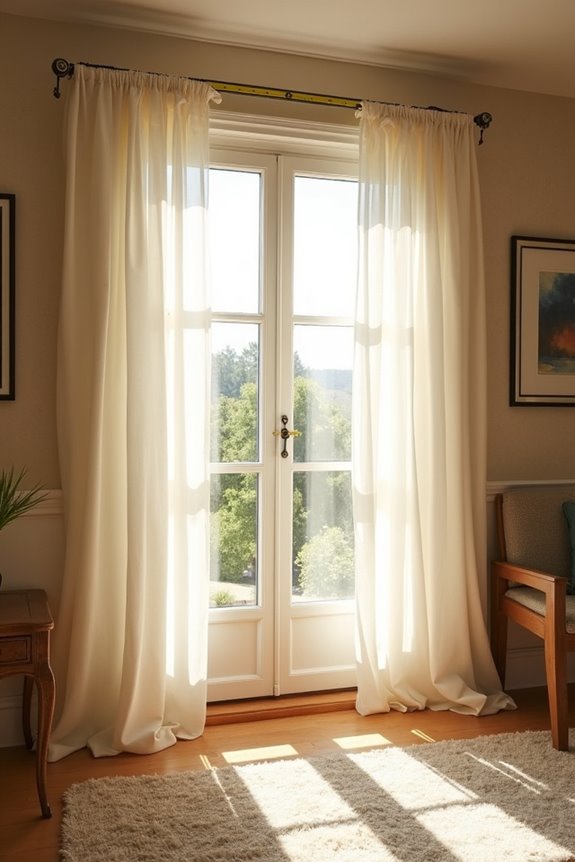
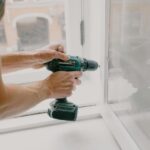
Getting your curtain hardware straight—literally—makes a real difference between a polished look and something that’ll nag at you every time you glance at the window. I’ve learned that using a level keeps your brackets perfectly aligned, and marking drill holes 4–6 inches from the window edge maintains proper proportions.
I always locate studs with a stud finder first, anchoring brackets directly into them for maximum stability. When studs don’t cooperate, quality wall anchors do the job reliably. Here’s where patience matters: thread your curtains onto the rod before reattaching finials, then tighten those set screws firmly. This sequence prevents frustration and keeps everything secure. Taking time with these foundational steps creates a polished result—the kind of detail that matters in a home.
Skip These Common Curtain-Hanging Mistakes
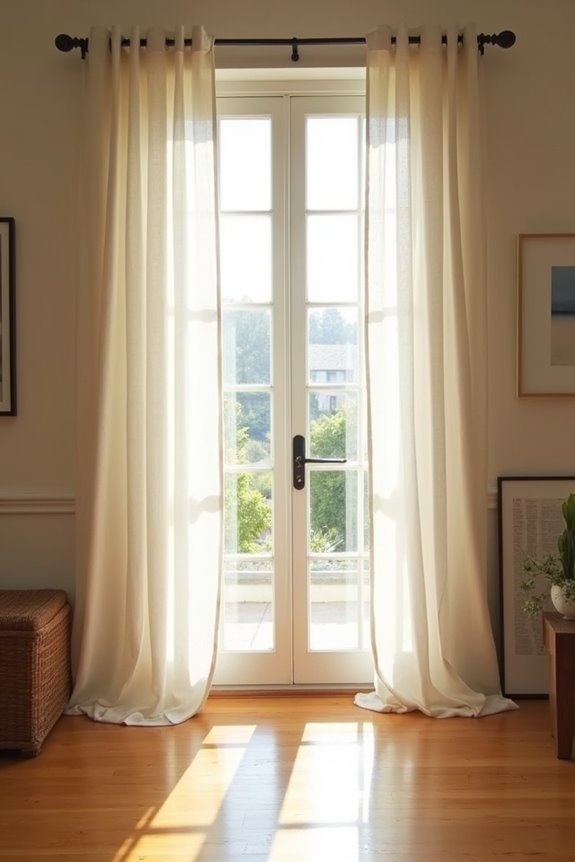
Once your hardware’s locked in place, the real work begins—but only if you sidestep the mistakes that’ll undermine all that careful work. I’ve learned that curtain rod placement, window width considerations, curtain length choices, and hem alignment affect the difference between well-proportioned drapes and disappointing ones.
| Mistake | Why It Fails | What I Do Instead |
|---|---|---|
| Hanging too low | Shrinks windows visually | Mount 10–12 inches above frame |
| Rod stops at frame edge | Narrows appearance | Extend 6–10 inches beyond sides |
| Using standard 84-inch length | Creates stubby proportions | Choose 96+ inches, hem carefully |
| Pooling or hovering hems | Looks sloppy and dated | Kiss the floor or slightly float |
These adjustments change how your space feels. You’ll notice ceilings seem taller, windows appear grander, and light flows freely when you open them. That’s the polished look most people want.
Customize Your Panels With Weights, Edging, and Hemming
Here’s where curtains become truly functional—by tailoring the details that make them hang professionally. Adding weights to your panels creates that straight, elegant drape you’re after. Whether you’re using actual curtain weights or budget-friendly pennies, they prevent flutter and keep everything looking polished. Hemming is equally important; measure from rod to floor, then trim accordingly for that perfect “kiss the floor” aesthetic. Consider edging options too—ribbons or contrasting hems add sophistication without changing your panel length. These customizations help all your panels maintain consistent fullness and hang uniformly. When you invest time in these details, your curtains look intentional, finished, and right for your space.