I’d space one ring every 4 to 6 inches along your panel’s top—that’s the standard approach that works for most curtains.
For a standard 50-inch panel, you’ll need about 9 to 10 rings; for 72 inches, roughly 11 to 12.
Always anchor end rings at both edges to prevent corners from curling and allow even weight distribution.
Heavier fabrics benefit from closer spacing around 4 inches.
Test your glide before finalizing, and stick with quality rings that won’t bend under tension.
The specifics shift slightly depending on your fabric type and panel style.
The Basic Rule: One Ring Every 4 to 6 Inches
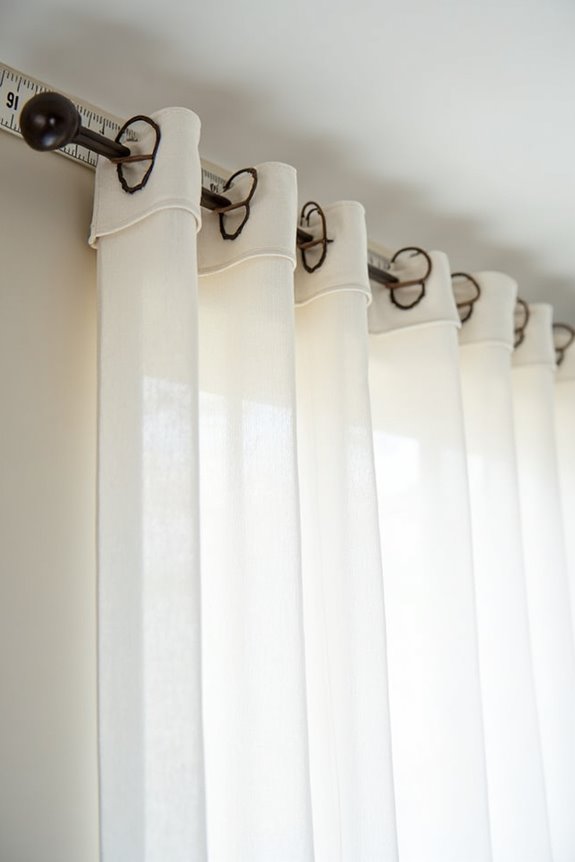
How do you know if you’re using enough curtain rings—or too many? I’ve found the answer lies in a simple spacing rule: place one ring every 4 to 6 inches along your panel’s top. This spacing distributes fabric weight evenly, allowing your curtains to glide smoothly and hang well. For a 50-inch panel, you’ll typically need about 9 to 13 rings within that range. Here’s what I’ve learned: heavier or lined curtains benefit from tighter spacing—closer to 4 inches—preventing sag. I always position rings at both edges too; they’re necessary for keeping corners from curling or drooping, creating that balanced look. It’s a straightforward approach that works.
Quick Reference: Ring Counts by Drapery Type
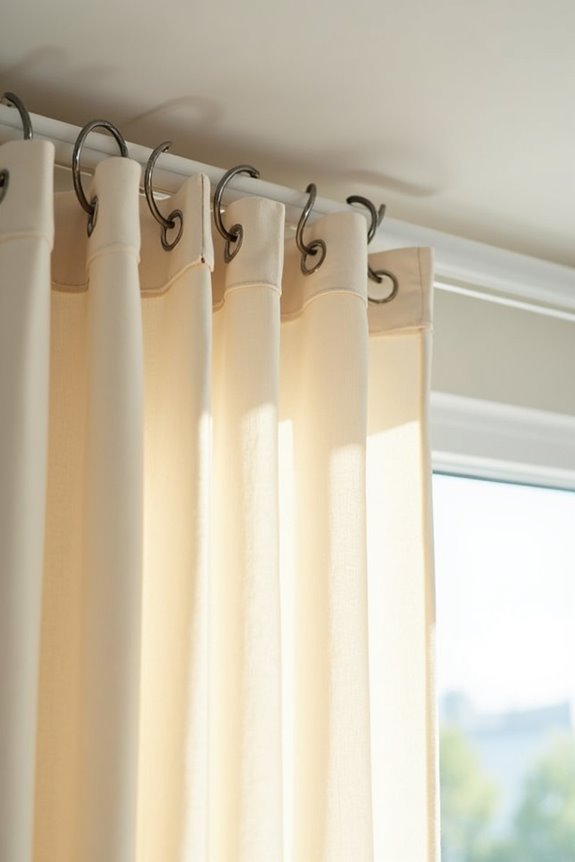
Once you’ve settled on your curtain style, the ring count practically tells itself—and that’s where things get interesting. I find that different pleat types demand their own approach to drapery rings and ring spacing. Flat-panel curtains are your straightforward option: I space six to eight rings evenly across each panel, keeping things simple and balanced. Pinch pleats require more attention—I place at least one ring atop each pleat, plus additional rings at the outside edges for stability. Knife pleats follow a predictable pattern that I’ve learned to trust: eight rings for single-width panels, twenty-four for triple-width configurations. If your panels feature back tabs, you’ll actually need fewer rings since those tabs handle some lifting duties themselves. This strategic approach prevents sagging and creates that polished look we’re after.
How to Calculate Ring Count for Your Panel Width
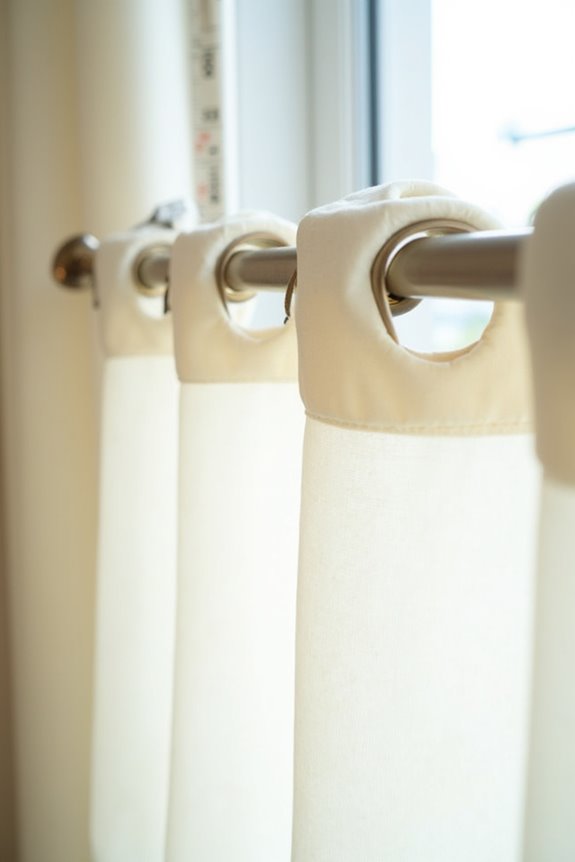
To find your ideal ring count, I start by measuring my panel’s width from end to end, then divide that measurement by either 4 or 5 inches—depending on whether I want rings spaced closer together or further apart. Once I’ve got that number, I add one ring to each end of the panel, which keeps those corners from curling and allows my curtains to hang evenly across the rod. This straightforward calculation takes just a minute and gives me the exact number I need before I buy a single ring.
Measuring Your Panel Width
The key to hanging curtains that look polished rather than droopy lies in getting your ring spacing just right, and I’ve found that measuring your panel width is the most straightforward way to nail it. Grab a measuring tape and run it across your curtain panel from edge to edge—this number becomes your foundation. Once you’ve got that measurement, you’re ready to determine how many curtain rings per panel you’ll need. I typically divide the panel width by five, which gives me a solid starting point for ring spacing. If your fabric’s heavier or lined, I lean toward dividing by four instead, preventing that sagging we’ve all seen. Remember, you’re not just measuring; you’re creating the roadmap for curtains that’ll hang beautifully.
Dividing Width By Spacing
How do you turn a panel width into an actual number of rings you can buy and install? I’ll walk you through the math that converts your measurements into a practical shopping list.
Start by subtracting roughly two inches from your total panel width for end allowances. Then divide that remaining width by 4 to 5 inches—this spacing range prevents sagging while maintaining visual appeal. Here’s what you’re calculating:
- A 50-inch panel yields about 10 spaces between rings
- Add 1 ring to account for both ends
- Heavier fabrics need wider spacing (use the 5-inch range)
- Lighter panels work fine with closer spacing (4-inch range)
This simple division gives you rings per panel, so your curtains hang properly and stay secure throughout their life with you.
Adding End Ring Allowances
Why do curtain corners sometimes curl or droop no matter how carefully you’ve hung them? I’ve discovered the answer: end rings. These unsung heroes anchor your panel’s edges, preventing that frustrating sag.
Here’s what I’ve learned: after dividing your panel width by spacing, you’ll add one end ring on each side. This simple step improves the hang of your curtains.
| Panel Width | Base Rings | End Allowances | Total Rings |
|---|---|---|---|
| 36 inches | 7–8 | 2 | 9–10 |
| 50 inches | 9–10 | 2 | 11–12 |
| 72 inches | 14–15 | 2 | 16–17 |
I’ve found that end rings provide symmetry and edge support, particularly for heavier fabrics. They’re not optional—they’re necessary. When I position them correctly, my curtains hang well, creating that polished look I wanted.
Common Panel Sizes and Their Ring Requirements
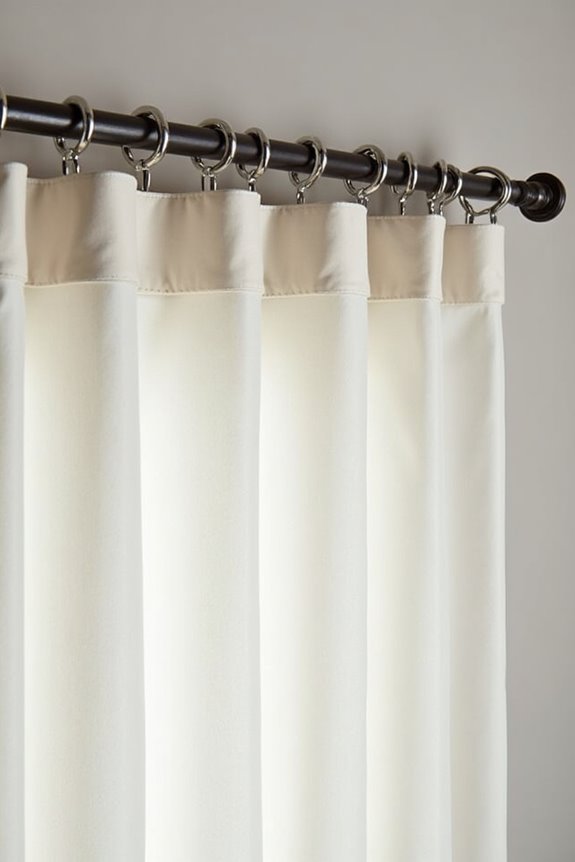
Just when you think you’ve got your curtain measurements down, sizing comes the question of how many rings you’ll actually need—and it’s simpler than you might imagine. Panel width directly determines your curtain rings count:
- A 40-inch panel width typically needs six to eight rings spaced evenly
- Wider panels benefit from eight rings for better balance and support
- Pleat drapery requires at least one ring per pleat, plus extras at edges
- Back tab panels reduce calculations since edges naturally align with tabs
When hanging two panels together, simply double the per-panel total to maintain symmetry. This approach keeps your drapes looking professionally hung while preventing sagging.
Flat Panel Draperies: 6 to 8 Rings per Panel
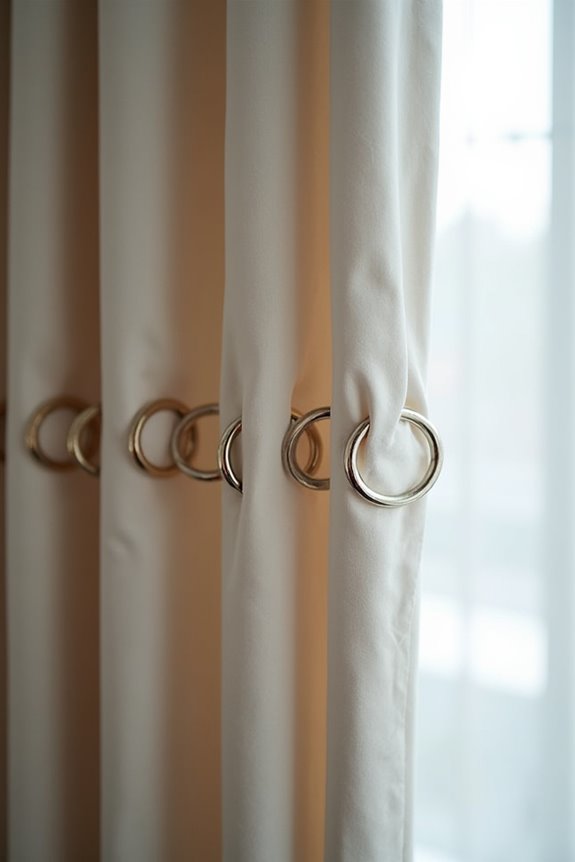
When you’re hanging flat panel curtains, the sweet spot lands somewhere between six and eight rings—and there’s actually good reason for this range. I space my rings about 4 to 6 inches apart across the panel, which prevents that frustrating sagging you see in poorly hung curtains. This consistent spacing keeps your panel hanging evenly and provides a polished appearance.
When you’re working with two panels, simply double your ring count to maintain symmetry. This keeps everything balanced across your window. If your panel features back tabs, they’ll guide placement naturally, so you won’t need to measure as precisely. The key is aiming for consistency across all your flat panels, creating that professional appearance throughout your room.
Pinch Pleat Draperies: One Ring per Pleat Plus Edges
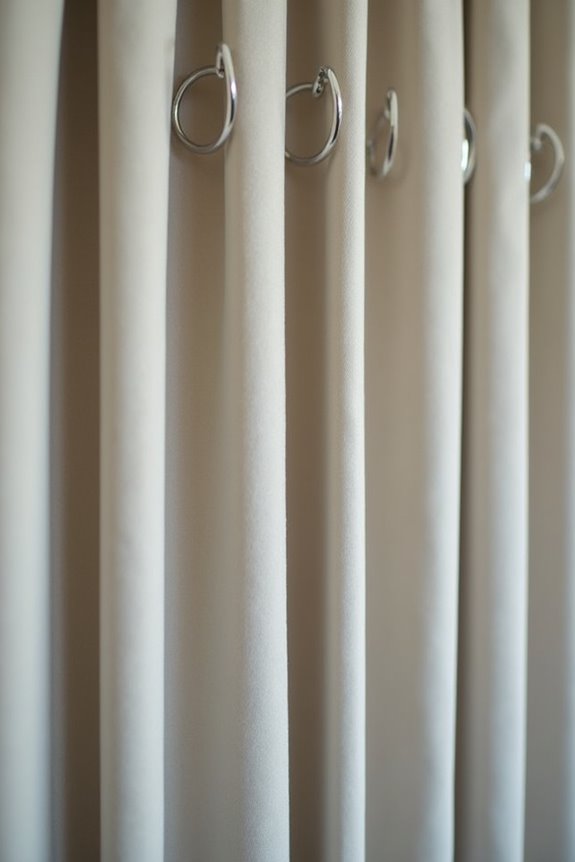
Pinch pleat draperies follow a logical formula that takes the guesswork out of ring placement. You’ll place one ring at the top of each pleat, then add edge rings on both sides—it’s straightforward once you understand the pattern.
Here’s what I recommend:
- Count your total pleats first
- Add two edge rings (one on each outer edge)
- Consider decorative trim, which may require an extra ring per panel
- Account for returns, which can actually reduce your total ring needs
If you’re working with seven pleats, you’d use nine rings total—seven for the pleats plus two for the edges. Pinch pleat draperies create elegant, structured folds while keeping the hanging system simple and accessible for anyone tackling this project.
Pinch Pleats With or Without Returns: Ring Count Differences
How does adding or removing a return from your pinch pleat panel actually change your ring count?
The return eliminates one ring per pleat, while missing returns require two extra rings to compensate for exposed edges.
This detail makes a meaningful difference. When your pinch pleats include a return—that folded edge wrapping around your rod—you’ll need one ring per pleat plus one additional ring for the return itself. So seven pleats with a return requires eight rings per panel total.
Without a return, though, you’re adding two extra rings to account for those exposed outside edges. That same seven-pleat panel now needs nine rings. I think of it this way: the return does the job of one ring, while missing returns demand we compensate elsewhere.
Understanding this distinction helps you order confidently, knowing exactly what your drapery setup requires.
Knife Pleat Draperies: Why Ring Spacing Matters More
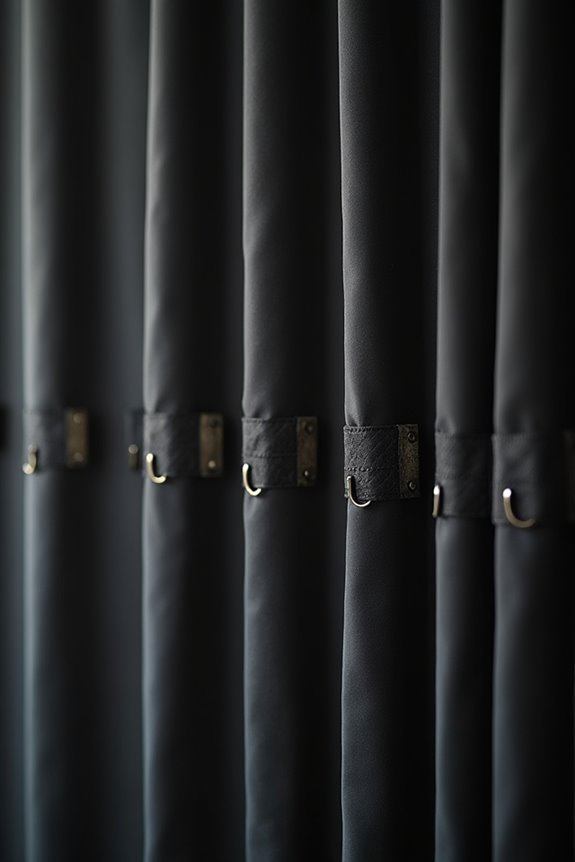
Why does spacing matter so much more with knife pleats than other styles? I’ve found that knife pleats demand precision because uneven ring placement creates visible sagging between support points. Unlike other drapery styles, knife pleats rely on consistent spacing to maintain their crisp, linear appearance.
Here’s what I’ve learned works best:
- Place rings at every pleat center for uniform support
- Position additional rings at outside edges for balanced coverage
- Adjust spacing based on panel width to prevent gaps
- Account for fabric weight when determining ring density
Single-width knife pleat panels typically need about 8 rings, while triple-width panels require around 24. I’ve discovered that starting with your pleat count, then adjusting for panel width and fabric weight, gives you the foundation for success. This approach keeps your draperies hanging properly and maintains that appearance over time.
Ring Spacing for Heavier and Lined Curtains
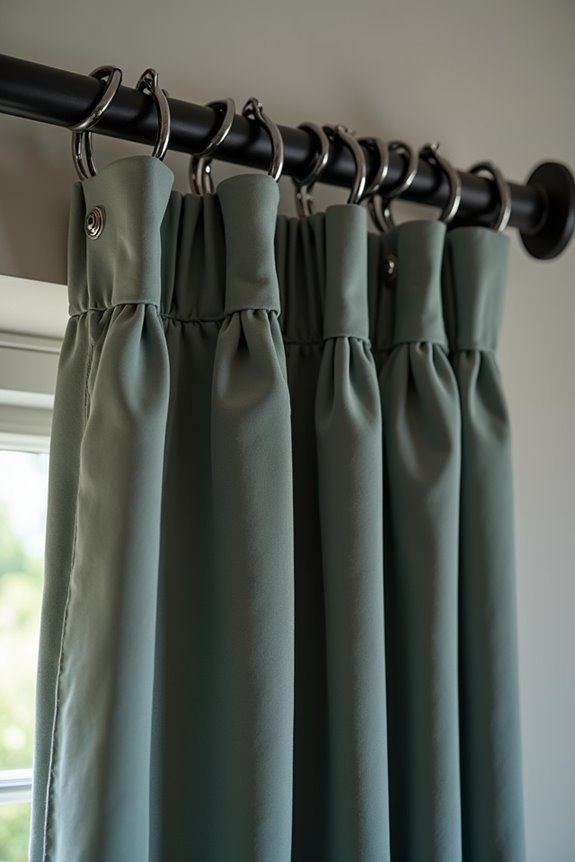
When I hang heavier or lined curtains, I’ve learned that proper ring spacing isn’t just about aesthetics—it’s about preventing the sagging and drooping that can turn beautiful drapes into a disappointment over time. I’ve found that spacing rings 4 to 6 inches apart, with strategic placement near the edges and evenly distributed across the panel width, creates the weight distribution and support these substantial fabrics demand. By investing in quality rings and calculating the right number for my panel size, I’m protecting my investment and keeping my curtains gliding smoothly for years to come.
Weight Distribution And Support
Because heavier fabrics and lined curtains carry considerably more weight than standard drapes, they’ll demand closer attention to how you space your rings along the rod. Proper weight distribution is necessary for keeping your panels looking polished and preventing premature sagging.
Here’s what works best:
- Space rings every 4 inches or closer to support heavier fabrics effectively
- Place end rings near panel edges to prevent corners from drooping
- Increase your total ring count proportionally with fabric weight and fullness
- Test glide with a sample panel before committing to full installation
When you’re working with substantial drapery, those rings become your support system. Think of them as strategic anchor points that work together, distributing weight evenly along the entire rod. This approach keeps your investment looking good longer.
Preventing Sagging And Drooping
Now that you understand how weight distribution works, let’s address the practical challenge of keeping heavier curtains from sagging between support points.
Closer ring spacing is your best tool here. Position rings toward the higher end of the 4–6 inch range, using 9–13 rings per panel for standard widths. This density of weight support prevents the droop that occurs when rings sit too far apart.
| Fabric Type | Ring Spacing | Rings Per Panel |
|---|---|---|
| Lightweight | 6 inches | 5–7 |
| Medium | 5 inches | 8–10 |
| Heavy/Lined | 4 inches | 9–13 |
Install end rings near both edges to prevent corner curl. After positioning several rings, test the glide to verify smooth movement without sagging.
Spacing Recommendations For Durability
How do you keep substantial fabric from pulling your curtain rod into a sad, uneven sag? I’ve learned that spacing matters enormously for durability. Here’s what I’ve discovered works:
- Space rings every 4 inches for heavy fabrics instead of stretching to 6 inches
- Plan additional rings toward the higher end when lining adds weight
- Add extra end rings to support corners and distribute stress evenly
- Lay your panel flat, subtract 2 inches for allowances, then space rings mathematically
When I tested this approach with my own lined panels, the difference was noticeable. The fabric hung smoothly without pulling, and my rod stayed perfectly level. By choosing closer spacing, I’m investing in longevity—my curtains maintain their structure season after season, and the glide remains effortless.
Why End Rings Prevent Corners From Curling
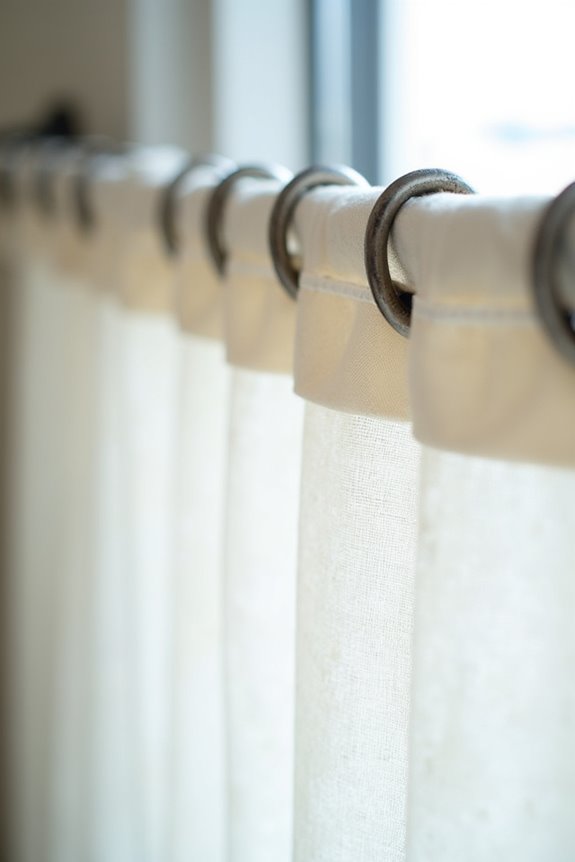
When you’ve hung your curtains and stepped back to admire them, have you noticed how the outer edges sometimes curl inward or droop awkwardly? End rings effectively prevent this frustrating issue. These rings anchor your panel corners firmly to the rod, counteracting the edge weight that naturally pulls fabric downward. Without them, concentrated fabric stress at panel corners causes that telltale curl and sag.
| Problem | Cause | Solution |
|---|---|---|
| Corner curling | Unsupported edge weight | End rings stabilize |
| Drooping edges | Gravity on fabric | Fixed anchor support |
| Uneven hang | Unbalanced tension | Balanced ring placement |
| Sagging panels | Concentrated stress | Distributed support |
| Poor alignment | Loose fabric edges | Secure positioning |
Placing end rings at both edges maintains a straight line, resulting in professionally hung and polished curtains every time.
Matching Ring Finish to Your Rod and Hardware
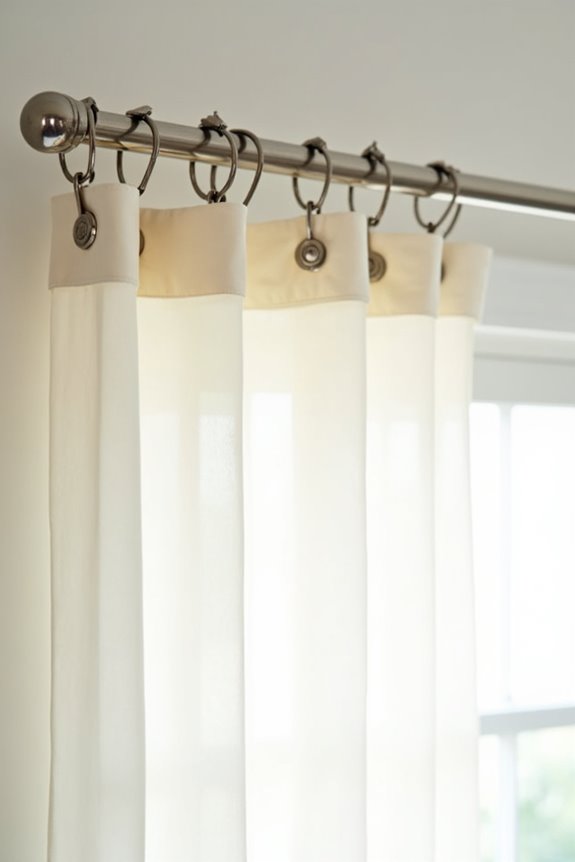
I’ve learned that matching your curtain ring finish to your rod and brackets affects how your window treatment appears. When I choose rings in bronze, gold, or matte black that echo my hardware, I create visual unity that makes the entire window treatment look deliberate and refined. You’ll find that sticking with finishes from the same collection keeps your style consistent, whether you’re going classic or modern.
Finish Coordination Essentials
Why do so many curtain installations feel incomplete despite perfect measurements and quality fabric? I’ve discovered the answer lies in finish coordination—that detail connecting your rings to your rod.
When I select curtain rings, I match the finish precisely to my rod’s material. This isn’t just aesthetic; it’s about creating visual harmony that makes your window treatment deliberate and polished.
Consider these finish coordination essentials:
- Bronze rings complement bronze rods, creating warmth and richness
- Gold finishes add elegance and luxury to any space
- Matte black provides modern sophistication and visual weight
- Brushed nickel offers timeless, neutral versatility
Aligned finishes keep rod weight distribution balanced while preventing visual discord. When my rings match my rod’s bronze patina or gold gleam, the entire installation becomes deliberately designed, welcoming everyone who enters my home.
Creating Visual Cohesion
Matching your ring finish to your rod isn’t just about following a decorative checklist—it’s the difference between a window treatment that looks thrown together and one that appears intentional. Cohesion comes from coordinating every metal element: bronze rings with bronze rods, matte black with black hardware, gold rings with brass fixtures. When you align the finish across your rod brackets, finials, and rings, the entire window reads as designed rather than assembled. The spacing between rings matters too—consistent gaps enhance that polished appearance. Think of it like wearing coordinated jewelry; mixed metals feel chaotic, while matching finishes create harmony. This attention to detail signals to anyone entering your space that you care about the complete picture, not just individual pieces.
Quality Rings Make Installation Easier and Last Longer
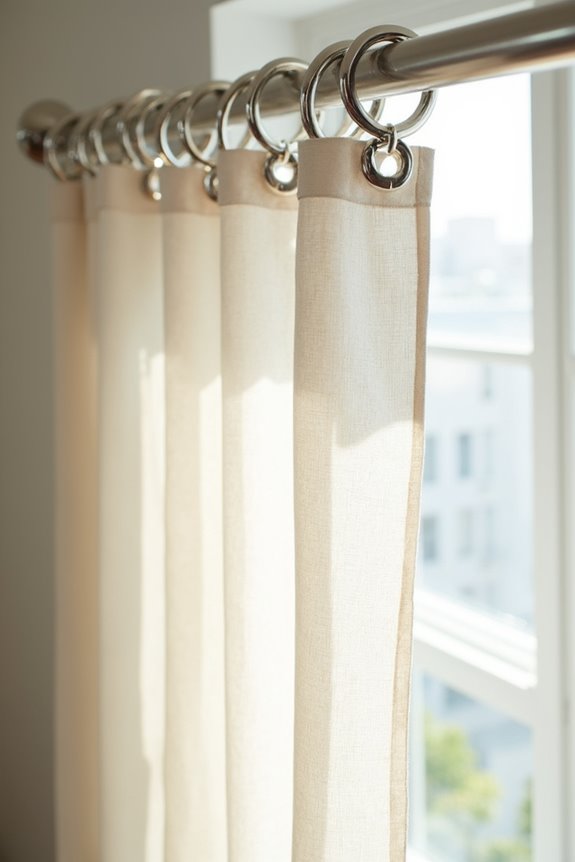
Ever noticed how some curtain rings glide effortlessly while others catch and stick? I’ve learned that quality rings improve your entire installation experience. When I invested in well-made rings, I found they’re worth the cost.
Quality curtain rings transform your installation experience, gliding effortlessly while resisting snags and maintaining durability through countless uses.
Here’s what makes quality rings worth your investment:
- Stronger materials resist bending under heavier fabrics, maintaining durability over years
- Smooth gliding reduces snagging, creating that satisfying, effortless movement
- Consistent spacing keeps your panels aligned professionally without sagging
- Longer-lasting construction means fewer replacements and less re-hanging hassle
I’ve noticed that prioritizing reputable finishes like brushed nickel or matte black prevents tarnishing while matching your rod hardware. Installing quality rings takes less time because they cooperate with you instead of fighting against you. You’ll appreciate how they maintain their performance through countless openings and closings, keeping your curtains looking polished season after season.
How to Install Curtain Rings for Even Hang and Smooth Glide
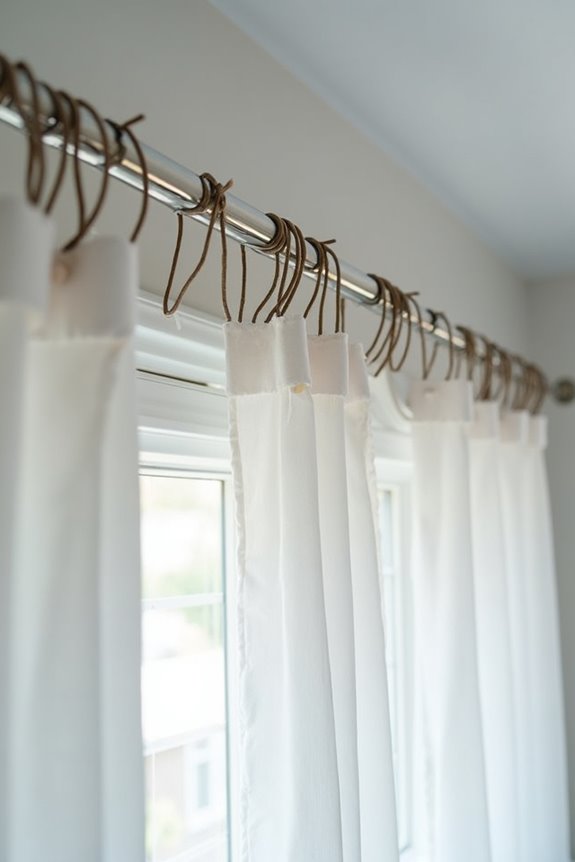
Once you’ve chosen your quality rings, proper installation is essential—and correct spacing significantly affects whether a curtain glides smoothly or catches halfway across.
I always start by placing rings at each panel’s end, then space the remaining rings per panel evenly between them. For a 50-inch panel, I use about nine to ten rings; for 72 inches, I go with eleven to twelve. The optimal spacing? Every four to six inches apart, which prevents sagging and supports weight effectively.
As I install, I test the smooth glide frequently along the rod. I align clip rings and eyelets with your panel’s natural folds, maintaining consistent spacing throughout. This careful approach results in curtains that hang with grace and fluidity.
When 3 Rings Aren’t Enough: Common Placement Mistakes
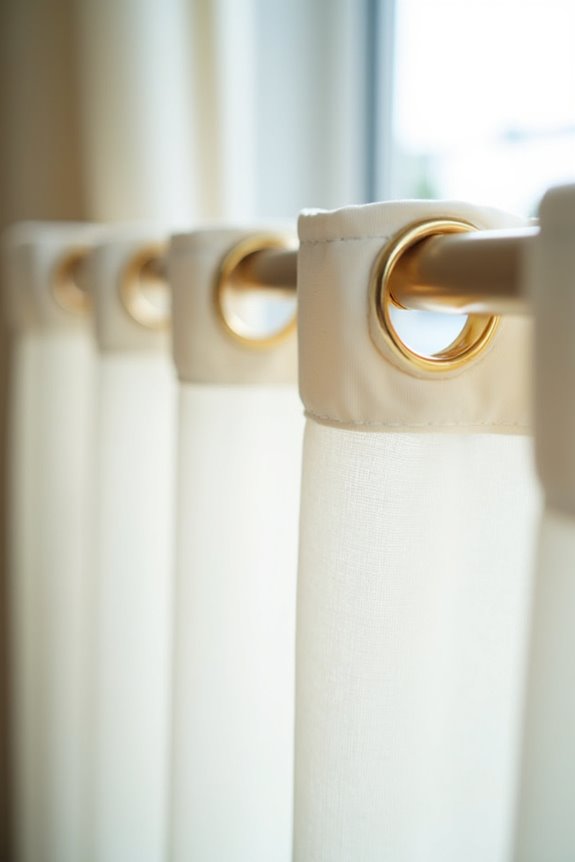
While proper spacing keeps your curtains gliding smoothly, I’ve watched many people underestimate how many rings they actually need—and three rings simply won’t cut it for functional draperies. When you skimp on rings, you’re inviting sagging, uneven hang, and poor panel fullness that’ll frustrate you every time you close them.
I’ve noticed common placement mistakes that sabotage results:
- Crowding rings toward the center, leaving gaps at edges
- Spacing rings unevenly, causing edge curling and drooping
- Forgetting to account for back tabs or returns, throwing off your count
- Using insufficient rings for heavier fabrics that need consistent support
You’ll want 6–9 rings per panel with proper 4–6 inch spacing. Test with a single panel first, then adjust from 8–10 rings for typical 50-inch widths. This delivers balanced fullness and smooth operation you’ll actually enjoy.
When to Consult a Professional for Complex Layouts
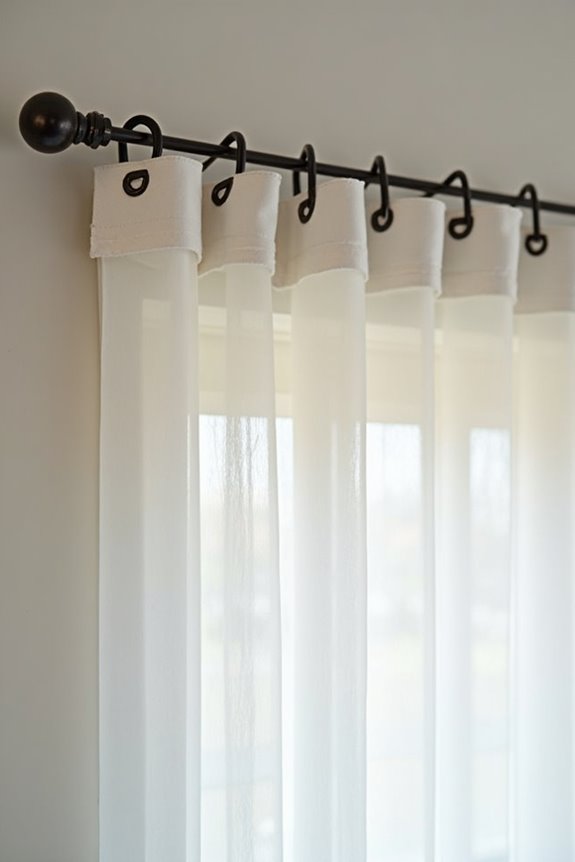
If you’ve got an unusual window setup—think bay windows, arched frames, or multiple panels with varying widths—I’d recommend calling in a professional who can assess your specific layout and calculate the exact ring count you’ll need. They’ll consider everything from custom pleat styles to return depths, so your curtains hang symmetrically and hardware supports the weight without sagging. An in-home consultation removes the guesswork from a potentially complicated installation, helping you avoid costly mistakes and frustration.
Complex Window Configurations
How do you know when your window setup has crossed from straightforward to “I need expert help”? Complex configurations demand professional guidance beyond basic rings per panel calculations. When your windows feature multiple adjacent panes, irregular shapes, or non-standard features, custom configurations require specialized expertise.
I recommend consulting a professional when you’re dealing with:
- Arched tops, corner windows, or angled walls that complicate uniform ring spacing
- Multiple panels requiring precise fullness targets tailored to each segment
- Returns, mullions, and varying rod lengths that risk sagging or misalignment
- Non-standard features needing custom calculations for balanced distribution
An in-home consultation provides accurate measurements, pleat types, and mounting hardware integration. Experts assess your specific layout, recommend exact ring placement, and account for fullness needs—whether standard 1.5–2× or full 2.5–3×. This personalized approach delivers professional results tailored to your space.
Custom Drapery Specifications
When your drapery setup demands more than a straightforward ring count, that’s precisely when I’d recommend bringing in a professional who understands the nuances that basic formulas miss. Custom drapery specifications require careful consideration of exact pleat counts, back tabs, returns, and whether your panels need symmetric ring distribution. I’ve found that rings per panel vary dramatically depending on these details, and professional input helps you avoid sagging or misalignment that frustrates homeowners.
A specialist verifies rod spacing and edge ring placement across multiple panels, accounting for complexities that generic guidelines can’t address. They’ll confirm whether you’re working with pinch pleats that need one ring per pleat plus edge rings, or alternative configurations altogether. This expertise results in precise hanging rather than guesswork, giving you confidence in your investment.
Professional Installation Ensures Precision
Getting your curtain rings spaced perfectly across multiple panels—that’s where the real difference between a DIY attempt and a polished result shows up. I’ve learned that professional installation delivers what seems simple into something genuinely flawless.
Here’s what experts handle that we often overlook:
- Calculating exact ring spacing, typically 4–6 inches apart, based on your panel width and fabric weight
- Determining accurate ring quantity to prevent sagging and balance fullness
- Aligning end rings precisely for clean, finished edges
- Verifying compatibility between your rod, rings, and hardware
When layouts get complex—multiple panels, varying window sizes, heavier fabrics—I recommend consulting professionals like CV Floor & Blinds. Their free in-home consultations tailor recommendations specifically to your situation. You’ll gain peace of mind knowing your curtains hang with balanced elegance that lasts.