I’ll walk you through building a backyard playset that’ll keep your kids entertained for years. First, I size the footprint at five by nine feet and pour cement footers for sturdy ten-foot posts. Next, I frame the deck platform with pressure-treated lumber and install safety rails using a spacing jig for precise baluster placement. Finally, I mount the swing beam, rock wall, ladder, and roof canopy with carriage bolts and outdoor screws. The whole project transforms your yard into an adventure zone that’ll withstand the elements beautifully.
Step 1: Size Your Playset Footprint and Plan the Foundation
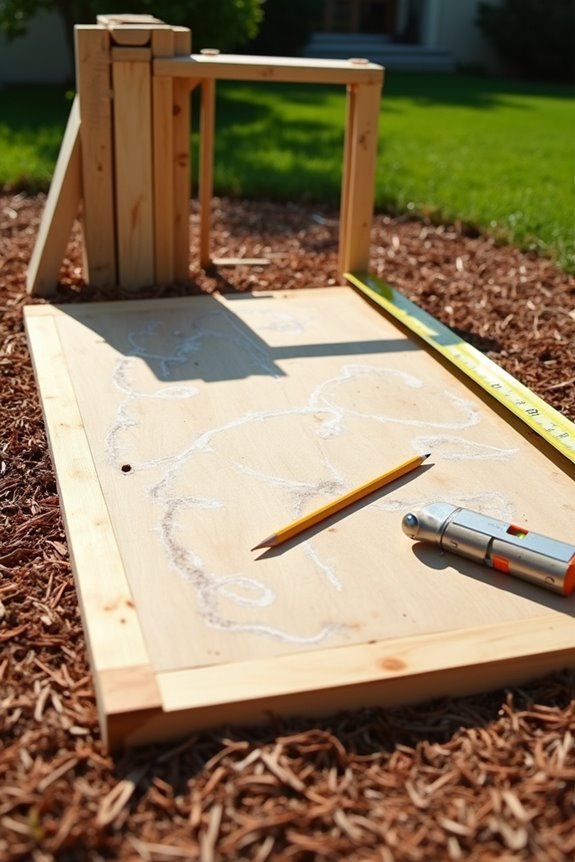
Where do you even start with a backyard project this exciting? I’ve found that sizing your playset footprint is absolutely essential. I’m planning mine at 5 by 9 feet, which fits snugly into my compact yard without overwhelming the space.
Foundation planning comes next, and honestly, it’s where I’m being most intentional. I’m anchoring with cement footers for my 10-foot tall posts, ensuring about 8 feet of ground clearance. This means my kids can move freely underneath without worry.
I’m using pressure-treated lumber for my beams and posts, and I’m letting it dry in the sun for a week first to reduce moisture before assembly. I’ll secure everything with carriage bolts at corners and use notches for that extra stability. Leveling scaffolding helps me keep everything perfectly aligned during construction.
Step 2: Build the Deck Platform and Safety Rails
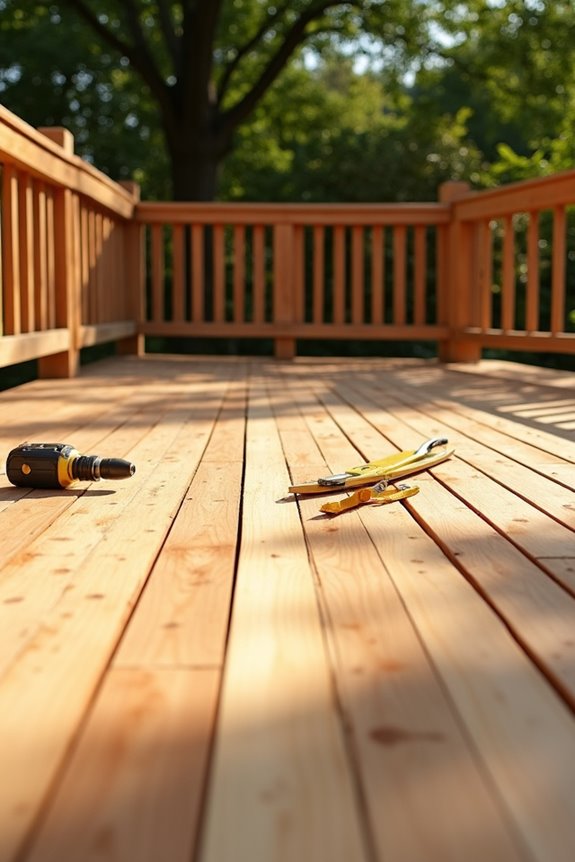
How do you transform those sturdy posts into a safe, inviting play platform that’ll actually support your kids’ adventures? I’ll frame the deck platform using pressure-treated lumber and 2×4 rails, creating a solid foundation for everything above. Using my spacing jig, I carefully position balusters between upper and lower safety rails, pre-drilling and screwing each one for security. The deck boards—pressure-treated beauties cut at precise 45-degree angles—rest on support boxes beneath. I notch around each newel post, leaving 1/8 inch expansion space to account for wood movement. Carriage bolts anchor the corners, providing extra stability that makes me confident my kids can play safely. A quick 1/8 inch round-over and 180-grit sanding smooth every edge, eliminating splinters and creating that finished feel.
Step 3: Install Swings, Slides, Climbers, and Roof Canopy
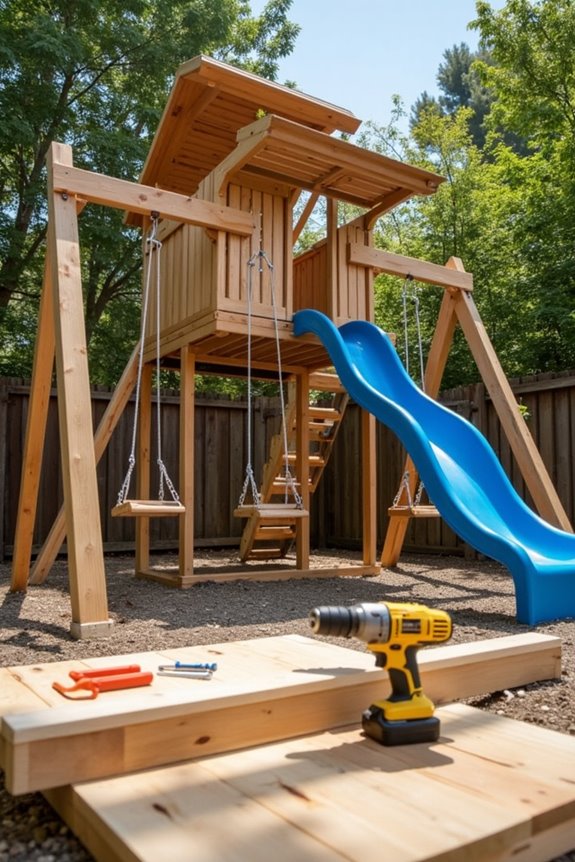
With your deck platform now solid and splinter-free, you’re ready to transform that sturdy base into the action-packed play zone your kids have been dreaming about. I’ll start by mounting the laminated swing beam using drill-ready brackets and carriage bolts—this combination gives you the security every parent wants. Next, I’m securing the rock wall supports and ladder rungs with outdoor screws, taking advantage of pre-drilled holes for smooth installation. The ladder steps attach similarly, creating safe climbing paths. I’m careful to work around the notches designed for newel posts, respecting that 1/8 inch expansion room for perfect alignment. Finally, I’m clamping the roof canopy to t-supports, trimming excess screws, then sanding sharp edges and applying protective stain. The result? A complete, weather-protected playset your family will treasure for years.