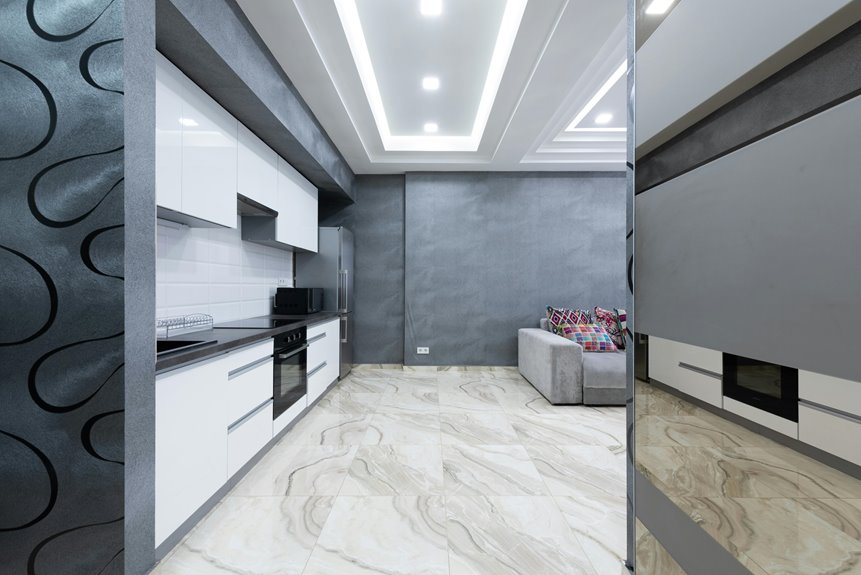
Most kitchens need between 6 and 12 recessed lights, depending on your space’s size and ceiling height. I use a simple formula: one light per 4–6 square feet, then adjust based on how high your ceiling sits—roughly half your ceiling height determines spacing. A 12-by-14-foot kitchen with 8-foot ceilings typically needs about 12 fixtures. But here’s the thing: recessed lights work best layered with pendants and under-cabinet lighting, which means the exact number shifts based on how you’re building your complete lighting plan.
Recessed Lights as Your Kitchen’s Foundation Layer
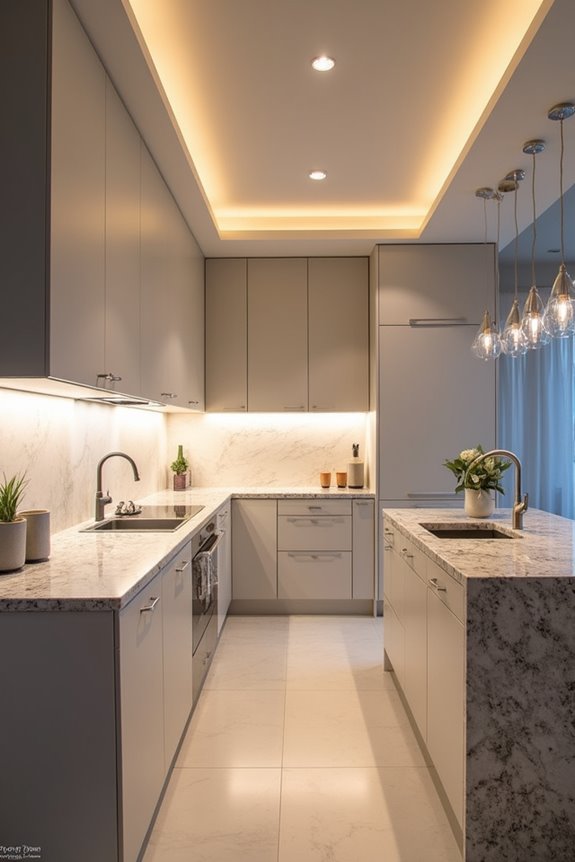
Why do so many kitchens feel incomplete even when they’re packed with fixtures? I’ve learned that the answer lies in foundation layer thinking. Recessed lights aren’t meant to carry your kitchen’s lighting alone—they’re the quiet backbone that supports everything else.
When I install them thoughtfully, they create ambient illumination that feels natural and calming, especially during evening hours. By spacing them around one per 4–6 square feet, I avoid those frustrating shadows on cabinets and eliminate harsh glare. Ceiling height and your layout matter tremendously here.
What I’ve discovered is that proper lighting placement transforms how your kitchen functions. Recessed lights ensure even illumination across prep zones and islands, creating the perfect canvas for task lighting to shine. They’re the foundation that makes your entire space feel welcoming and complete.
The Spacing Formula That Eliminates Dark Spots
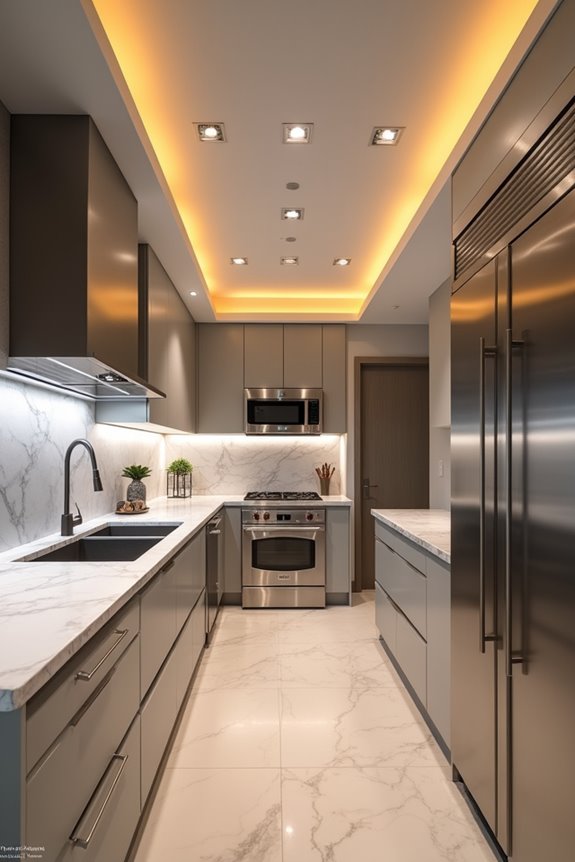
How do you know where to place that first recessed light? I’ve found the spacing formula transforms guesswork into confidence. Here’s my approach:
The spacing formula transforms guesswork into confidence when positioning your first recessed light.
The magic lies in ceiling height. I divide my ceiling height in half to determine spacing—an 8 ft ceiling means roughly 4 ft apart, while 10 ft ceilings need about 5 ft spacing. This creates overlapping light pools that banish dark spots entirely.
For your recessed lighting layout, I follow these positioning rules:
- Position the first row 2–3 ft from walls, minimizing edge shadows
- Space fixtures consistently across length and width
- Multiply rows by columns for total fixture count
This spaced lighting strategy ensures even coverage throughout your kitchen. When I started using this spacing formula, those frustrating shadows disappeared completely. You’ll feel the difference immediately—your entire space transforms into a well-lit sanctuary where cooking becomes genuinely enjoyable.
How Many Recessed Lights Your Kitchen Size Actually Needs
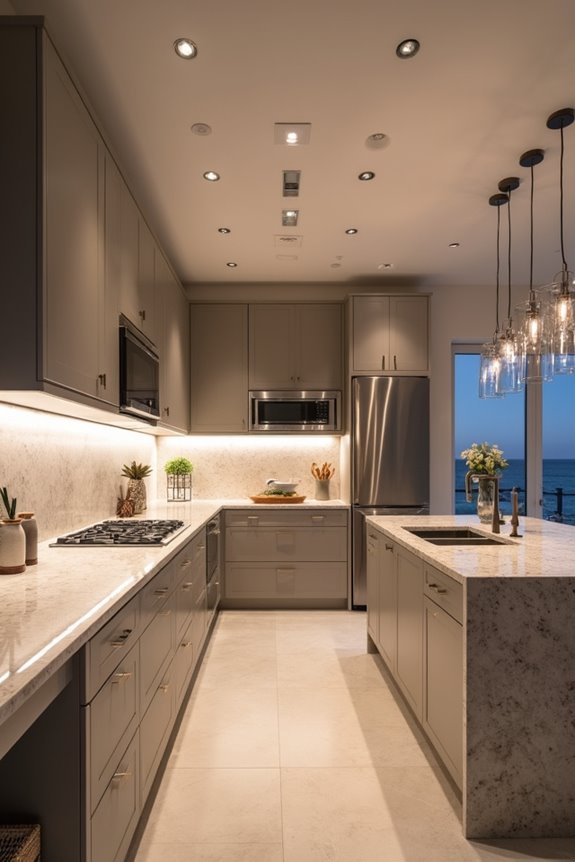
Once you’ve figured out where your lights go, the real question becomes: do you have enough of them? I’ve found that kitchen lighting truly depends on your space’s square feet. Small kitchens typically need 4–6 recessed lights, while medium kitchens work well with 6–10. If you’re working with a larger layout, you’re looking at 10–14 lights, and expansive open-plan kitchens might need 12–16 or more.
Here’s my approach: I use the baseline rule of one recessed light per 4–6 square feet, then adjust based on ceiling height and spacing. For a 12 ft by 14 ft kitchen with standard 8 ft ceilings, I’d suggest about 12 LED fixtures using a 4 ft spacing rule. Real obstacles like cabinetry and islands shift these numbers, so your area-based calculation becomes a flexible starting point, not gospel.
Placement Strategy: Where to Position Your First Row
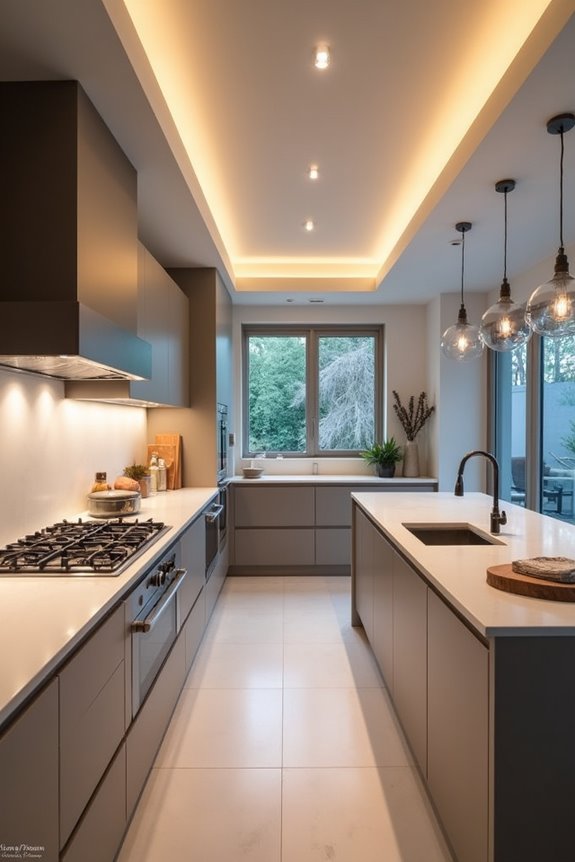
Getting the total number right is just the starting point—where you actually install those lights makes all the difference in how your kitchen feels and functions. I’ve learned that first row placement determines whether you’re bathed in even light or wrestling with shadows over your countertops.
Here’s what I’ve found works best:
- Position your first row 2–3 feet from walls to eliminate those dark zones near cabinetry
- Space lights about 4 feet apart for 8-foot ceilings, which naturally lands that initial row roughly 4 feet from the wall
- Stagger positions in complex layouts to prevent shadowed corners
Your ceiling height guides everything—use roughly half that measurement as your starting spacing interval. This approach ensures your countertop lighting feels balanced and functional, creating the welcoming kitchen atmosphere we all crave.
Task Lighting Zones: Work Areas, Islands, and Countertops
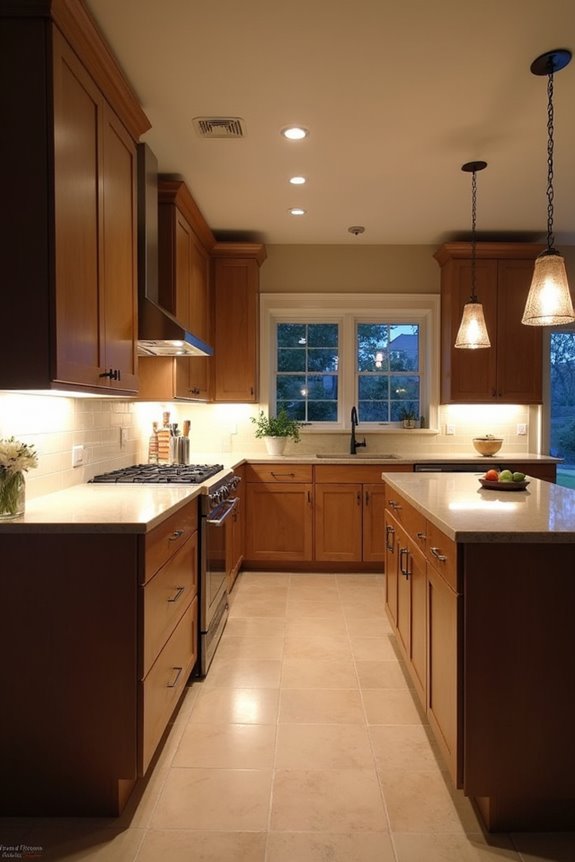
Why do so many kitchens leave you squinting over the sink or casting your own shadow across the cutting board? The answer lies in strategic task lighting zones. I’ve found that dedicating recessed lighting to your primary work areas—sink, chopping board, and cooking zone—transforms functionality entirely. Over your kitchen island, I space multiple recessed fixtures 4–6 feet apart, ensuring even countertop illumination without dark spots. For under-cabinet work surfaces, I combine recessed lighting with row spacing about 12–18 inches from cabinet fronts, minimizing shadowing that frustrates meal prep. Dimmable LEDs are game-changers; they let me adjust brightness for different tasks and times of day, reducing glare and fatigue. This layered approach creates a kitchen where I actually enjoy working.
Ceiling Height Adjustments: 8, 9, 10, and 12-Foot Kitchens
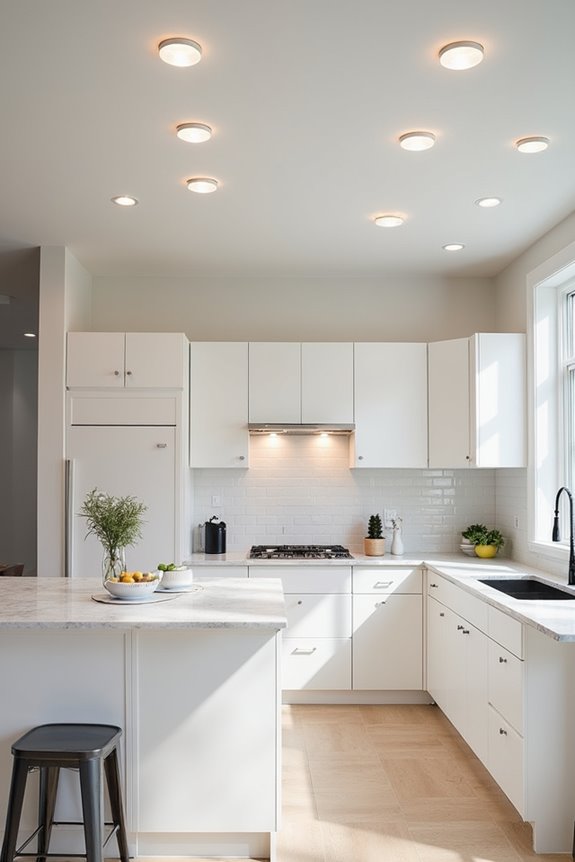
How dramatically does your ceiling height change the recessed lighting game? I’ve discovered that your kitchen’s vertical dimension fundamentally reshapes your lighting strategy.
Your kitchen’s vertical dimension fundamentally reshapes your recessed lighting strategy and spacing patterns.
Here’s what I’ve learned about spacing patterns across different heights:
- 8-foot ceilings: Space recessed lights roughly 4 feet apart, following the half-ceiling-height rule for balanced coverage
- 9-10 foot ceilings: Increase spacing to 4.5–6 feet, requiring 5–6 fixtures per 8×10–12 ft area to prevent dark spots
- 12-foot ceilings: Allow up to 6 feet between fixtures, though you’ll need higher-wattage LED fixtures for even light coverage
I’ve found that taller kitchens demand more strategic planning. Multiple heights sometimes require directional fixtures to eliminate glare while maintaining consistent brightness. Your ceiling height ultimately determines both the number of recessed lights you’ll install and their spacing pattern throughout your kitchen lighting design.
Layout Mistakes That Cause Shadows and Glare
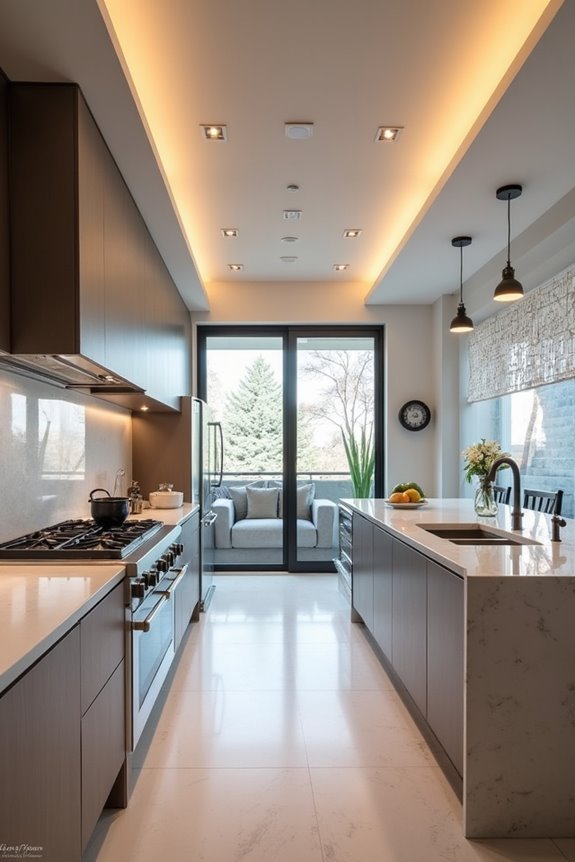
Most kitchen lighting plans fail not because they lack fixtures, but because they’re arranged without considering where you’ll actually work. I’ve seen countless kitchens where evenly spaced recessed lights create frustrating dark spots directly over countertops and chopping areas. When you position recessed lights too close to walls, they generate harsh glare and uneven light pools that make your cabinets cast sharp shadows across work surfaces. The real problem? Relying solely on recessed lights for illumination leaves your task lighting completely neglected. You need to think strategically about wall proximity and spot lighting issues. Ignoring cabinet heights means shadows plague your prep zones exactly when you need brightness most. Thoughtful kitchen lighting layout combines recessed lights with dedicated task lighting, creating balanced illumination that actually serves your cooking needs instead of working against them.
Layering Recessed Lights With Pendants and Under-Cabinet Fixtures
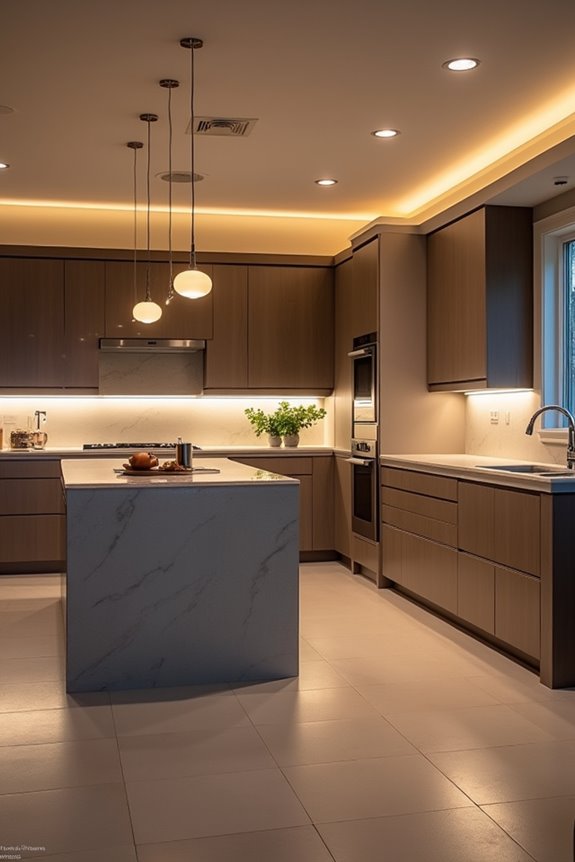
The real magic happens when you stop thinking of recessed lights as your kitchen’s complete lighting solution and instead treat them as just one layer in a thoughtful system. I’ve discovered that layered lighting truly transforms how your space feels and functions.
Here’s how I’d approach it:
- Recessed lights provide even coverage and ambient lighting across your entire kitchen
- Pendant lights deliver focused task lighting over islands, creating visual interest at key focal points
- Under-cabinet lighting eliminates shadows on countertops, enhancing visibility for food prep
When you combine these three, you’re avoiding the flat, sterile feel that recessed lights alone create. The pendants add personality and warmth, while under-cabinet strips ensure you’re never squinting at your cutting board. This balanced approach gives your kitchen depth, functionality, and the inviting ambiance you actually want to cook in.
Dimmable LEDs and Adjustable Fixtures for Control
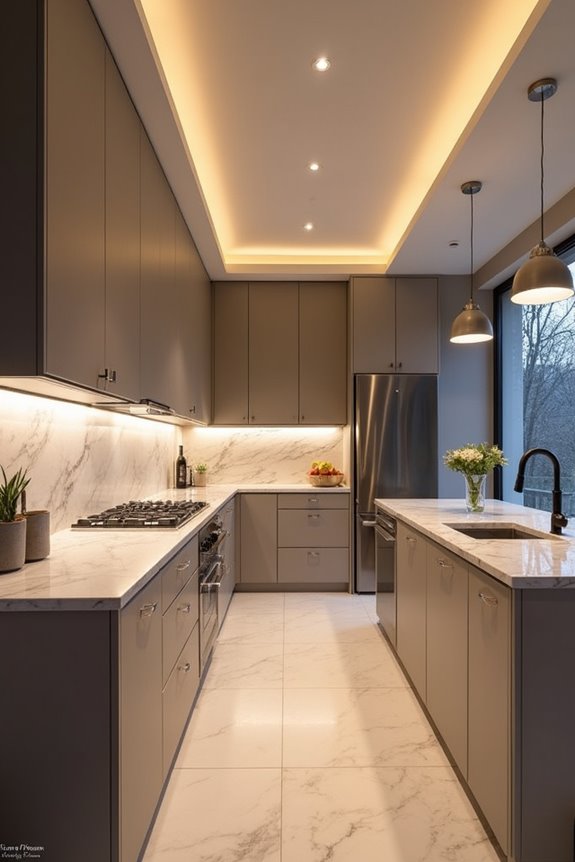
Why settle for one brightness level when you can shift your kitchen’s entire mood with a simple dimmer? I’ve found that dimmable LED recessed lights transform how I use my space—bright enough for serious meal prep, soft enough for evening conversation. Adjustable fixtures with gimbals let me redirect light exactly where shadows lurk on my countertops. What I love most is that dimmable LED technology preserves color rendering while lowering wattage, whether I choose warm 2700K tones or cooler 4000K task lighting. When layering with under-cabinet and pendant lights, this lighting control creates genuine ambient versatility. Before installing, I always verify dimming compatibility between drivers, trim, and switches—it’s the difference between seamless control and frustrating flicker. That’s when recessed lights truly shine.