
I’ll measure your kitchen sink in ten straightforward steps to ensure a perfect fit. First, I identify whether you’ve got a top-mount, undermount, or farmhouse style—each needs different approaches. Then I measure your cabinet’s interior width and apply the 2–3 inch rule to find your maximum sink width. Next, I’ll capture your sink’s actual dimensions: width, depth, and length across all bowls. I verify the countertop cutout matches your sink’s footprint, check faucet spacing and backsplash clearance, confirm drain accessibility, and finally assess whether your cabinet can handle the weight. Each step builds confidence for your installation.
Step 1: Identify Your Sink Type and Mounting Style
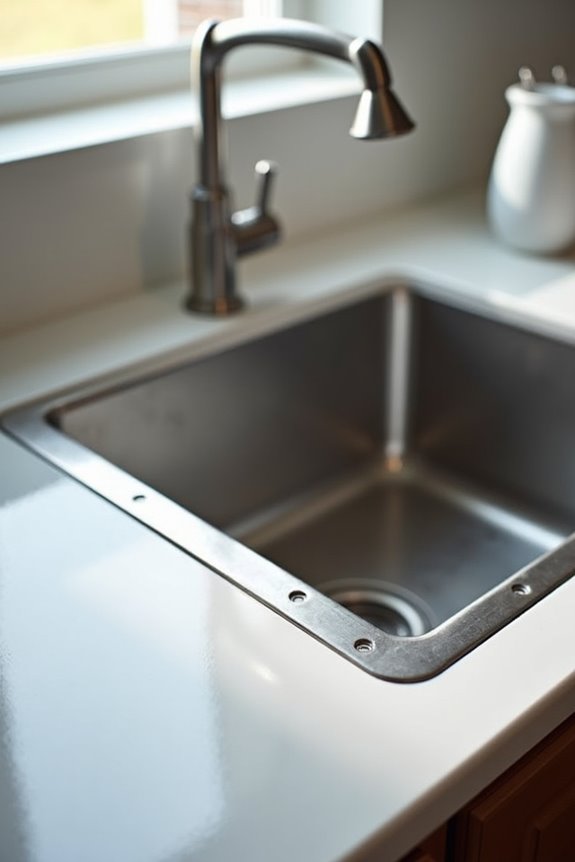
Before you even think about pulling out a measuring tape, have you considered which style of sink you’re actually working with? I’ve learned that identifying your mounting style makes everything else fall into place. Top-mount sinks sit on your countertop’s surface, which means I measure for an opening slightly smaller than the rim. Undermount sinks, however, require precision—I measure the actual basin dimensions because they’ll sit flush beneath the counter. Then there’s the farmhouse option, which brings its own quirks depending on whether the apron sits undermount or rimmed. Getting this first step right genuinely matters. I’ve seen plenty of installations go sideways because someone skipped this essential identification. Taking time upfront to understand your sink’s mounting style helps me make every subsequent measurement accurate and confident.
Step 2: Measure Your Base Cabinet Interior Width (Your Starting Constraint)
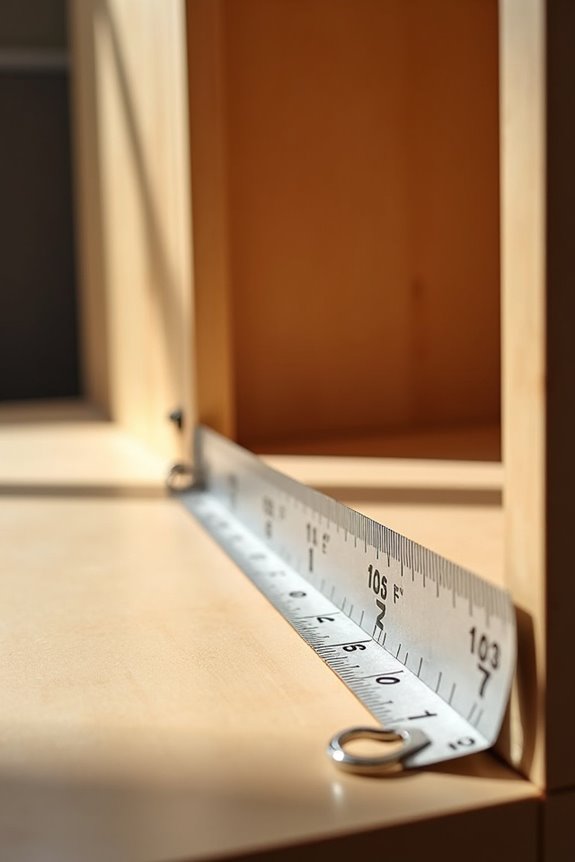
I’ll measure my base cabinet’s interior width by placing my tape measure flat against the floor between the left and right inner walls—this gives me the true usable space, not just the door opening. Once I’ve got that number, I’ll apply the 2–3 inch rule, subtracting it from my cabinet width to find my maximum sink width, since those inches account for mounting brackets, clearance, and the foam sealant that keeps everything watertight. Recording this measurement to the nearest eighth of an inch ensures I’ll find sink models that actually fit without forcing or leaving dangerous gaps.
Interior Cabinet Measurement
How much space are you actually working with inside your cabinet? I’ve learned that measuring your base cabinet’s interior width is the essential first step—it’s your starting constraint for everything that follows.
Here’s what I do when I’m taking measurements:
- Measure from the left interior wall to the right interior wall, using a tape measure placed horizontally
- Note the exact distance in inches, accounting for any protruding hinges or brackets
- Apply the Rule of 2–3 inches by subtracting that amount from your total width
- Verify clearance remains for plumbing connections and any mounted appliances underneath
Common base cabinets come in 30, 33, and 36-inch widths. A 36-inch cabinet accommodates sinks up to about 33 inches wide. I always double-check my measurement because getting this right prevents costly mistakes later.
The 2-3 Inch Rule
Once you’ve got that interior width locked down, you’re ready to apply what I call the golden rule of sink fitting—the 2-3 inch rule. Here’s how it works: take your base cabinet width and subtract 2 to 3 inches from that interior measurement. That remaining number becomes your maximum sink width.
Why? Those extra inches give your sink proper support and clearance on both sides, preventing wobbly installations and ensuring everything sits securely. If you’ve got a 36-inch cabinet, a 33-inch sink fits perfectly. For a 30-inch base cabinet, you’d need something smaller.
This simple calculation protects your investment and guarantees a professional fit. I’ve seen too many projects derailed by ignoring this fundamental step. Trust the 2-3 inch rule—it’s your guarantee for success.
Maximum Sink Width Constraint
Where does your sink fit within the space you’ve actually got? I’ve learned that your base cabinet’s interior width is the foundation for everything that follows. Here’s what I check:
- Measure your base cabinet opening from inside wall to wall, establishing your maximum cutout size
- Apply the 2–3 inch rule: subtract that amount from cabinet width for proper mounting clearance
- Account for sink lip and rim thickness, which demands additional space beyond the basin itself
- Consider apron-front or undermount styles, which extend beyond your standard cabinet width measurement
Standard 36-inch base cabinets typically accommodate 33-inch sinks comfortably. I always verify these numbers before ordering anything, because oversizing creates installation headaches nobody wants. Your cabinet width determines your sink’s actual footprint—get this constraint right, and everything else clicks into place.
Step 3: Calculate Maximum Sink Width Using the 2–3 Inch Rule
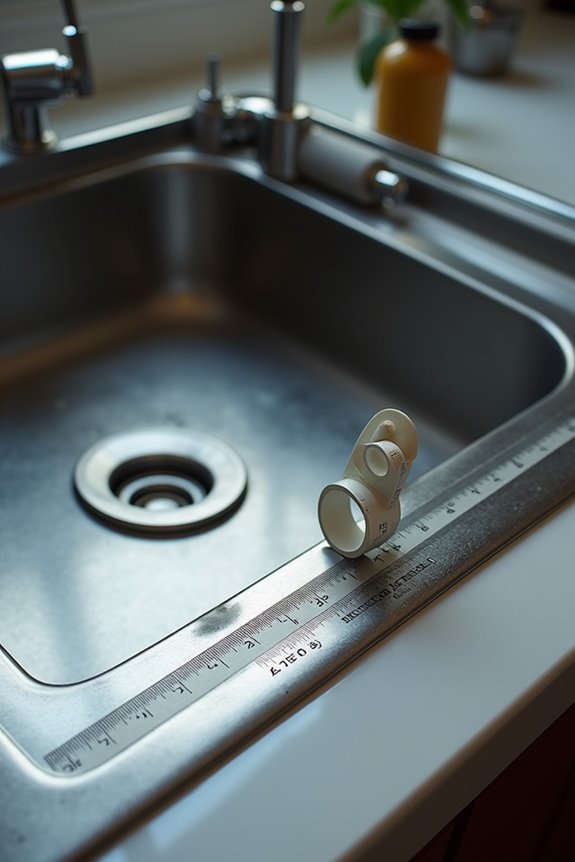
Why does clearance matter so much when you’re picking a sink size? I’ve learned that proper clearance prevents installation headaches and ensures your sink fits beautifully in your cabinet width. Here’s where the 2–3 inch rule becomes your best friend: subtract 2 to 3 inches from your cabinet’s interior width to find your maximum sink footprint.
Let me walk you through this. If your cabinet measures 36 inches inside, you’re aiming for a 33-inch sink. This gap accommodates mounting hardware and edge finishing, regardless of your mounting type choice.
I always measure my cabinet’s interior width first—the actual inside edges matter here. Then I apply this straightforward calculation. For a 30-inch cabinet, I’d target a 27 to 28-inch sink maximum.
This rule keeps everything proportional and functional.
Step 4: Measure Sink Width From Outer Edge to Outer Edge
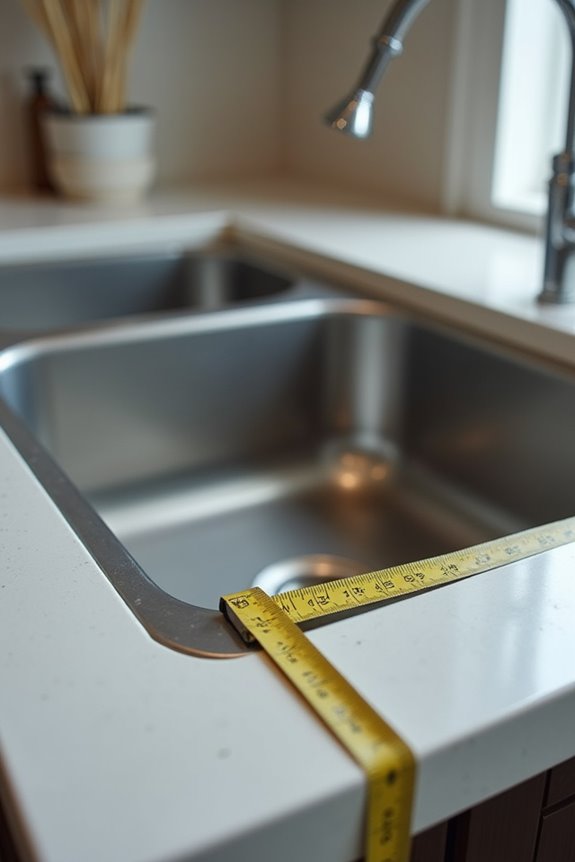
Now I’ll show you how to capture the actual width your sink’ll occupy in your cabinet, and this measurement’s essential because it directly affects whether your sink fits properly. For top-mount sinks, I measure right across the rim’s widest point where it sits visible on your counter, but for undermount models, I take the measurement from the inside edge where the basin meets the counter since that’s what truly matters for cutout compatibility. Getting this width right in inches ensures your new sink won’t just fit the space—it’ll actually work with your cabinet’s dimensions and leave you with those critical 2–3 inches of counter clearance on each side.
Top-Mount Rim Measurement
How you measure your sink’s width can make or break your installation, so I’ll walk you through this critical step carefully.
For top-mount sinks, I measure from the outermost edge of the rim on one side to the outermost edge on the opposite side. This rim measurement matters because it shows exactly how much countertop space your sink’ll actually occupy. Here’s what I focus on:
- Use the widest point of the rim, not the basin interior
- Account for rim thickness, which varies by material and design
- Note any overhang extending beyond your countertop cutout
- Compare this sink width measurement to your cabinet opening plus the 2–3 inch rule
This approach ensures your countertop cutout aligns perfectly with your top-mount sink’s actual footprint.
Undermount Interior Edge
Unlike top-mount sinks that sit proudly on your countertop, undermount models demand a different measuring approach, and I’ll show you exactly where to focus your tape measure. I position my tape across the widest interior points of the basin, measuring from the inner edge where the sink meets the counter straight to the opposite inner edge. This measurement reveals the actual width your undermount sink will occupy, and it’s vital for ensuring compatibility with your base cabinet.
I ignore the surrounding countertop rim entirely—that’s not what matters here. Instead, I record this interior edge measurement in inches, then compare it against the manufacturer’s listed width. I also consider corner radii or interior rebates that might slightly reduce usable width, keeping these details in mind when selecting my model.
Width Determines Compatibility
Getting your sink width right is where compatibility truly clicks into place, and I’ve found this measurement makes or breaks whether a sink actually fits your space. When you’re comparing models, width determines how much counter real estate you’ll lose and which cabinet configurations work best.
I’ve learned that measuring correctly saves headaches during installation:
- Measure from outer edge to outer edge for top-mount sinks, capturing the full rim span
- For undermount styles, measure the inside edge where it meets your counter
- Always record in inches to keep your measurements consistent across single, double, and triple bowl options
- Use the 2–3 inch rule—subtract that from your cabinet width to estimate your practical sink fit
Your width measurements ensure the cutout aligns perfectly with your faucet placement and edge clearance requirements.
Step 5: Measure Basin Depth (Bottom to Rim)
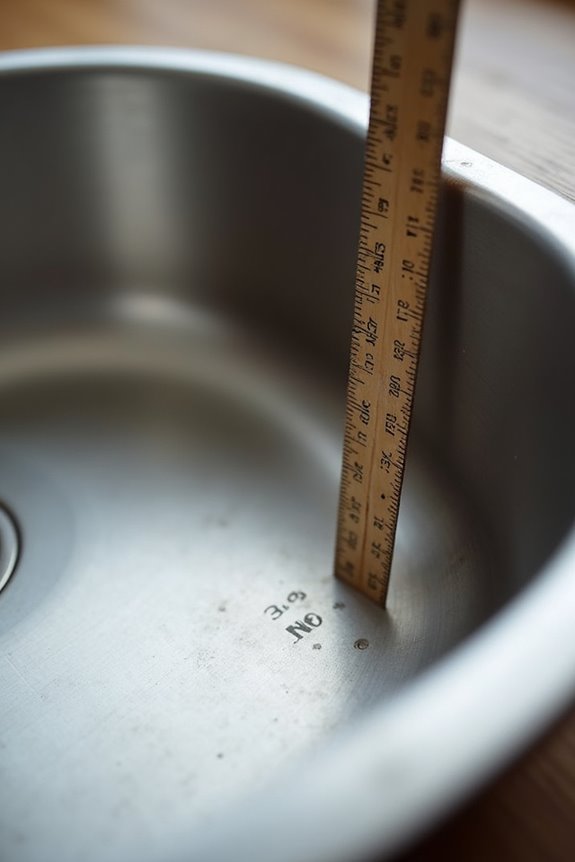
Why does depth matter so much when you’re picking a sink? I’ve learned that basin depth dramatically affects your daily kitchen experience. When I measure kitchen sink depth, I place my tape measure from the bottom to rim, capturing the full picture. Most sinks range from 6 to 12 inches, with deeper bowls around 9–10 inches handling heavy cookware beautifully. Here’s what I’ve discovered: deeper sinks reduce splashing, but they require more bending and sometimes cabinet reinforcement. Shallower options, typically 7–8 inches, suit compact kitchens and improve accessibility. Your depth measurement should match your posture during use and your typical pot and pan sizes. Getting this bottom to rim measurement right means you’ll actually enjoy washing dishes, not dread it.
Step 6: Measure Total Length Across All Bowls
Once you’ve nailed down how deep your bowls sit, the length of your sink becomes the next puzzle piece that determines whether you’ve got room to work or if you’re cramped from the start.
I measure from the far left edge to the far right edge, including any dividers between bowls. For farmhouse sink dimension considerations, I also factor in attached drainboards or extensions. Here’s what guides my process:
- Double equal bowls typically measure around 33 inches overall
- 60/40 offset configurations usually span about 31 inches
- I compare my kitchen sink length against base cabinet width
- I ensure a 2–3 inch margin remains for proper fit
Knowing your total bowl length prevents costly installation mistakes and keeps your counter functional for everyday cooking tasks.
Step 7: Match the Countertop Cutout Opening to Your Sink Footprint
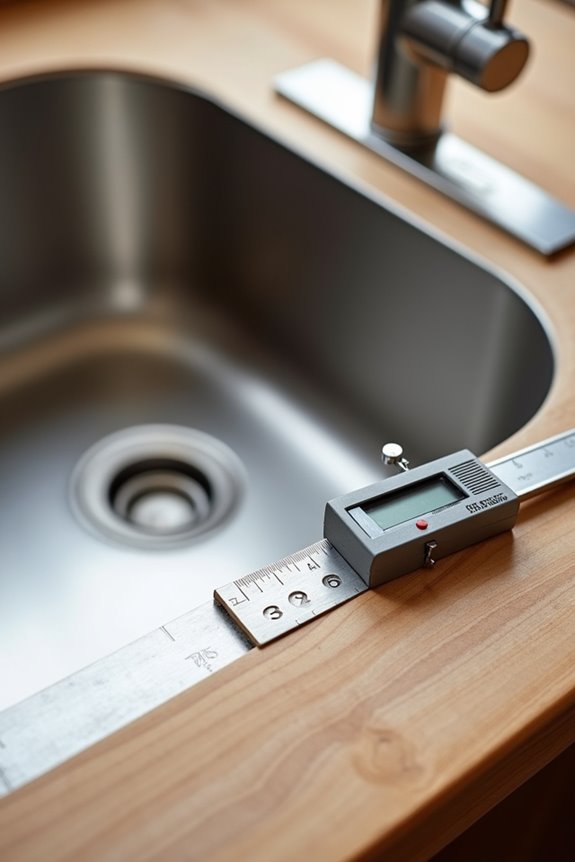
Before you pick up that saw, I’ll walk you through verifying your sink’s template and ensuring your countertop cutout aligns perfectly with your sink’s actual footprint—because a mismatched opening will leave you with gaps, instability, or worse, a costly redo. I’ve found that manufacturer specifications are your best friend here; they’ll detail the exact cutout dimensions, any required offsets, and whether your sink (top-mount or undermount) needs that essential overlap or flush edge. Taking these measurements straight from the template rather than eyeballing it saves you from the frustration of discovering your beautiful new sink won’t actually fit once it’s too late.
Cutout Template Verification Process
How do you know if your cutout is actually ready for the sink? I’ve learned that verification is everything when matching your countertop opening to your sink footprint. Before you finalize anything, I place the sink or its template directly inside the opening—this simple step prevents costly mistakes.
Here’s what I check:
- Rim clearance – I confirm the opening’s slightly smaller than the basin’s widest top edge for proper overlap and secure mounting
- Basin alignment – I verify the cutout template matches interior dimensions, especially for undermount or farmhouse styles
- Faucet space – I ensure adequate clearance around the mounting area
- Edge reveals – I check backsplash interactions and desired countertop exposure
This verification process gives me confidence that my sink fits perfectly, creating that satisfying, professional result I’m aiming for.
Sink Footprint Alignment Standards
Getting your sink footprint to align perfectly with your countertop opening is where measurement meets reality, and I’ve found this step separates amateur installations from polished results.
| Sink Type | Cutout Size | Undermount Alignment |
|---|---|---|
| Top-Mount | Slightly smaller than rim | Not applicable |
| Undermount | Matches inner basin | Flush with edges |
| Farmhouse | Accounts for apron | Rim or undermount |
I’ve learned that material thickness matters tremendously. My stainless steel undermount needed precise countertop opening dimensions matching its inner basin, while cast iron farmhouse sinks demand consideration of apron alignment with cabinet fronts. You’ll want to verify faucet clearance and drain positioning before finalizing your countertop opening. Getting this alignment right means your sink installation won’t just fit—it’ll look intentional and professionally finished, something you’ll genuinely appreciate every time you’re at the kitchen.
Step 8: Check Faucet Holes and Backsplash Clearance
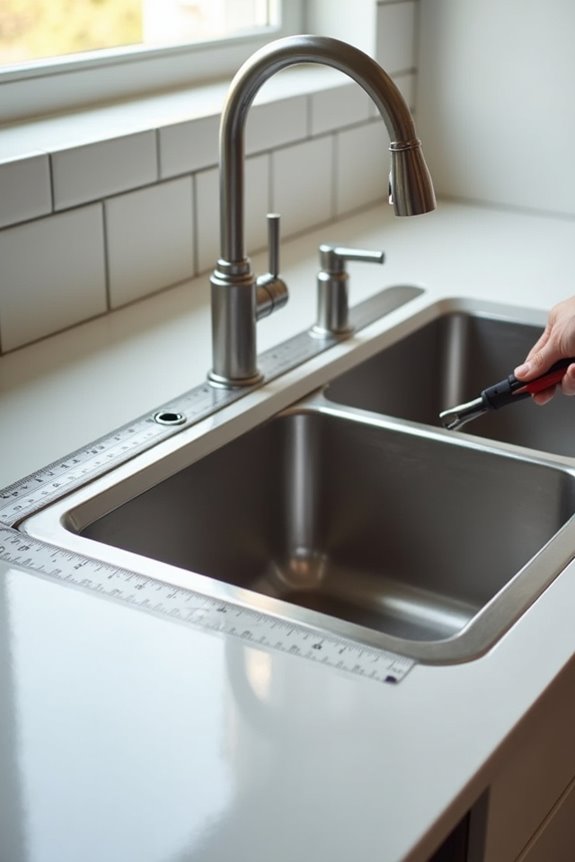
Once I’ve sized up the basin itself, I’ll turn my attention to what sits behind and on top of it—because even the perfect sink won’t work if your faucet can’t fit properly.
I need to verify several critical measurements to avoid installation headaches:
- Count the faucet holes and measure their spacing to match your specific faucet model
- Confirm adequate clearance between the basin rim and backsplash for hardware and mounting components
- Measure space from drain outlets to the backsplash to prevent plumbing conflicts
- Account for your sink’s mounting type, since top-mount, undermount, and farmhouse styles each require different backsplash clearance
I’ll grab the manufacturer’s templates too, ensuring my hole pattern aligns perfectly. This step transforms potential frustration into confident installation, letting me move forward knowing everything fits together like a glove.
Step 9: Ensure Drain Location and P-Trap Accessibility
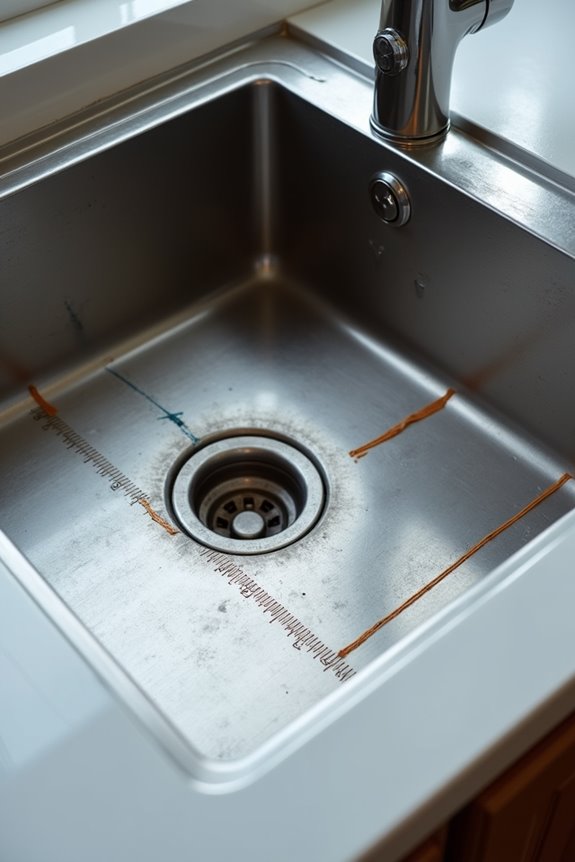
With the faucet holes sorted, I’ll now focus on what happens below the sink—because a perfectly positioned basin means nothing if your drain can’t connect smoothly to the existing plumbing.
I measure the distance from the basin bottom to the drain outlet, ensuring adequate trap clearance for the P-trap and mounting hardware. Then I check my existing plumbing routes under the cabinet, mapping where the trap, supply lines, and disposal currently sit. I confirm the drain location aligns with these connections to avoid costly conflicts.
I also verify the sink cutout and base cabinet offer enough space for the tailpiece and any necessary elbows or adapters. Finally, I plan ahead for P-trap accessibility, keeping room behind cabinet panels so I can remove and clean the trap when needed. Smart planning now saves frustration later.
Step 10: Account for Sink Material and Weight Limits
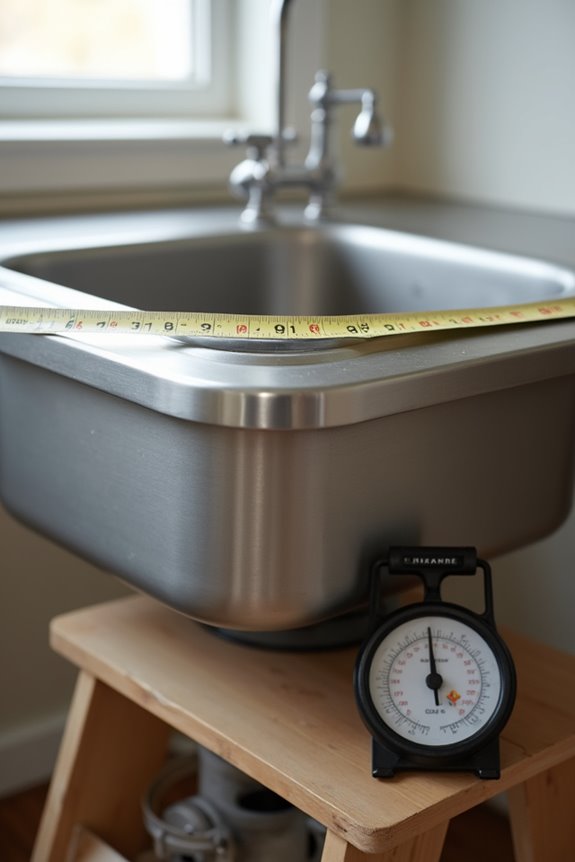
How much weight can your cabinet actually handle? I’ve learned that this final measurement step is crucial because it determines whether your new sink will safely settle into your kitchen or create problems down the road.
- Stainless steel weight varies by gauge thickness—16-gauge sinks weigh more than 18-gauge options, affecting your cabinet support requirements
- Granite composite and fireclay materials demand sturdy reinforcement because their substantial heft stresses cabinetry
- Mounting hardware specifications differ based on material weight limits, so check manufacturer guidelines before installation
- Cabinet structure and subfloor support must align with your sink’s total load to prevent sagging
I’d recommend confirming your cabinet’s capacity before purchasing. This thoughtful approach ensures your sink choice matches your home’s actual infrastructure, keeping everything stable and secure for years ahead.