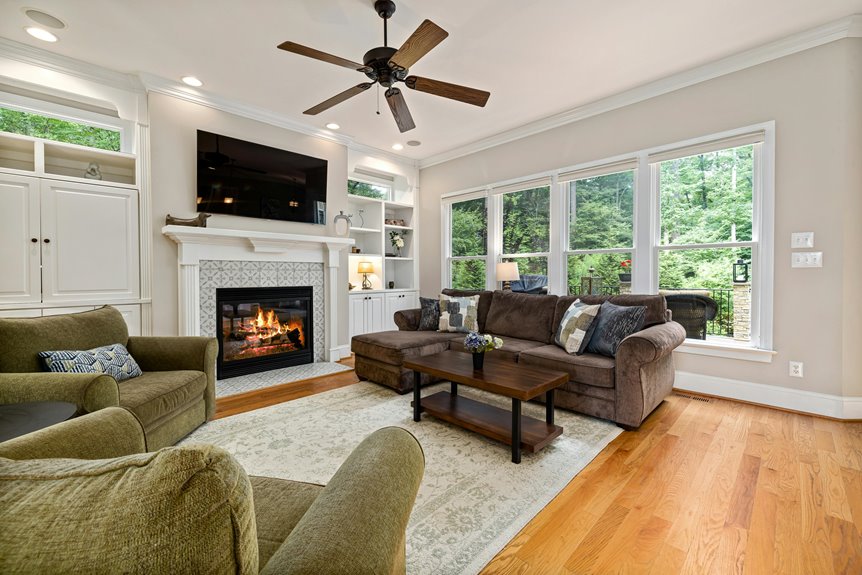
I learned the hard way that bigger isn’t better—your living room fan should match your square footage, not dominate the space. Measure your room’s length and width, multiply them together, then use this simple rule: under 75 square feet needs a 29–36 inch fan, 75–175 square feet needs 42–48 inches, and anything beyond 175 needs 52–56 inches or larger. The right size delivers genuine airflow without making your ceiling feel oppressive.
There’s a straightforward process that’ll guide you to your perfect fit.
What Qualifies as a Living Room Great Room?
How do you know when your living room has graduated to “great room” status? It’s simpler than you’d think. Your space qualifies as a great room when it exceeds 400 square feet or when adjoining spaces—like dining or kitchen areas—expand the overall footprint. This room sizing matters because it directly impacts your ceiling fans’ effectiveness.
When I’m helping someone choose the right fan, I always calculate the total square footage of all connected spaces. A great room demands different considerations than a standard living room, especially regarding airflow and visual balance. Understanding whether you’re working with a traditional living room or an expansive great room sets the foundation for selecting ceiling fans that’ll work well for your space.
Measure Your Room and Calculate Square Footage
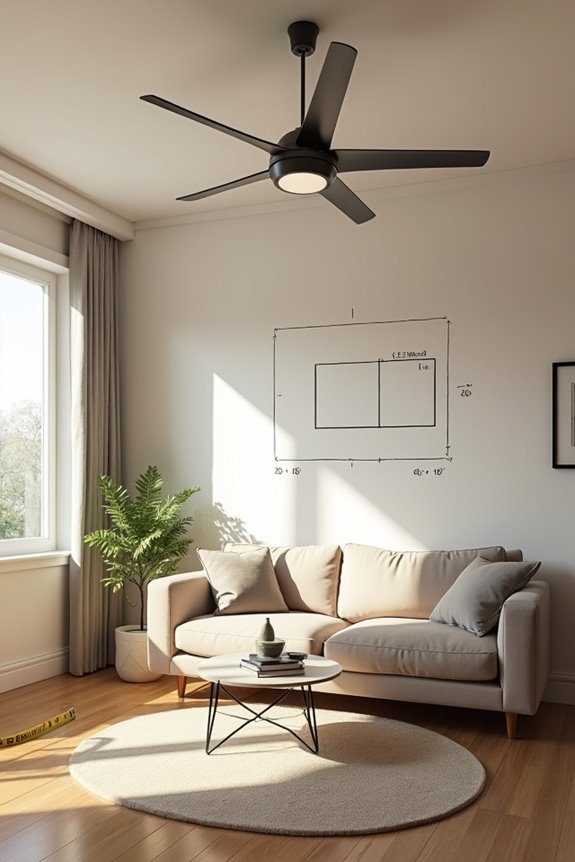
When you’re standing in your living room trying to picture the perfect ceiling fan, the first thing you’ll want to do—before you get swept up in finishes and blade designs—is grab a tape measure.
I measure my room’s length and width in feet, then multiply those numbers together to find my square footage. If you’ve got adjoining spaces like a kitchen or dining area flowing into your living room, I add their measurements too. This gives you the complete picture of what you’re working with.
Once I know my square footage, I can match it to the right blade span. For open-concept spaces especially, larger blade spans create better airflow and visual balance. Your square footage is the foundation for everything else.
Match Square Footage to Blade Span: The Sizing Formula

Now that you’ve measured your room, I’ll show you how to match those square feet to the right blade span, because picking a fan isn’t guesswork—it’s a straightforward formula. I’ve found that taking your length and width measurements, multiplying them together, and then cross-referencing that number with a sizing chart removes all the confusion about whether you need a 42-incher or something larger. Once you know your square footage, you’ll see exactly which blade span range works best for your space, and that’s where the real decision-making begins.
Calculate Your Room’s Square Footage
The first step to selecting the right ceiling fan is taking an accurate room measurement—something most people overlook. Your room size directly affects blade span selection, and I’ll walk you through the process.
Here’s what you’ll do:
- Measure your living room’s length and width in feet using a tape measure
- Multiply those numbers together to calculate your total square footage
- Account for adjoining spaces like kitchens or dining areas by adding their measurements
- Document your final square footage for the sizing chart comparison
Once you have that number, you can match it against blade span recommendations. This straightforward approach removes the guesswork, helping you choose a fan that fits your room appropriately.
Apply The Sizing Chart
Once you’ve got your square footage locked in, matching it to the right blade span is where your planning actually pays off. Using the sizing chart makes this step straightforward. For rooms up to 75 square feet, grab a 29–36 inch fan. Between 75–175 square feet, look at 42–48 inches. Larger spaces of 175–350 square feet call for 52–56 inches, while anything beyond 350 square feet demands 60 inches or multiple fans.
This sizing chart gives you a reliable baseline, but don’t treat it as gospel. Your ceiling height and room layout matter too. Open-concept spaces might need that extra blade span to circulate air effectively. Use the chart as your starting point, then adjust for your specific situation to get the right fit.
Room Shape and Fan Performance: A Crucial Variable

Your living room’s shape fundamentally changes how a ceiling fan performs, and ignoring this reality often leads to frustration and wasted money. A square room lets you center a single fan for balanced airflow, while a long rectangular space demands either a bigger fan or multiple units positioned strategically to reach those far corners. Open concept living areas offer the freedom to go larger—those 70–72 inch blade spans work well when there’s nothing blocking air movement through your visible space.
Square Rooms Need Centered Placement
Why does a square room’s geometry matter so much when you’re hanging a ceiling fan? I’ve learned that centered placement affects how your fan performs, and it’s worth getting right.
When I position my ceiling fan at the room’s center, I notice these benefits:
- Airflow distributes evenly across all walls, eliminating those frustrating dead zones near corners
- Balanced cooling and heating efficiency aligns with typical seating arrangements
- Visual symmetry creates a polished appearance
- A properly sized fan (50–54 inches for 225–400 sq ft rooms) avoids crowding walls
I’ve realized that square rooms respond well to centered placement. This positioning choice maximizes uniform air movement, supporting both comfort and efficiency. It’s one of those design decisions where function and aesthetics align, making your space feel purposeful.
Long Rectangular Spaces Require Strategic Sizing
When I measured my friend’s living room—a narrow 20-footer stretching from the kitchen all the way to the far windows—I realized that centering a single fan wouldn’t work. Her elongated rooms needed a bigger blade span, so we explored 56–72 inch models that could push air effectively across the entire space. Open-concept layouts benefit from this strategic sizing approach. For rectangular spaces exceeding 18 feet, I’d recommend considering dual fans positioned strategically rather than relying on one centered unit. This staggered configuration maintains balanced ventilation where it matters most—near seating areas and distant corners alike. We set proper blade tip clearance and 8–9 foot mounting heights, creating a comfortable, evenly cooled gathering space in her living room.
Open Concept Layouts Demand Larger Fans
How do you cool a space that refuses to be contained by walls? Open concept living demands a different approach to airflow entirely. A large ceiling fan becomes an effective tool for these expansive layouts, creating circulation where traditional options fall short.
Here’s what works best:
- Choose 70–72 inch blade spans to move air across extended volumes effectively
- Position one strategic fan to define living and dining zones simultaneously
- Maintain 18 inches clearance from walls and 8–9 feet blade height for balanced distribution
- Measure blade tip to tip, then double it to validate proper sizing
For rooms exceeding 225 square feet, a single large ceiling fan eliminates the need for multiple units while achieving adequate circulation at lower speeds. You’re not just cooling anymore—you’re creating an invisible architecture that ties your open concept together.
How Ceiling Height Determines Downrod and Blade Positioning

The distance between your ceiling and floor shapes everything about how your fan will work—and I’m talking about more than just whether it fits. Your ceiling height determines the downrod length you’ll need, which directly affects blade clearance from the floor. You want blades positioned 8–9 feet up for optimal airflow and safety.
For standard 8-foot ceilings, I recommend a flush mount or short downrod to maintain roughly 7 feet of clearance. If your ceilings run higher—say 12 feet—calculate downrod length by subtracting 9 from your ceiling height, giving you a 3-foot downrod. Pay attention to ceiling clearance as well; maintain 8–12 inches between blades and ceiling for proper air intake. This positioning affects how well your fan operates.
Flush Mount vs. Downrod: Choosing Your Mounting Style

Your ceiling height pretty much dictates whether you’re going flush mount or downrod, and honestly, this choice matters more than most people realize. I’ve learned that getting this right affects your space’s functionality and feel.
Here’s what I consider when deciding:
- Low ceilings (under 8 feet) demand flush mount fans to preserve headroom and avoid that cramped, awkward sensation
- Standard ceilings (8 feet) work well with flush mounts in tight spaces where visual breathing room counts
- Higher ceilings (above 8 feet) benefit from downrods positioned so blades hang 8–9 feet above the floor for optimal airflow
- Sloped or vaulted ceilings need longer downrods to maintain proper blade clearance and performance
I’ve found that matching your mounting style to ceiling height prevents that “something’s off” feeling you get in poorly configured rooms.
Downrod Length and the Optimal 8–9 Foot Blade Height

Once you’ve settled on your mounting style, the real advantage comes from dialing in your downrod length—because positioning those blades at exactly 8–9 feet above the floor is what separates a fan that actually moves air from one that just looks pretty spinning overhead.
The math is straightforward. Subtract 9 feet from your ceiling height to determine your downrod length. So if your ceiling reaches 12 feet, you’re looking at a 3-foot downrod. This formula positions your blades in that optimal range where airflow becomes useful for your living room.
Taller ceilings demand longer downrods, while lower ones benefit from flush mounts or minimal extensions. Getting this right improves how your fan performs, making the whole space feel more comfortable and well-considered.
Clearance Rules Explained: Why 18 Inches From Walls Matters
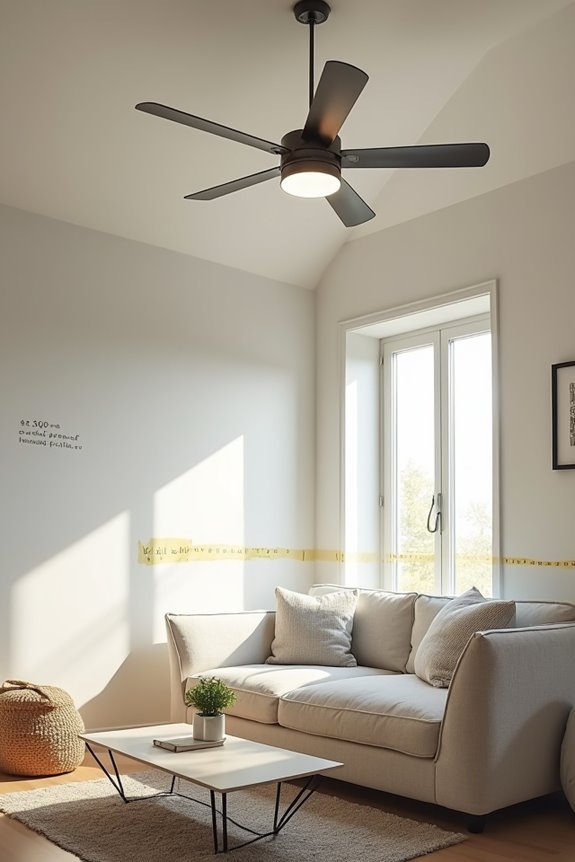
I’ve learned that the 18-inch clearance rule isn’t just a suggestion—it’s the foundation of how your fan performs in your space. When you measure the distance from your blade tips to the nearest wall, you’re protecting your fan from creating dead zones where air gets trapped and circulates poorly, which can actually make your room feel stuffier instead of cooler. I’ll walk you through measuring correctly and show you how this spacing rule prevents the wobbling and airflow problems that plague poorly positioned fans.
Why Clearance Matters Most
How much space does a ceiling fan really need to work properly? I’ve learned that clearance isn’t just about fitting the fan into your room—it’s about creating the conditions for your fan to actually work effectively.
- Preventing wobble and noise by maintaining 18 inches from walls keeps your blades stable and quiet
- Maximizing airflow across your seating areas requires unobstructed paths that a cramped installation simply can’t deliver
- Meeting safety codes protects your family and keeps your investment compliant with building standards
- Preserving visual balance means your fan enhances rather than dominates your living space
When I prioritize clearance, I’m not overthinking it. I’m setting up my fan to circulate air efficiently while keeping everyone comfortable. That’s the real payoff of getting spacing right from the start.
Measuring Wall Distance Correctly
The 18-inch rule isn’t arbitrary—it’s the difference between a fan that whispers through your living room and one that fights against itself. When I measure distance for ceiling fan sizing, I grab a tape measure and check from each blade tip to the nearest wall. This clearance rules approach prevents wobbling and allows smooth airflow circulation.
I’ve learned that measuring distance correctly saves headaches later. I mark my wall with painter’s tape at 18 inches, then position my fan accordingly. This simple step improves how air moves through my space, eliminating those annoying dead zones near corners.
Airflow And Obstruction Prevention
Proper clearance around your ceiling fan keeps air moving freely through your living room instead of getting trapped or bouncing back at you.
Maintaining 18 inches of blade-tip clearance from walls makes a real difference in how well your fan performs. Here’s why this spacing matters:
- Unobstructed airflow circulates evenly across your entire room
- Blade tips won’t create turbulence by hitting walls or corners
- Air can flow smoothly around furniture without interference
- Windows, doors, and light fixtures stay clear of disruption
When I positioned my fan with proper clearance, I noticed immediately how much better the air moved. Larger rooms sometimes need additional fans to maintain those unblocked paths. Always double-check your blade-tip-to-wall distance, especially with high or irregular ceilings. This simple step keeps your fan working efficiently and maintains comfort for everyone.
Sizing for Standard Rooms: 42–48 Inch Blade Spans

Where should you start when you’re shopping for a ceiling fan that actually fits your living room? I’d recommend looking at a 42–48 inch blade span, which works well for standard rooms covering roughly 75 to 175 square feet. This size range strikes a practical balance—you’ll get solid airflow without the fan dominating your space or clashing with furniture and walls.
I think of it this way: these dimensions respect your room’s proportions while delivering genuine circulation. If you’ve got higher ceilings or your living room opens into adjoining spaces, I’d lean toward the 48-inch end to maximize air movement. This option means you’re choosing a fan that belongs in your home, creating comfort that works with your space.
Enhanced Circulation: When to Choose 50–56 Inch Fans

When does a standard fan stop cutting it? I’ve found that larger spaces demand more powerful air circulation, and that’s where 50–56 inch blade spans excel. If you’re working with a living room that stretches beyond 225 square feet, you’ll want to consider upgrading your ceiling fan size for noticeably better results.
Larger spaces demand more powerful air circulation—50–56 inch blade spans excel for living rooms beyond 225 square feet.
Here’s when I’d recommend making the jump:
- Living rooms exceeding 225–400 square feet need enhanced airflow coverage
- Open-concept living spaces benefit from broader blade spans to maintain aesthetic balance
- Higher ceilings justify downrods positioning fans at optimal 8–9 feet heights
- Multiple smaller fans work well alongside one larger unit for even distribution
These larger blade spans move air effectively without overwhelming your space, creating the comfortable circulation that delivers consistent performance year-round.
Great Rooms and Open Layouts: 60+ Inch Fans Explained

Now that you understand how 50–56 inch fans handle medium-sized spaces, larger great rooms require different considerations.
For open-concept spaces exceeding 225 square feet, a ceiling fan in the 60–72 inch range works well. These larger blade spans move air effectively across expansive layouts, creating balanced circulation in your seating and dining zones. A 70-inch fan like the Warrant farmhouse model or a 72-inch Parkview delivers strong, consistent airflow throughout your great room.
Before purchasing, measure your blade tip-to-tip distance or calculate from the light kit center to a blade tip, then double it. This gives you an accurate measurement for selecting the right ceiling fan size for your space’s dimensions and layout.
Oversizing in Small Rooms: A Visual and Functional Misstep

I’ve learned that installing a 60–72 inch fan in a small room can actually work against you, creating an oversized visual anchor that dominates the space rather than complementing it. When you choose a fan that’s too large for your square footage, you’re not just dealing with an aesthetic problem—the airflow patterns become uncomfortable, and the fan may wobble or feel crowded against your ceiling, especially if you’ve got less than 8 feet of headroom. That’s why I’m careful to match fan size to room dimensions: a 29–36 inch fan for spaces under 144 square feet, or 44–52 inches for medium rooms, keeps both the look balanced and the performance efficient.
Visual Weight and Proportion
Oversizing a ceiling fan is like hanging a chandelier in a closet—technically possible, but it fundamentally changes how the space feels around you. When you choose a fan too large for your room size, its visual weight dominates the entire space, making proportions feel off-balance and uncomfortable.
I’ve learned that proportion matters tremendously. Consider these key points:
- An oversized fan visually lowers your ceiling, cramping the room’s sense of openness
- The fixture competes with furniture and architectural details for attention
- Your eyes naturally focus on the disproportionate visual mass rather than enjoying the space
- The aesthetic becomes jarring instead of cohesive and welcoming
Finding the right balance keeps your fan as a functional element within your design rather than as its dominant feature. The space will feel more comfortable when all elements work together in proper scale.
Performance Issues in Compact Spaces
What happens when you squeeze an oversized fan into a room that’s barely 144 square feet? You’ve created an airflow problem, not solved one. I’ve seen this mistake countless times—a massive fan dominating the ceiling, yet struggling to circulate air efficiently at lower speeds where it actually needs to operate in compact spaces.
Here’s the truth: oversizing forces your fan to work harder while delivering worse results. The room size simply doesn’t support the blade span, creating dead zones and uneven airflow patterns. Your ceiling height compounds this issue further, especially in rooms under eight feet where a sprawling fan feels suffocating.
That’s why I always recommend matching your fan’s diameter to your space. For compact living areas, smaller fans of 29–36 inches respect your room’s proportions while delivering genuine performance benefits you’ll actually feel.
Ceiling Crowding and Breathing Room
There’s a reason small rooms with oversized fans feel claustrophobic—your eyes immediately register that something doesn’t fit right. I’ve learned that cramming a large fan into a compact space creates visual heaviness that actually makes your room feel smaller, not more functional.
Here’s what happens when you oversize:
- Your ceilings appear lower and more oppressive than they actually are
- Airflow becomes turbulent and inefficient in tight quarters
- The fan dominates the visual landscape, stealing breathing room
- Blade tip clearance gets compromised, obstructing proper circulation
A 29–36 inch fan respects your space’s proportions. It delivers adequate airflow without overwhelming the room or creating that suffocating sensation. I’ve found that right-sized fans preserve the openness you’re seeking while maintaining functional air movement. That’s the sweet spot.
Undersizing in Large Spaces: Why Airflow Suffers
Why does a fan that works perfectly fine in one room suddenly feel useless in another? Undersizing in large spaces creates dead zones where airflow simply doesn’t reach. When you install a small fan in a spacious living room, you’re asking it to circulate air across 225+ square feet without adequate ventilation or fan sizing strategy.
| Room Size | Recommended Fan | Result |
|---|---|---|
| Under 225 sq ft | 42–48 inch | Adequate airflow |
| 225–400 sq ft | 50–54 inch | Uniform circulation |
| 400+ sq ft | 60–72 inch | Optimal coverage |
Undersized fans leave seating areas feeling stagnant while other spots get decent breeze. The solution is selecting the right fan size for your space to achieve consistent air circulation throughout the room.
Three Steps to the Right Living Room Fan Size

Once you’ve recognized that your current fan isn’t cutting it, the next move is straightforward: finding the right size for your space. I’ll walk you through the process so you can nail this decision.
- Calculate your square footage by measuring your room’s length and width, then multiply those numbers together—don’t forget adjoining spaces like kitchens or dining areas.
- Match your square footage to blade span using these guidelines: up to 75 sq ft needs 29–36 inches; 75–175 sq ft requires 42–48 inches; 175–350 sq ft demands 52–56 inches; over 350 sq ft calls for 60+ inches or multiple fans.
- Consider your ceiling height, remembering blades need at least 7 feet clearance, with 8–9 feet being ideal for proper airflow and comfort throughout your living area.
Ceiling Fan Models Sized for Different Living Room Layouts

Now that you’ve got your square footage calculated and ceiling height confirmed, it’s time to match those measurements to actual fan models that’ll work in your specific layout. Your sizing guide becomes valuable here—understanding blade span in relation to your room square footage helps clarify your options. For smaller living rooms under 144 square feet, consider 29–36 inch models that won’t overwhelm your space. Mid-sized rooms benefit from 44–50 inch fans, while larger areas around 225–400 square feet need 50–72 inch options. Open-concept layouts deserve consideration too; choosing larger blade spans from a central location improves airflow throughout connected spaces. Measure blade tip-to-tip before purchasing—it’s the final confirmation you need.