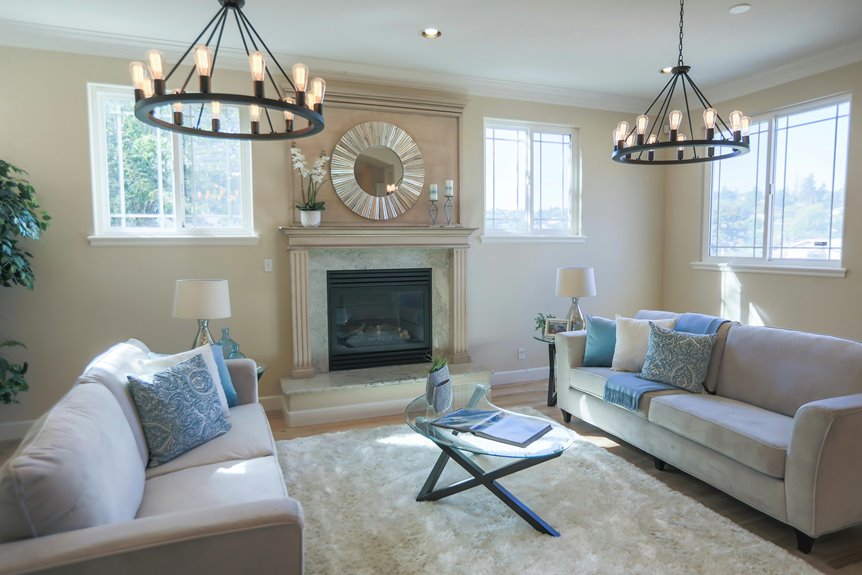
I’ve found that installing recessed can lights improves your living room with professional-quality lighting, and it’s totally manageable if you plan first.
Start by sketching your layout and spacing lights roughly half your ceiling height apart—so a 9-foot ceiling means about 4.5 feet between fixtures.
Locate joists, mark positions with painter’s tape, then drill with a dust shield to contain debris.
Run wiring through your attic, secure fixtures with springs, and install transformers at each light.
Add dimmers or smart LEDs for brightness control.
There’s more to master about spacing calculations and electrical safety.
Plan Your Recessed Light Layout Before Drilling

How do you know where to start when you’re staring up at a blank ceiling? I sketch out my recessed lighting layout first, measuring my room dimensions and furniture placement to verify even spacing. This is where I find confidence—planning ahead saves frustration later.
I space my can lights roughly half the ceiling height apart. For my 9-foot ceilings, that’s about 4.5 feet between fixtures. I use painters tape to map each location visually, testing every spot to check there’s no joist hiding above. This step feels tedious, but it’s necessary.
I also identify my focal point—maybe above my fireplace or seating area—where I’ll cluster two rows of lights. This creates balanced ambient lighting that draws the eye naturally. Planning my recessed lighting layout this way changes my living room’s entire feel before I drill a single hole.
Locate Joists and Mark Light Positions
Once you’ve sketched your layout on paper, it’s time to translate those plans onto your actual ceiling—and that means finding the joists first. I locate joists by tapping along the ceiling, listening for that solid thud that tells me I’ve found wood. Using a stud finder makes this easier. I measure from a corner wall to confirm joist spacing, usually sixteen inches apart. Then I mark each light position with a small pencil dot, offsetting them between joists when possible. I’ll grab painters tape and create a grid across the ceiling, mapping my layout visually before I drill anything. Labeling each light position from the room corners keeps me organized and prevents costly mistakes during installation.
Space Your Recessed Lights Using the Ceiling Height Rule
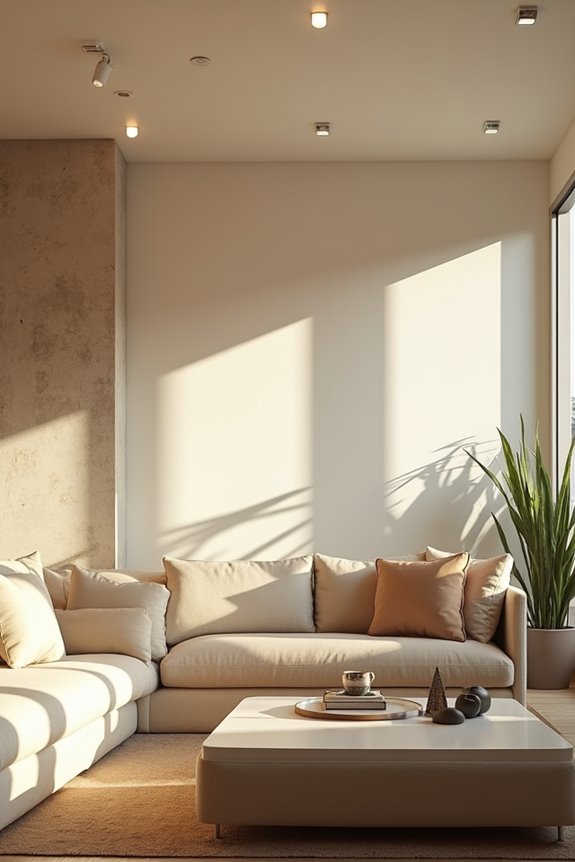
Now that you’ve marked your light positions on the ceiling, you’ll want to nail down the actual spacing—and there’s a simple formula I’ve relied on for years. I divide my ceiling height in half to determine the distance between recessed lights. This baseline keeps shadows at bay while creating balanced illumination throughout your room.
| Ceiling Height | Spacing Between Lights | Distance from Walls | Bulb Wattage |
|---|---|---|---|
| 8 feet | 4 feet | 3 feet | 65W equivalent |
| 10 feet | 5 feet | 3 feet | 75W equivalent |
| 12 feet | 6 feet | 3 feet | 90W equivalent |
| Vaulted | Variable | 3 feet | Adjustable |
I’ve found that positioning cans about three feet from walls prevents those annoying dark corners. Remember, you can always adjust brightness later with dimmable LEDs—this spacing simply gives you a solid foundation to work from.
Assemble Your Drilling Kit and Safety Gear
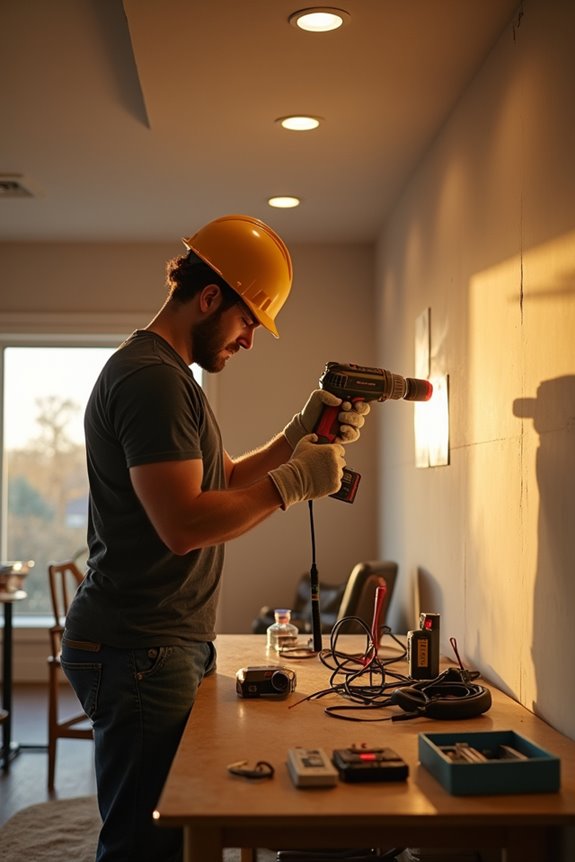
Before I start cutting into my ceiling, I need to gather my drilling kit and safety gear—because a hole saw and drywall dust aren’t forgiving to unprepared eyes and lungs. I’ll assemble my adjustable hole saw cutter, ISOtunes ear protection, a respirator, and a Toughbuilt Cliptech tool belt to keep everything organized within arm’s reach. A dust shield like a half basketball will save me from wearing the mess, and I won’t skip the ultra-slim LED fixture with its transformer and mounting springs since they’re required for the actual installation.
Essential Tools Required
Successful recessed lighting installation requires having the right equipment before you climb that ladder. After learning this through dusty, frustrating afternoons in my own home, I know what matters.
You’ll need an adjustable hole saw cutter as your drilling kit’s centerpiece, paired with an ultra-thin LED fixture, transformer, and mounting springs. I rely on my ISOtunes ear protection and respirator—they’ve protected my hearing and lungs during messy cutting phases. A half basketball works as your dust shield, capturing debris overhead and keeping your space manageable. Add painter’s tape for mapping light locations safely around joists, and grab a Toughbuilt Cliptech tool belt for organizing screws and hardware. Thoughtful dust containment planning makes a chaotic project manageable.
Personal Safety Equipment
When you’re about to drill holes through your ceiling, you’ll want to treat your body like the valuable tool it is. Proper safety equipment makes a stressful job manageable and allows you to work comfortably.
| Equipment | Purpose |
|---|---|
| Safety glasses | Shields eyes from debris |
| ISOtunes ear protection | Blocks loud drilling noise |
| Respirator mask | Prevents dust inhalation |
Your eye protection guards against flying drywall particles. Wear quality safety glasses throughout the entire process because one rogue chunk isn’t worth risking your vision. Hearing protection matters equally—that drill screams, and your ears deserve respect. A respirator keeps you breathing clean air while dust clouds form overhead.
Keep all three items within arm’s reach before starting. They’re not optional upgrades; they’re required equipment that lets you focus on precision work instead of discomfort.
Pick Your Lighting Style: Task, Accent, or Ambient
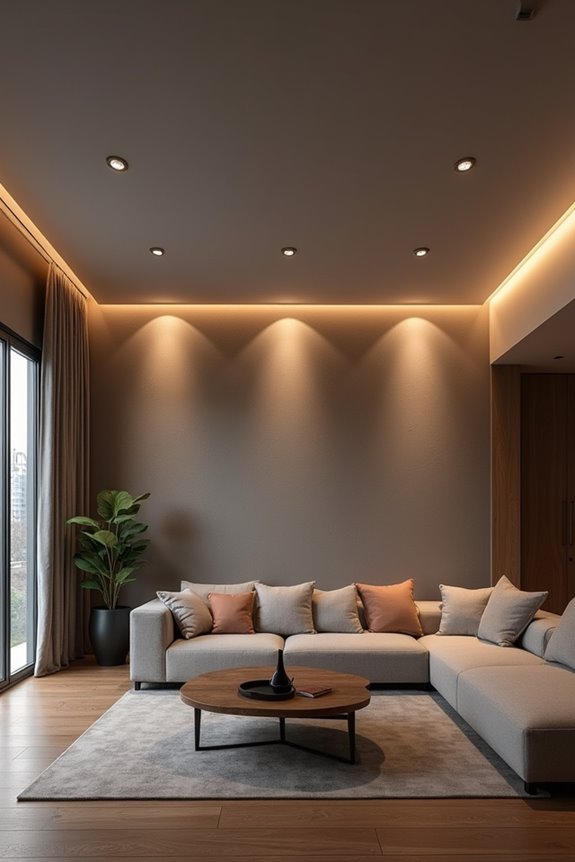
How’d you like your living room to feel—bright and functional, or warm and layered with visual interest? Choosing your lighting style matters. If you need focused brightness for reading or working, task lighting with can lights positioned around your desk does the trick. For drama, accent lighting highlights your fireplace or artwork beautifully. Ambient lighting creates that welcoming atmosphere most of us want. By spacing can lights roughly half your ceiling height apart, you’ll avoid those awkward dark spots that make spaces feel uninviting. The real benefit comes when you combine all three—layering light throughout your room. This approach lets you adjust the mood whenever you want, making your space feel like yours.
Cut Holes With a Dust Shield and Proper Protection
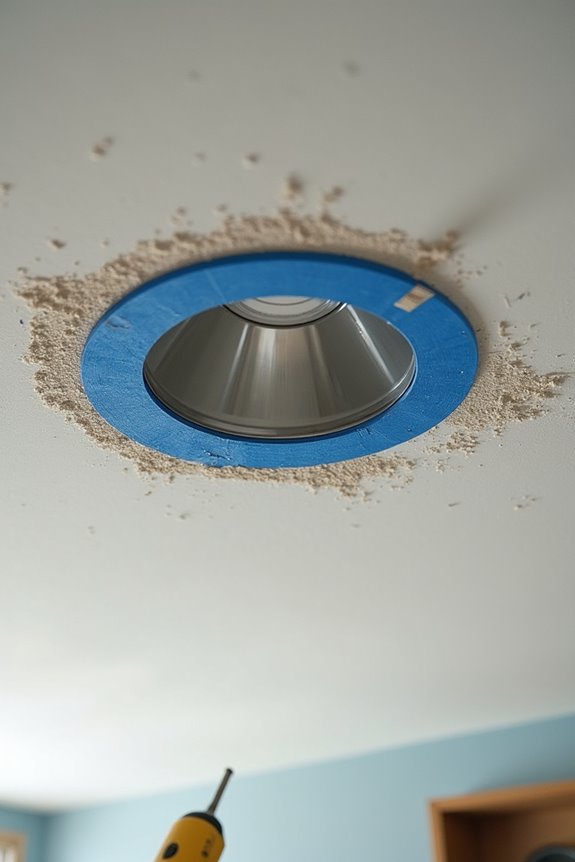
Now comes the part where drywall dust threatens to coat everything—your hair, your lungs, your freshly painted ceiling. I’ve found that creating a dust shield from an old basketball half works well. I cut it in half, position it over my cutting area, and it captures debris before it spreads everywhere.
I use an adjustable hole saw cutter to drill clean drywall holes for my recessed lights, letting me size each fixture precisely. Here’s my method: I drill first, then pull the tool through slowly. This reduces dust migration and gives me better control.
Once I’ve mounted and wired the fixtures, I remove the tape immediately. This prevents dust from settling on the installed can lights. It’s a practical step that keeps my work area manageable and my finished installation clean.
Run Wiring Cleanly Through Attic Space
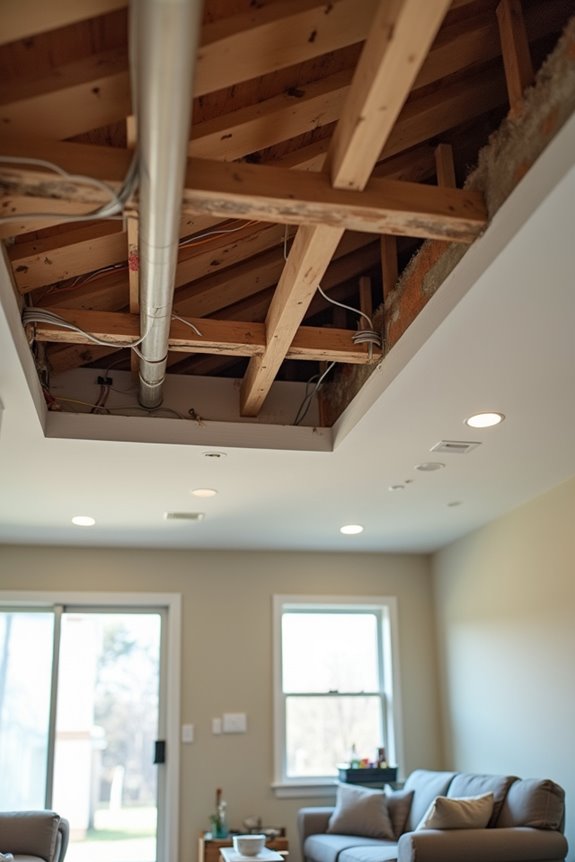
Once your fixtures are mounted and your work area’s finally dust-free, you’ll head up into the attic to run your wiring—and this is where patience really pays off. I route Romex carefully through the attic space, keeping cables away from existing joists and securing them with proper staples or clamps for maximum protection. Cable management here means making gentle bends instead of sharp turns, which reduces insulation damage and electrical resistance. I leave 6–8 inches of extra length at each junction box for future connections and upgrades. By maintaining an organized path and properly terminating all electrical connections inside boxes, I’m creating a system that’ll serve you well for years. It’s methodical work, but you’re building something reliable.
Secure Your Recessed Fixtures With Mounting Springs
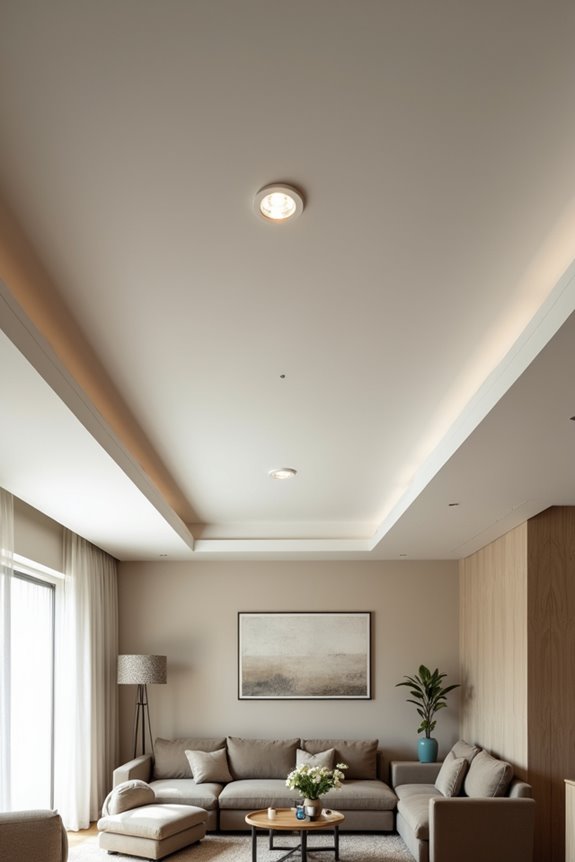
With your wiring neatly routed through the attic and all connections made, you’re ready to tackle the part that actually holds everything in place—those two springs on each recessed fixture that’ll anchor your lights to the ceiling. These springs simplify installation; they snap-fit your can into the drywall opening without needing external brackets. The key is compressing them just enough so the fixture slides into the hole smoothly while maintaining tension. After securing each light, double-check that the springs sit fully and the trim rests flush against the ceiling. Keep spare springs handy for future adjustments. This straightforward approach makes installation manageable, allowing homeowners to successfully complete this rewarding project.
Terminate Wiring and Install Transformers at Each Fixture
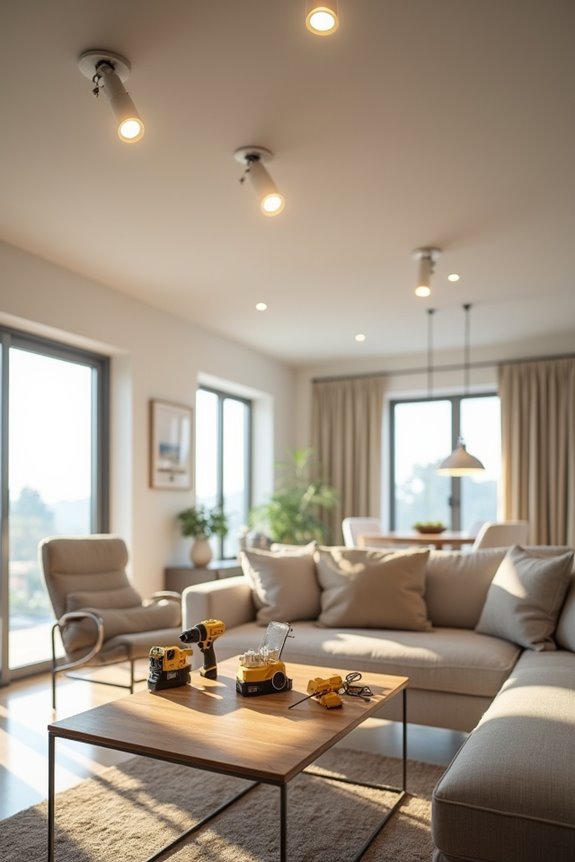
Before your springs can do their job anchoring those fixtures in place, you’ve got to handle the electrical groundwork that makes everything function—and that means terminating your wiring and installing transformers at each can light.
I’ve found that tackling this step methodically keeps me confident and on track. Here’s what I focus on:
- Route Romex through your attic to every location, keeping wires away from joists and sharp edges that could damage them
- Terminate each fixture’s wiring at its location using appropriate wire nuts, then connect the transformer directly to your house wiring
- Leave 6–8 inches of extra cable between holes for future adjustments and routing flexibility
Once I’ve taped and covered all splices neatly, I mount the fixtures toward the center of the room and power everything on to confirm those transformers are working properly.
Enable Brightness Control With Dimmers and Smart LEDS
Now that I’ve got my wiring secured, I can focus on making these recessed lights work for me—and that means installing dimmer switches paired with compatible dimmable LED bulbs so I can adjust the brightness for everything from movie nights to reading. I’ll also explore smart LED downlights that let me control color temperature and brightness right from my phone or voice commands, which means no more replacing fixtures every time I want a change. The key is testing the dimming range after installation to catch any flickering or humming before I settle into my new lighting setup.
Dimmer Switch Installation Basics
Why settle for an all-or-nothing approach to your can lights when you can dial in exactly the brightness you need? Proper dimmer switch installation changes how I control my living room’s ambiance and energy use.
Here’s what matters most:
- Match your dimmer switches to LED compatibility – I always verify the packaging says “compatible with LED” to prevent annoying buzzing or flickering
- Calculate your total load rating – I add up all my can lights’ wattage and confirm my dimmer’s maximum exceeds that sum, avoiding dangerous overloads
- Wire carefully during installation – I connect the dimmer to the circuit breaker properly, following electrical codes that keep my home safe
Getting these basics right means enjoying reliable brightness control that actually works.
Smart LED Downlight Control
Once I realized my living room could do more than just turn on and off, things changed. Smart dimming made my space more responsive to my life. I discovered tunable white LEDs let me shift from warm 2700K tones for cozy evenings to crisp 5000K light for reading. What impressed me was scene automation—I’d create a movie night setting that dimmed multiple can lights simultaneously around my fireplace, or brighten everything for focused tasks. Using apps or voice commands, I adjusted brightness smoothly without fumbling for switches. The energy monitoring features showed me exactly how much I was using, helping me optimize daily patterns. I’d finally found lighting that understood what I needed, when I needed it.