Blackout curtains work through a two-part heat-blocking system: densely woven fabric stops light and convection, while white or reflective thermal lining bounces solar radiation back through your window before it enters your room. To maximize their effect, you’ll want to seal every gap—curved rods keep fabric flush against walls, overlap panels at least four inches in the middle, and let them brush the floor. Proper installation converts them from decoration into genuine insulators, though there’s more to discover about the specific techniques that really boost their cooling power.
How Blackout Curtains Block Heat: The Physics Behind Solar Rejection
Why do some blackout curtains keep a room cool while others barely make a dent in the heat? The difference comes down to physics and construction. True blackout curtains work through 100% opacity—a thermal lining that interrupts airflow and reflects solar radiation back outside. It’s not just about dark fabric; it’s about blocking light itself, which carries heat energy.
The effectiveness depends on layers. An acrylic foam backing seals the weave completely, preventing even pinpricks of light from penetrating. This stops heat before it saturates the fibers. The practical approach involves positioning a white or off-white side toward your window to reflect sunlight back through the glass, creating a cooling barrier. The physics operates reliably in your favor.
Thermal Lining and Weave Density: What Actually Blocks Heat
I’ve learned that what separates truly effective blackout curtains from mediocre ones isn’t just darkness—it’s the invisible architecture of thermal lining and weave density working together beneath the surface. When I hold a flashlight behind a quality blackout fabric, I see zero pinpricks of light because the tight weaving pattern blocks not just visible rays but also the convective heat that tries to sneak through ordinary curtains. When manufacturers add foam-backed thermal linings, your window becomes an insulating barrier that reflects solar radiation before it ever reaches your room.
Thermal Lining Technology Explained
the thermal lining layer. I’ve found that true thermal lining uses multiple acrylic foam layers that seal your window’s weave, actively reducing airflow while reflecting solar radiation before it penetrates your home. Unlike ordinary blackout linings, this technology creates a dense barrier minimizing both radiant heat transfer and convective heat flow. You can test this yourself—shine a flashlight at your curtains; if pinpricks of light pass through, the weave remains open. Real thermal protection demands 100% opacity. When you pair thermal lining with blackout fabric, you’re stacking heat rejection strategies that deliver superior energy performance. The result? Your windows become genuine insulators, not just light blockers, fundamentally changing how your space manages temperature throughout the day.
Weave Density and Heat Resistance
Now that you understand how thermal lining works, let’s examine the fabric itself—because even the best lining can’t perform at full capacity if the weave beneath it is too loose. High weave density is your silent partner in heat resistance. When fabric fibers are tightly woven together, they create a barrier that reduces airflow and minimizes convective heat transfer—the way warmth creeps into your room through air circulation. A thermal lining works best when paired with dense weaving, creating a powerful combination against summer heat. You can test this yourself with a flashlight: hold it behind your curtains in a dark room. If light bleeds through pinpricks, your weave needs densifying. That’s where quality matters most.
Why White Backing on Blackout Curtains Reflects Solar Radiation
Ever notice how a white car stays cooler than a black one parked in the same lot? That’s what white backing on blackout curtains does for your windows. This reflective layer works like a shield, bouncing solar radiation back through the glass before it penetrates your room. When you choose white backing, you’re using physics to your advantage—light reflects rather than absorbs. Dark backings, by contrast, absorb energy and convert it into heat, creating hot air pockets near your windows. The white backing helps deflect sunlight before it even reaches the curtain weave, dramatically improving heat rejection. It’s that choice that makes your blackout curtains more than just darkening your space into actually cooling it down.
Install Blackout Curtains to Seal Every Gap
While white backing gives you that reflective advantage, you’ll only get the full benefit if you’re stopping hot air from sneaking around your curtains in the first place.
I’ve learned that proper installation of your window treatments matters. Here’s what I do:
- Curve the rod so fabric touches the wall, sealing side gaps completely
- Overlap curtains at least 4 inches in the middle to block heat transfer
- Let them just barely touch the floor, eliminating bottom convection
- Return the curtain to the wall, preventing that chimney effect where hot air rises
Those gaps around your curtains? They’re heat’s favorite escape route. When I seal them properly, I’m creating an airtight barrier that works. Countless others have discovered this approach to keeping your space comfortable.
Seal the Sides: Curved Rods and Wall Contact
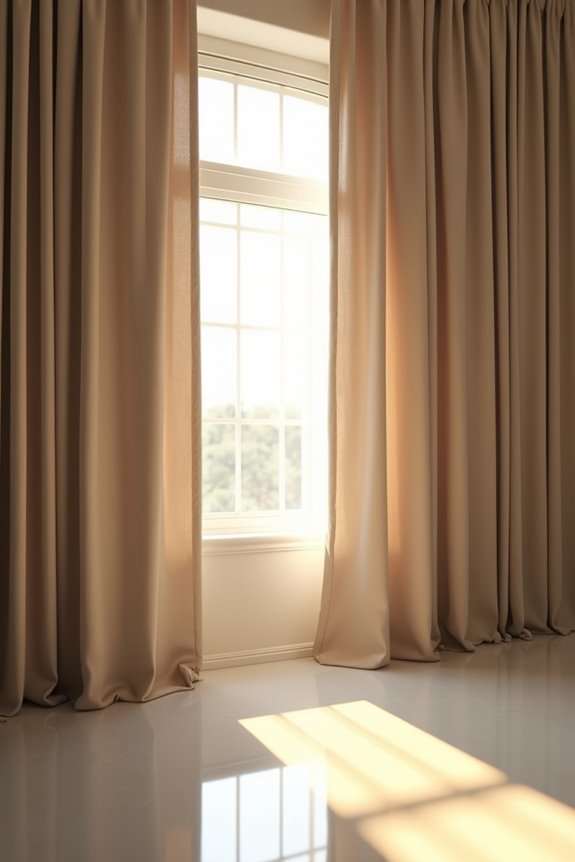
Why do so many people install blackout curtains only to find warm air still creeping in around the edges? The culprit’s often those pesky side gaps. I’ve learned that curved rods make a real difference here. When I bent my rod slightly outward, the fabric pressed firmly against the wall, eliminating those sneaky convection channels where heat escapes. This wall contact stops the chimney effect dead—no more warm air rising behind the curtains and vanishing through gaps. This simple adjustment improved my room’s temperature control. The curved rod keeps everything sealed tight, so your blackout curtains actually do their job. It’s one of those small tweaks that delivers results once you experience it firsthand.
Seal the Bottom: Overlap and Floor Pooling

Just when I thought I’d solved the heat problem with my curved rod, I discovered the bottom of my curtains was still letting warm air slip through like water through a sieve. I realized sealing the bottom required just as much attention as the sides.
Sealing curtain bottoms demands as much attention as the sides—don’t overlook this critical detail in your thermal strategy.
Here’s what I learned about creating an effective floor seal:
- Overlap curtains in the middle by at least 4 inches to minimize light and air gaps
- Let fabric just barely touch or pool slightly on the floor to block convection from rising hot air
- Maintain continuous contact with walls and floors to break the vertical hot-air channel and mitigate the chimney effect
- Prevent hot air from being drawn back into the room through misaligned gaps
This bottom seal improved my thermal performance significantly.
Opacity Levels by Room: Bedroom, Office, and Media Room
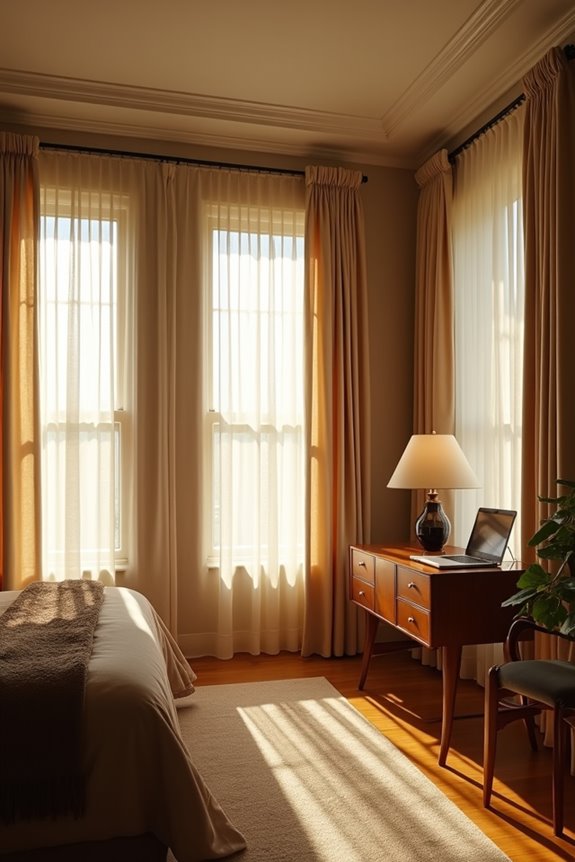
I’ve learned that not every room needs the same level of blackout power, and that’s where understanding opacity levels matters for your comfort. Your bedroom demands that full 100% darkness for restorative sleep, while your office might benefit more from strategic light control that still lets you work effectively, and your media room sits somewhere in between with its own blackout standards. Each space has different thermal and visual demands, so I’ll walk you through exactly what opacity level works best for each room and why it matters for both your heat control and daily living.
Bedroom Darkness Requirements
How dark does your bedroom actually need to be? True darkness affects sleep quality in measurable ways. Your bedroom benefits from complete darkness because your body’s melatonin production depends on it.
Here’s what I recommend for bedroom darkness:
- Use 100% blackout fabric with thermal lining for maximum darkness
- Layer cellular shades with blackout curtains for comprehensive coverage
- Overlap curtains at least 4 inches in the middle to seal gaps
- Test darkness with a flashlight—no light should penetrate the room
I install my curtains curved against walls and seal floor gaps carefully. The room-side should be dark, while the glass-facing side stays white to reflect heat and light. This combination creates the sleep environment your body needs.
Office Light Control Needs
Your office demands a different darkness strategy than your bedroom, and that’s where things get interesting. I’ve learned that you’ll want blackout curtains with 100% opaque blackout lining to prevent those pinprick lights that sabotage focus. Unlike bedrooms, offices prioritize glare reduction on screens over thermal control, though quality window coverings deliver both benefits.
| Feature | Office Priority | Bedroom Priority |
|---|---|---|
| Opacity Level | 100% blackout lining | 100% blackout fabric |
| Thermal Lining | Secondary benefit | Essential |
| Back Color | Dark acceptable | White/off-white |
| Light Infiltration | Zero tolerance | Minimal acceptable |
| Installation | Wall-to-wall overlap | Complete coverage |
Test opacity with a flashlight—true blackout shows absolutely no light penetrating the weave. You’ll notice the difference when your screen clarity improves and eye strain diminishes considerably throughout your workday.
Media Room Blackout Standards
When it comes to media room blackout standards, there’s simply no room for compromise on opacity—and I mean that literally. Your blackout curtains need to achieve 100% light blockage, which means they’re in a different league entirely from bedroom or office solutions. Here’s what separates media room standards:
- Flashlight test verification – No pinpricks of light should penetrate the weave when tested
- Thermal lining required – Multiple acrylic foam layers combat heat, not just thick fabric
- Precise installation overlap – At least 4 inches meeting in the middle with floor contact
- Reflective interior layer – White or off-white facing glass bounces sunlight back
Layering cellular shades underneath amplifies everything, creating the contrast and darkness your screen requires. This is a functional investment that directly impacts your viewing experience.
Layering Strategies for Maximum Heat Control
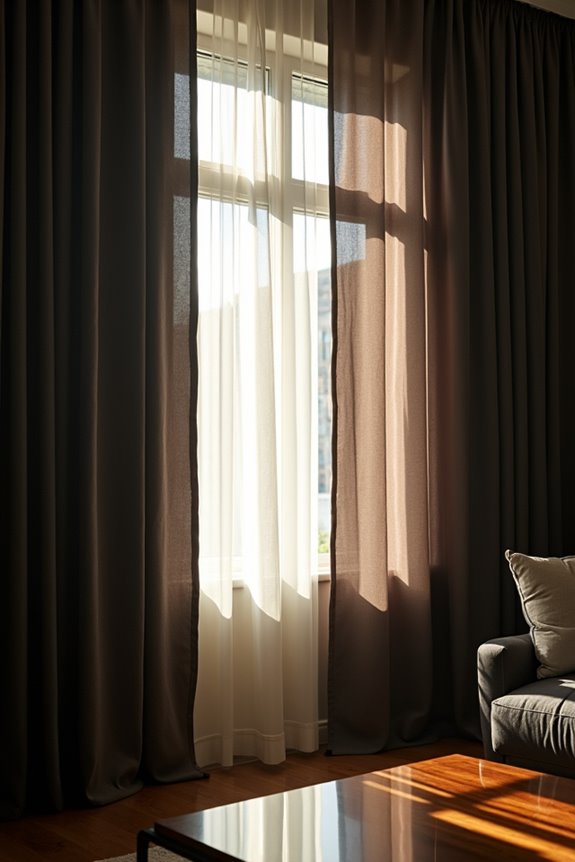
Why settle for a single line of defense when you can create a fortress against the sun’s relentless heat? Layered shading works effectively to control thermal conditions in your space. Pairing interior cellular shades with exterior blackout drapes seals those gaps where heat enters. This combination addresses convection directly, trapping air between layers and preventing warmth from penetrating deeper into your room.
Installation details matter significantly. Curtain rods should curve slightly, keeping fabric flush against walls with at least four inches of overlap in the middle. The bottom should brush your floor, blocking those critical lower gaps. When you layer strategically with 100% blackout fabric featuring thermal lining—white or off-white facing the glass—you’re not just blocking light; you’re actively rejecting solar energy and regaining control over your indoor climate.
Polyester vs. Cotton Blackout Curtains: Heat Blocking Compared
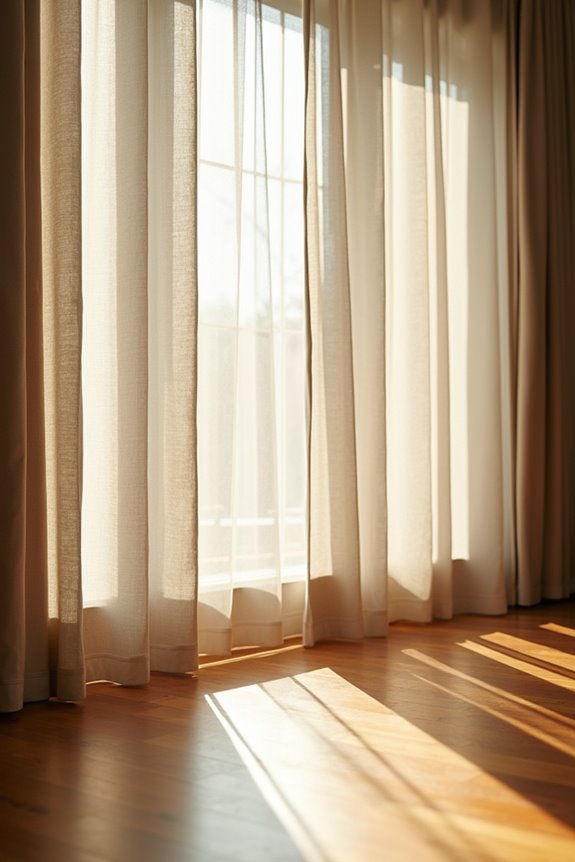
When I’m choosing blackout curtains for heat control, I’ve found that polyester options consistently outperform cotton because their synthetic fibers and tight weaves naturally reject more solar radiation and minimize air leakage. Cotton blackout curtains offer that natural feel, but they’ll need heavier linings or specialized backing to match polyester’s thermal performance. If keeping your home cool is what matters most, I’d recommend investing in polyester curtains with a reflective or thermal lining, paired with proper installation that seals those gaps around your windows.
Polyester’s Thermal Performance
Polyester blackout curtains outperform their cotton cousins when it comes to keeping heat out of your home, and here’s exactly why.
Polyester blackout curtains deliver superior thermal performance through several key advantages:
- Dense triple-weave construction with acrylic foam layers that reflect solar radiation
- Consistent 100% opacity for reliable, true blackout results
- Better dimensional stability than cotton, maintaining effectiveness over time
- Multi-layer systems combining face fabric, blackout lining, and thermal backing
When you add a white or off-white backing facing your windows, you’re actively bouncing heat away before it enters your space. This approach works harder for your comfort and your wallet.
Cotton’s Heat Resistance
Cotton blackout curtains might seem like the natural choice—they’re breathable, they feel soft, and they’ve been around forever—but here’s where I need to level with you: cotton alone just doesn’t match polyester blackout curtains’ heat-blocking ability.
Without proper thermal lining, cotton absorbs and radiates heat inward when exposed to direct sun. That’s the honest truth. However, lined cotton curtains perform considerably better, though they typically still lag behind polyester with thermal backing.
| Feature | Cotton (Unlined) | Cotton (Lined) |
|---|---|---|
| Heat Absorption | High | Moderate |
| Thermal Reflection | Poor | Good |
| Durability | Fair | Excellent |
| Cost | Low | Medium |
| Heat Blocking Consistency | Unreliable | Reliable |
The difference? Thermal lining seals the weave, preventing heat transfer. If you’re choosing cotton, invest in quality lining—it’s worth the cost.
Cellular Shades vs. Blackout Curtains: Which Blocks More Heat?
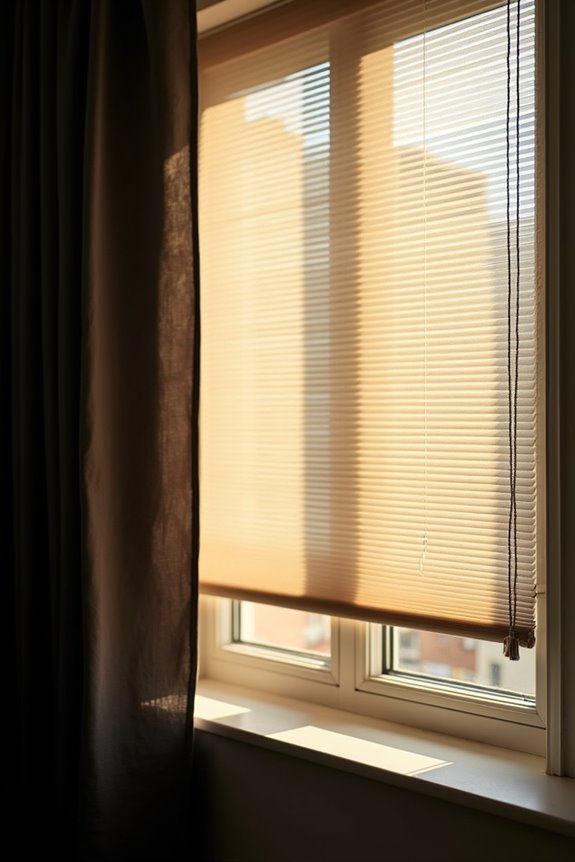
If you’ve ever stood in front of your window on a sweltering afternoon, you’ve probably wondered which window treatment actually does the strenuous work when it comes to keeping heat out. I’ve found that both options excel, but they work differently. Here’s what I’ve learned about heat transfer with each:
- Cellular shades trap air in honeycomb cells, creating insulation that reduces both summer heat gain and winter loss
- Blackout curtains with thermal linings can match cellular shades’ performance when properly sealed
- Cellular shades with side tracks minimize heat transfer more effectively than standard installations
- Improper gaps in either treatment create a “chimney effect” that undermines cooling
The real winner? Proper installation matters more than the product itself. I’ve discovered that sealing gaps makes either option significantly more effective at blocking heat.
How to Clean and Maintain Your Blackout Curtains
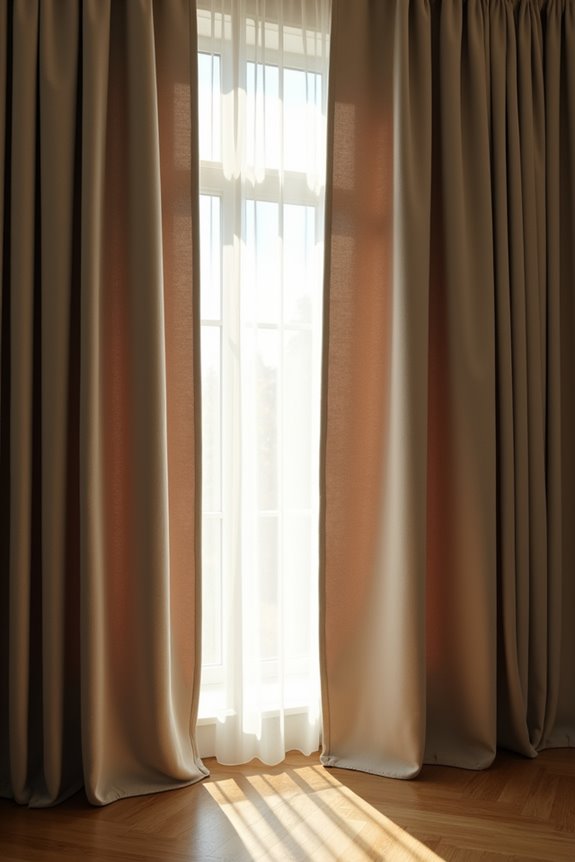
Your blackout curtains won’t stay effective forever—they’re hardworking fabric that deserves a little care to keep performing well. Fabric care isn’t complicated; most blackout curtains handle machine washing beautifully on a gentle cycle with cold water and mild detergent. Avoid bleach entirely since it degrades the blackout lining and strips away that light-blocking power you’re counting on.
Here’s what to do regularly: vacuum or brush them to prevent dust buildup, then spot-clean stains promptly with a gentle fabric cleaner. When you rehang them while slightly damp, they settle evenly against your windows, sealing gaps naturally. Also inspect the edges occasionally—catching wear early means replacing only the frayed sections rather than the entire curtain. This simple maintenance keeps your curtains looking sharp and performing well.
Installation Mistakes That Kill Your Heat Savings
I’ve learned that even the best blackout curtains won’t save you money if you install them wrong, and the culprit is usually gaps—those sneaky spaces around your windows that let heat escape just as easily as it enters. What I call the “Chimney Effect” happens when sun-heated air rises behind your curtain and sneaks out through top gaps, pulling cooler air in behind it like a revolving door for your home’s temperature. To actually seal in those savings, I’ve found you need to position your rod so it curves slightly toward the wall, overlap your curtains at least four inches down the middle, and let them brush the floor—creating a complete barrier that stops hot air from circulating where it shouldn’t.
The Chimney Effect Problem
I call this the chimney effect, and it’s sabotaging your savings. Here’s how to stop it:
- Curve your curtain rod so fabric seals against walls, eliminating side gaps
- Overlap curtains at least 4 inches in the middle to prevent air flow
- Extend fabric to touch or pool slightly at the floor
- Check for any remaining openings that compromise your thermal barrier
Gap Sealing Strategies
Why do so many people install blackout curtains only to wonder why their energy bills haven’t budged? The answer often lies in gap sealing—or rather, the lack of it.
Proper gap sealing makes curtains function as genuine insulators rather than decorative afterthoughts. You’ll want to curve your rod so fabric touches the wall at the top, stopping hot air from escaping upward. At the bottom, curtains should barely graze the floor. In the middle, overlap them at least four inches to eliminate vertical escape routes.
| Gap Location | Problem | Solution |
|---|---|---|
| Top | Hot air rises out | Curve rod to wall |
| Bottom | Warm air enters | Barely touch floor |
| Sides | Heat circulates in | Full wall coverage |
These simple strategies work together, creating the sealed barrier your home needs.
Rod Positioning And Overlap
Most people hang their blackout curtains the same way they’d hang regular drapes—straight up, centered on the window, done.
I learned this mistake costs you real money. Here’s what I’ve discovered works:
- Position your rod close to the wall so fabric hugs it tightly, eliminating side gaps
- Make curtains overlap at least 4 inches in the middle to block heat from sneaking through
- Extend panels to touch the floor or pool slightly, sealing bottom edges where warm air rises
- Curve the rod slightly to minimize gaps and prevent the chimney effect
When I installed mine correctly, I noticed immediate differences in my room’s temperature. That overlap in the center? It’s not negotiable if you want serious heat control. Proper positioning makes blackout curtains actually effective.
Testing Your Installation: The Pinprick Light Test
Once you’ve hung your blackout curtains and drawn them closed, here’s where you’ll test whether your installation truly delivers on its heat-blocking promise: perform the pinprick light test. Grab a flashlight and darken the room, then shine it against the fabric from the outside. If light penetrates through the weave itself, your blackout curtains aren’t genuinely opaque—meaning heat will escape too. The real culprits, though, are often gaps around the track or edges where light sneaks through despite dark fabric. Checking these weak spots matters just as much. Run your flashlight along the sides and top while curtains are closed. No visible light leaking means you’re properly sealed. That’s when you know your installation actually protects your space.
Still Deciding? How Other Window Treatments Compare
If you’re standing in the window treatment aisle—or scrolling through endless online options—wondering whether blackout curtains truly deserve a spot in your home, I understand.
Here’s what I’ve learned: blackout curtains aren’t your only option, though they’re remarkably effective when paired thoughtfully with other treatments. Consider these complementary choices:
- Cellular shades layer beautifully with curtains, trapping air pockets for enhanced insulation
- Fabric type matters equally—quality thermal lining outperforms basic materials significantly
- Reflective window film reduces heat gain without blocking natural light entirely
- Motorized roller shades offer convenience while maintaining temperature control
When you combine treatments strategically, the results improve considerably. Pairing blackout curtains with cellular shades creates serious thermal protection that beats either alone. Your investment multiplies when you layer treatments this way, creating the controlled environment you’re seeking.