I’ll share the three measurements you need for proper curtain holdback placement.
First, measure your curtain’s height, divide by three, and mark that spot—this creates natural balance and neat fabric stacks when you open them.
Next, position holdbacks one to two inches from your window casing so fabric drapes freely without snagging.
Finally, anchor into wall studs when possible, or use weight-rated anchors for drywall.
These steps deliver a polished result with proper technique behind each one.
Step 1: Measure One-Third Up From the Bottom of Your Curtain
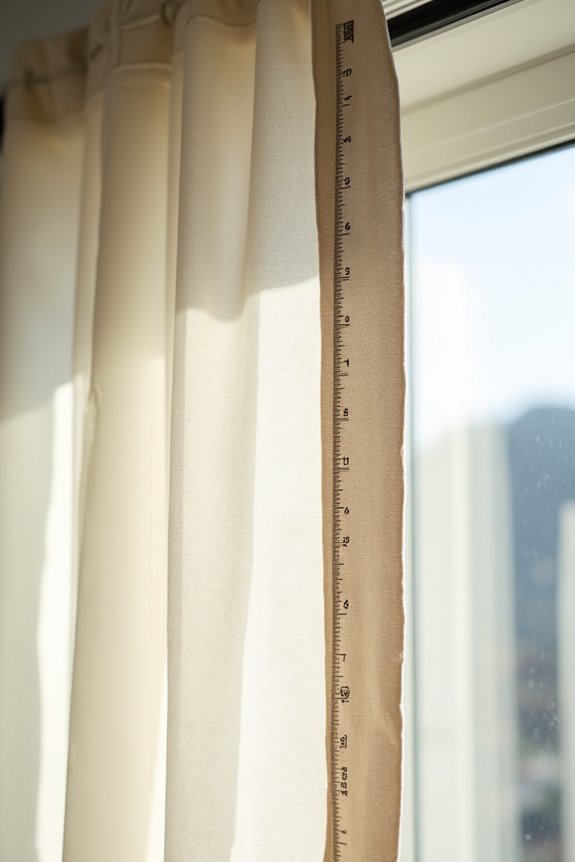
Where exactly should that holdback go? The answer lies in a simple measurement for your window treatment. You’ll want to position your curtain holdbacks one-third up from the bottom of your curtain panel—this foundational placement creates the visual balance you need. Here’s how to do it: measure your fabric height, divide by three, then mark that spot on your wall. This one-third positioning allows natural draping without crowding the top, so your drapery hardware becomes both functional and beautiful. When you place your decorative post at this sweet spot, the fabric stacks neatly when opened, revealing clean lines. This measurement-based approach removes the guesswork from window treatment placement, giving you confidence in your drapery decisions and helping you achieve a polished, intentional look.
Step 2: Position Holdbacks 1–2 Inches From the Window Casing
Now that you’ve marked where your holdbacks should sit vertically, it’s time to figure out how far from your window they should extend outward. Positioning matters just as much as height when creating a polished look.
Here’s what to do for proper placement:
- Measure 1–2 inches outward from your window casing on both sides to give fabric room to drape naturally
- Account for decorative hardware and trim details that might interfere with your drapery’s movement
- Mark identical distances on each side before any installation to maintain symmetry
This offset prevents fabric from pulling awkwardly on your trim and accommodates heavier fabrics well. When you’re working with medallion-style setups or thicker materials, that extra space helps prevent snagging and allows the hardware to function properly.
Step 3: Secure Into Studs or Use the Right Wall Anchors for Your Wall Type
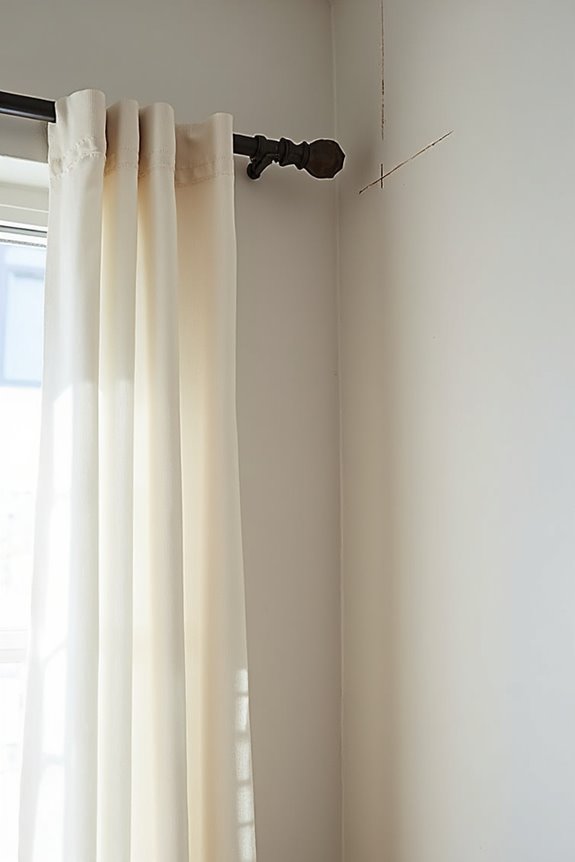
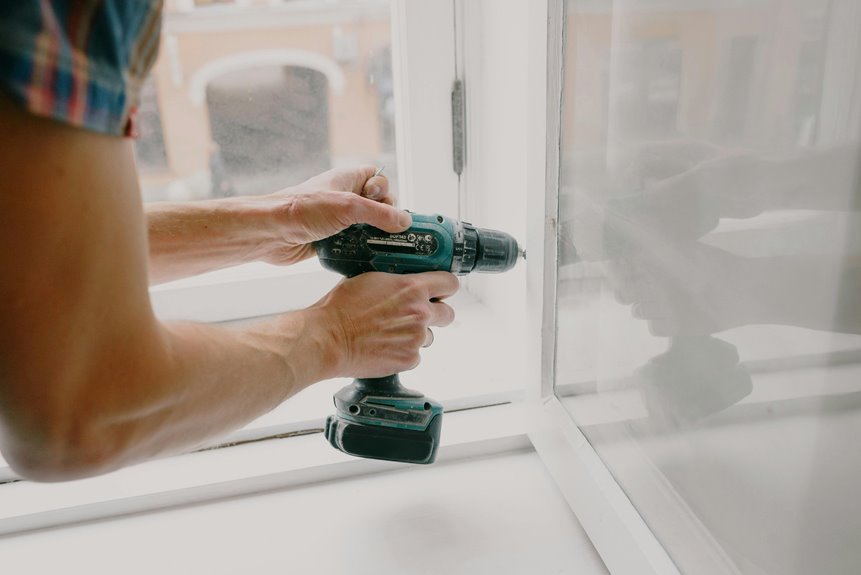
Before you drill a single hole, this step makes or breaks your entire project. I always reach for my stud finder first, scanning the wall carefully to locate those solid wall studs. When I find them, I mount my holdbacks directly into them—nothing beats that rock-solid support.
But here’s the thing: not every wall cooperates. When studs aren’t positioned where I need them, I choose wall anchors rated for my drapery’s weight. I match the weight rating carefully to my hardware and fabric, then I keep both anchors level and aligned before final tightening. For heavier fabrics or substantial mounting hardware, I opt for longer screws and heavy-duty anchors.
If I’m anchoring into hollow drywall spaces, I reinforce it first. This foundation work keeps my holdbacks solid and long-lasting.